

0

Your Cart is Empty

SilverTip Epoxy

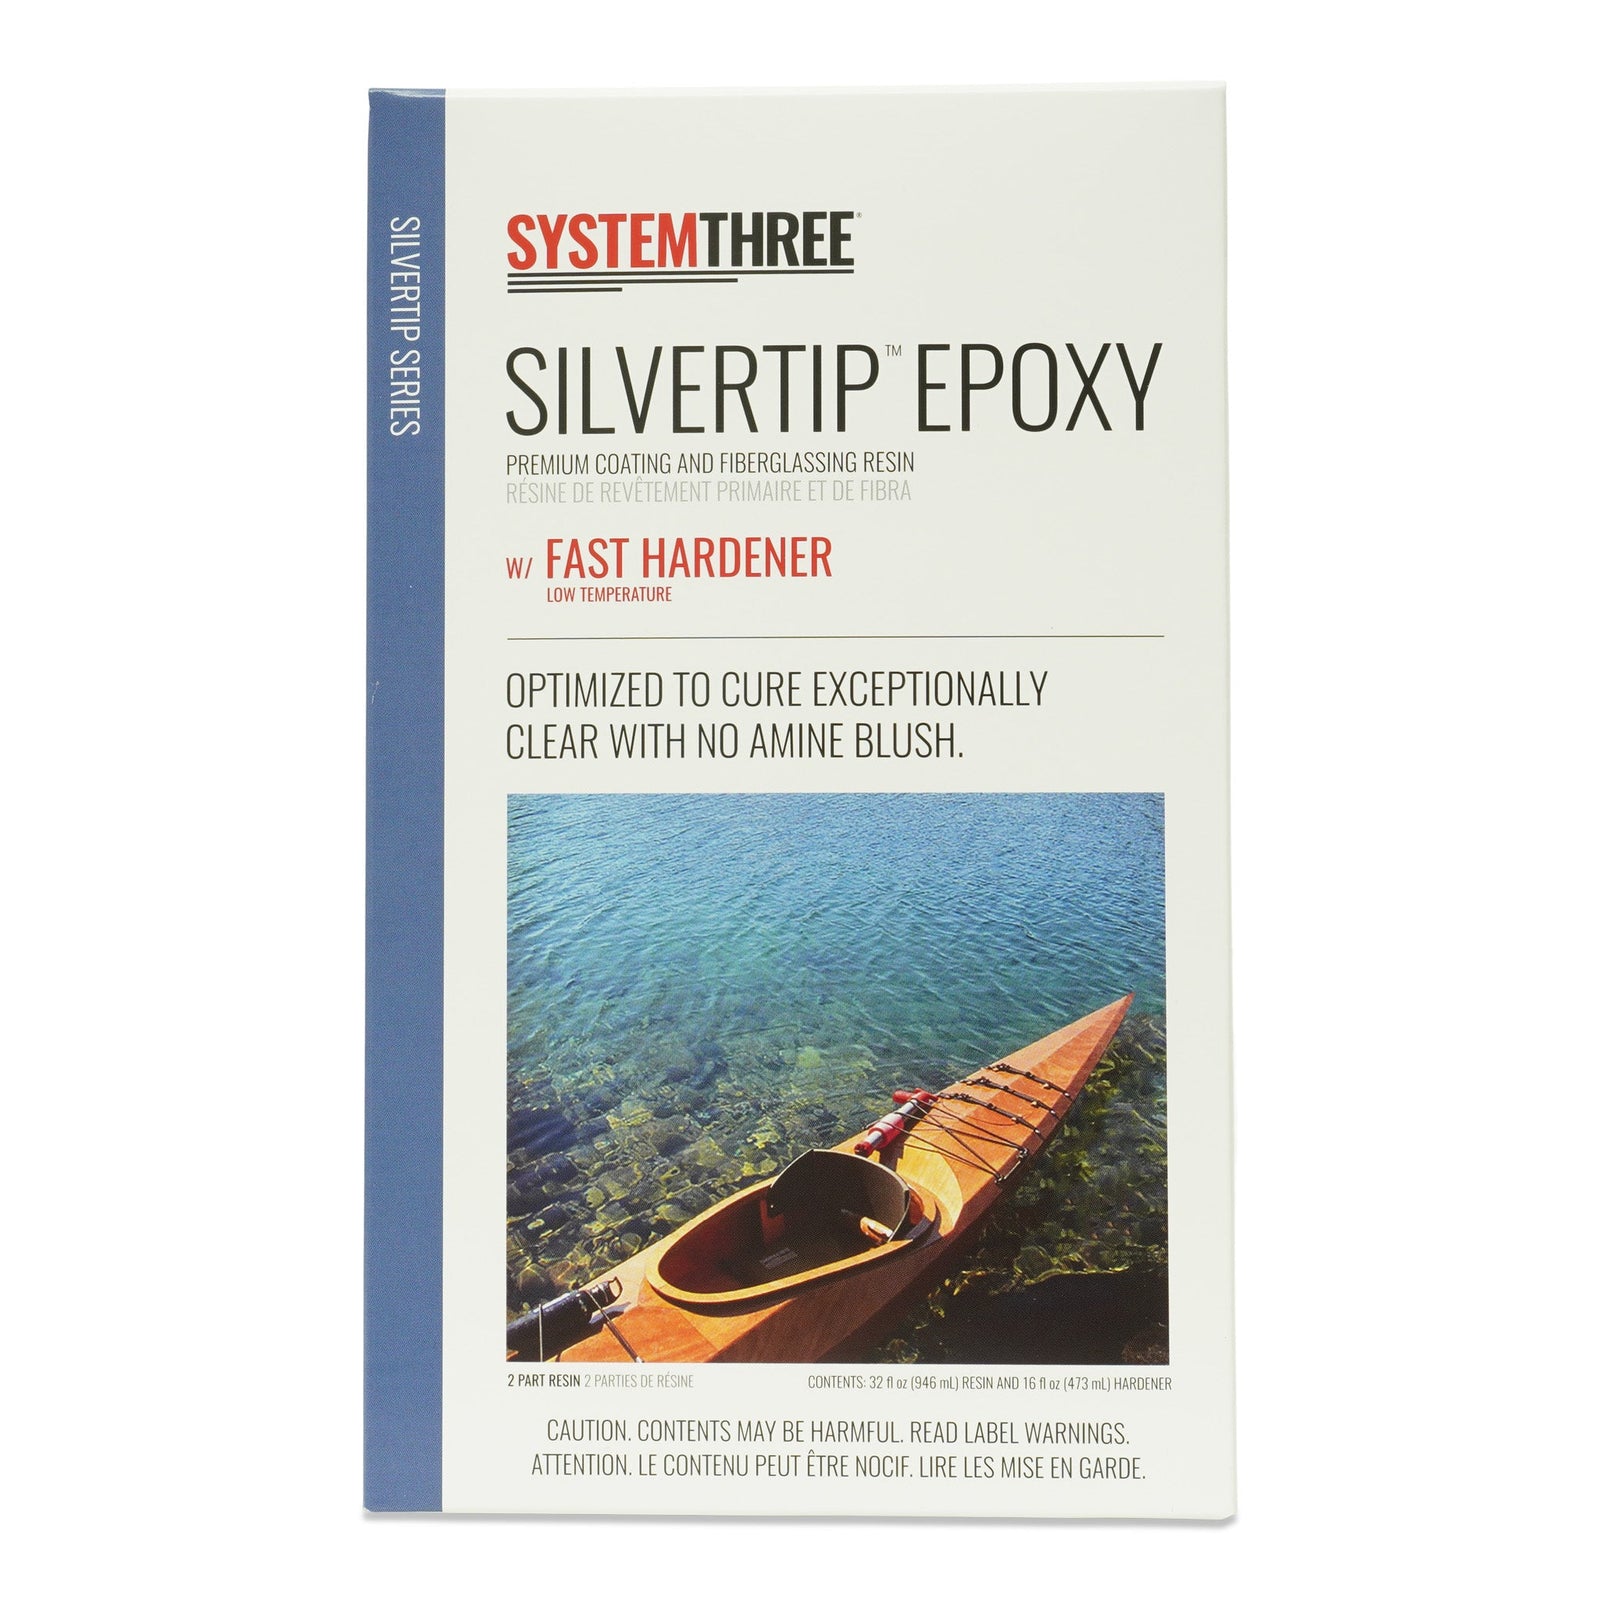
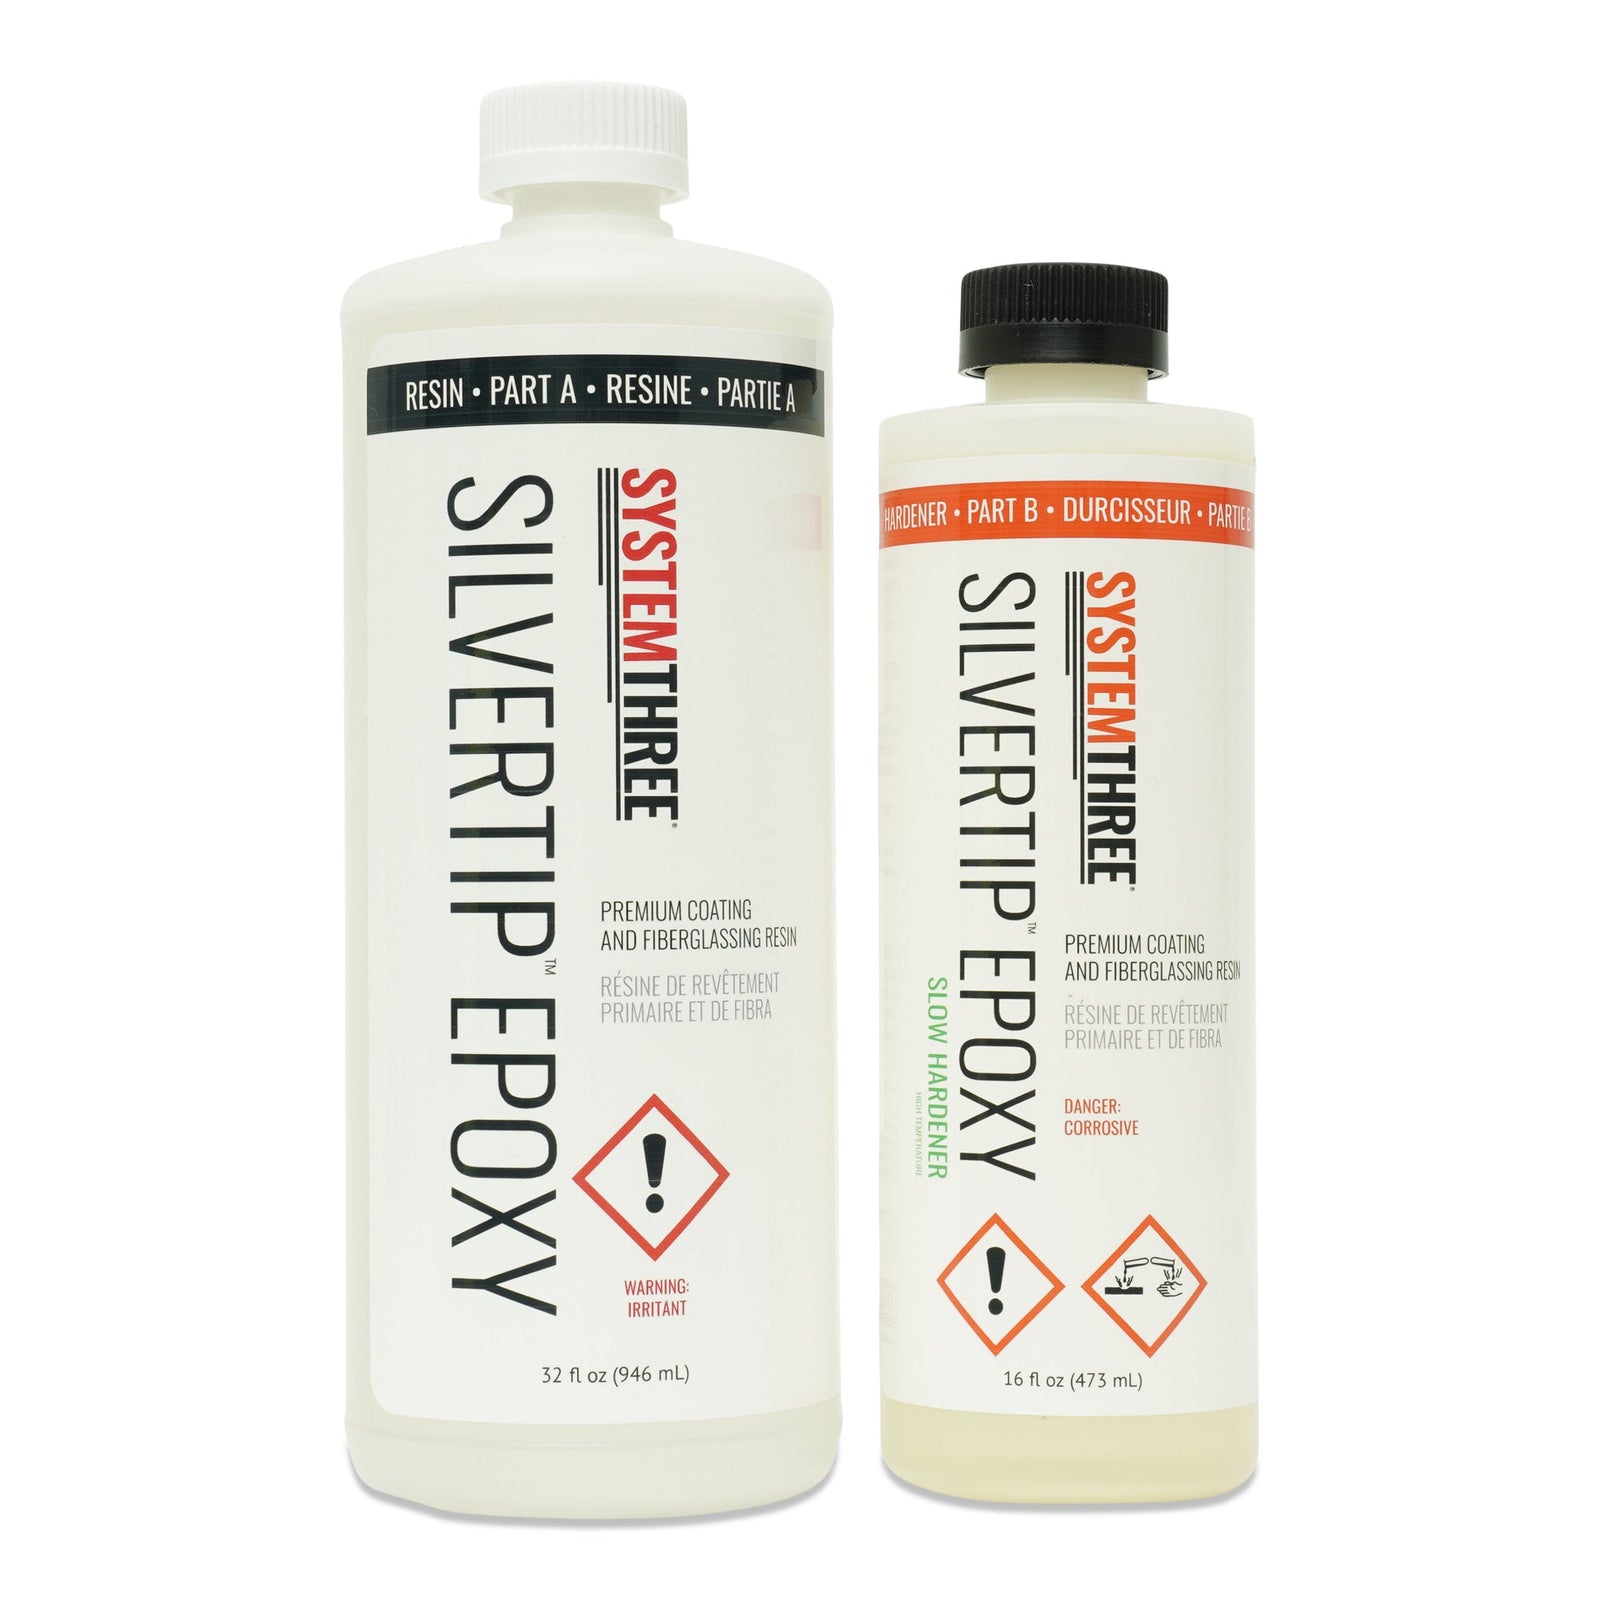
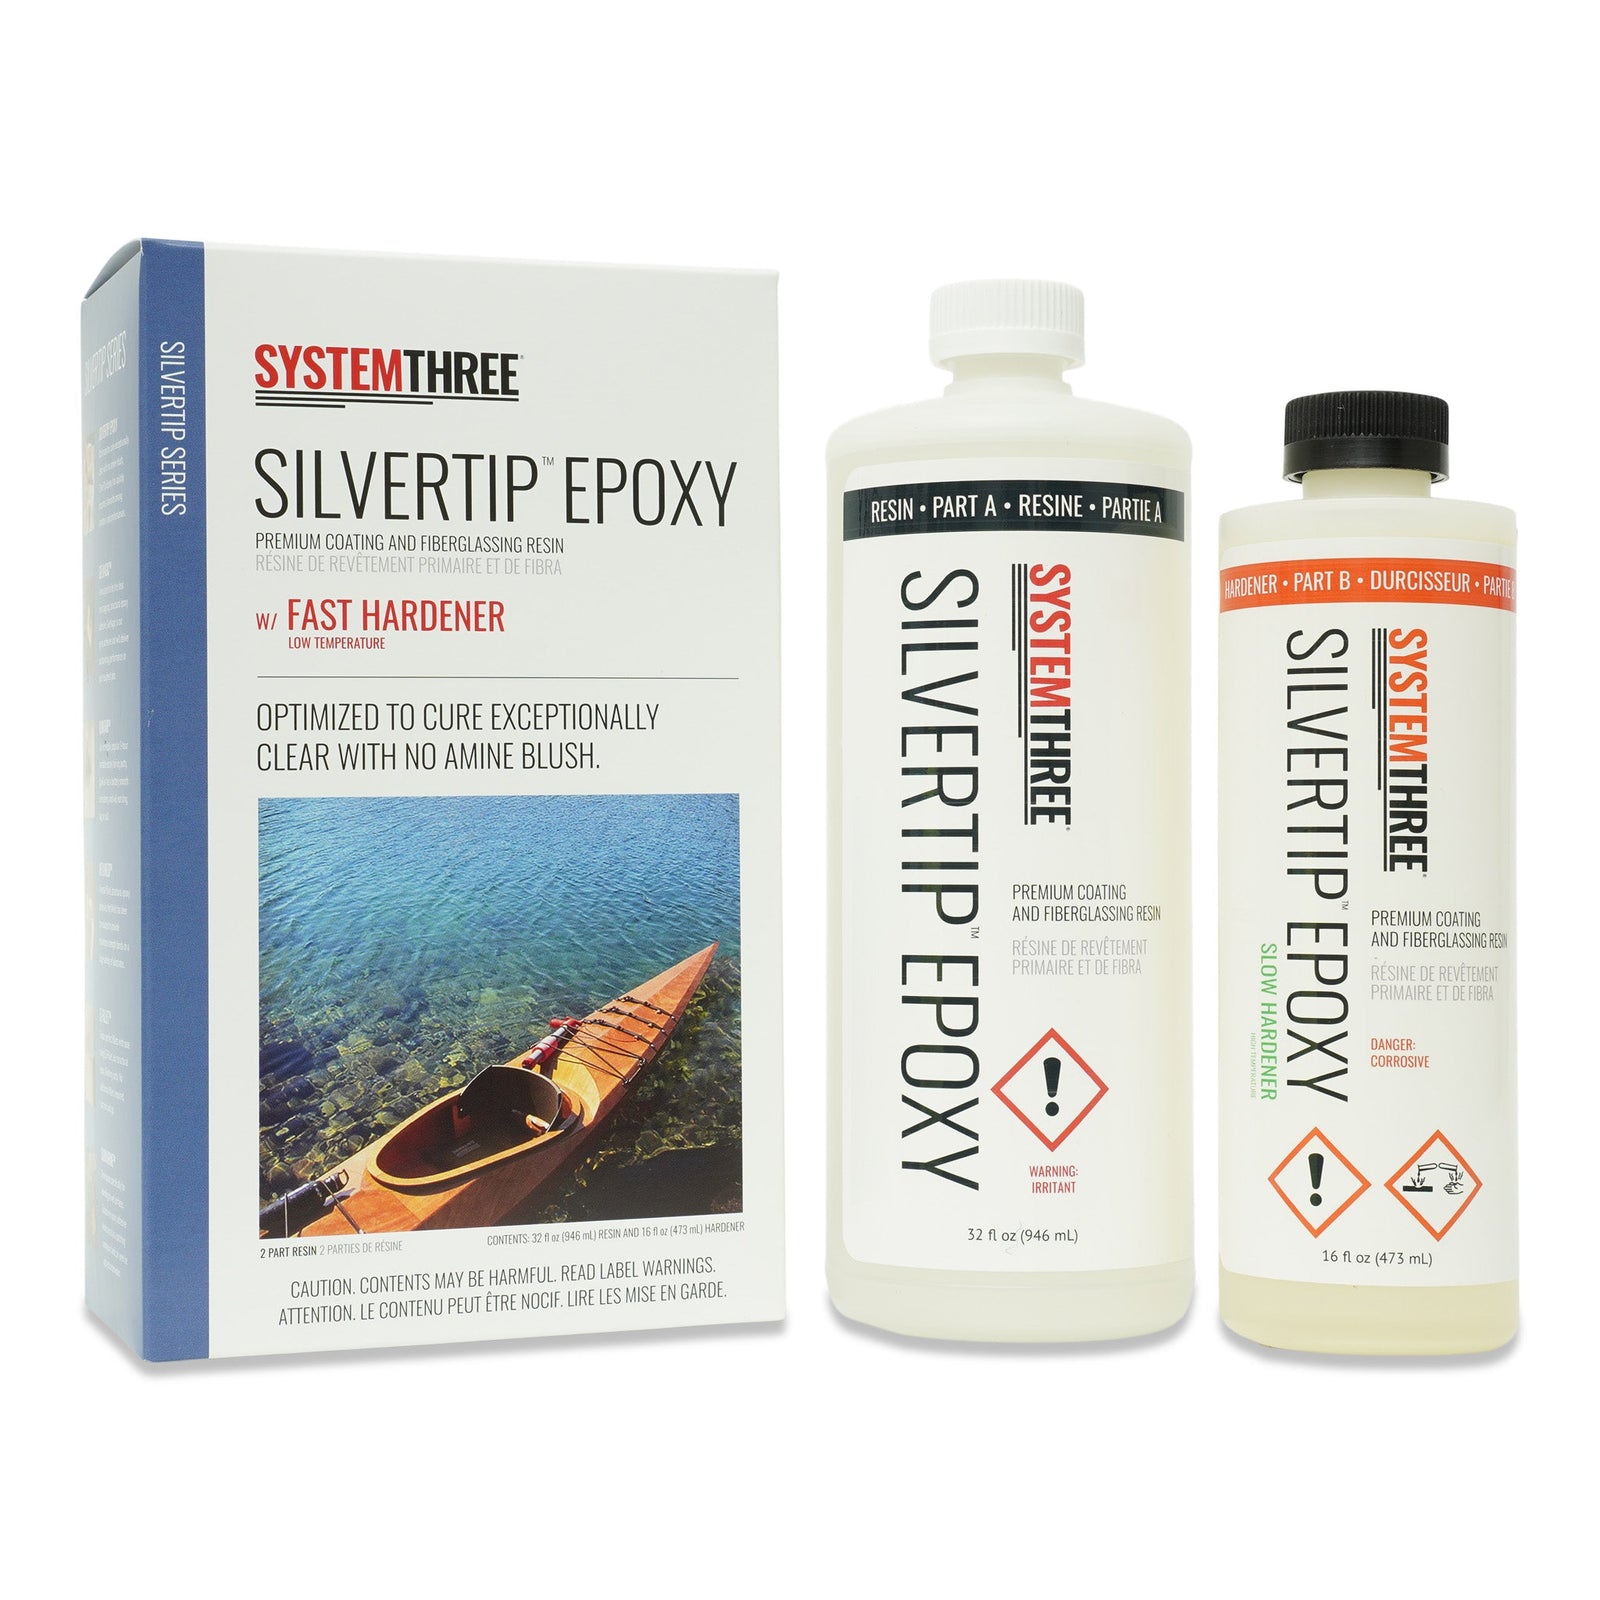
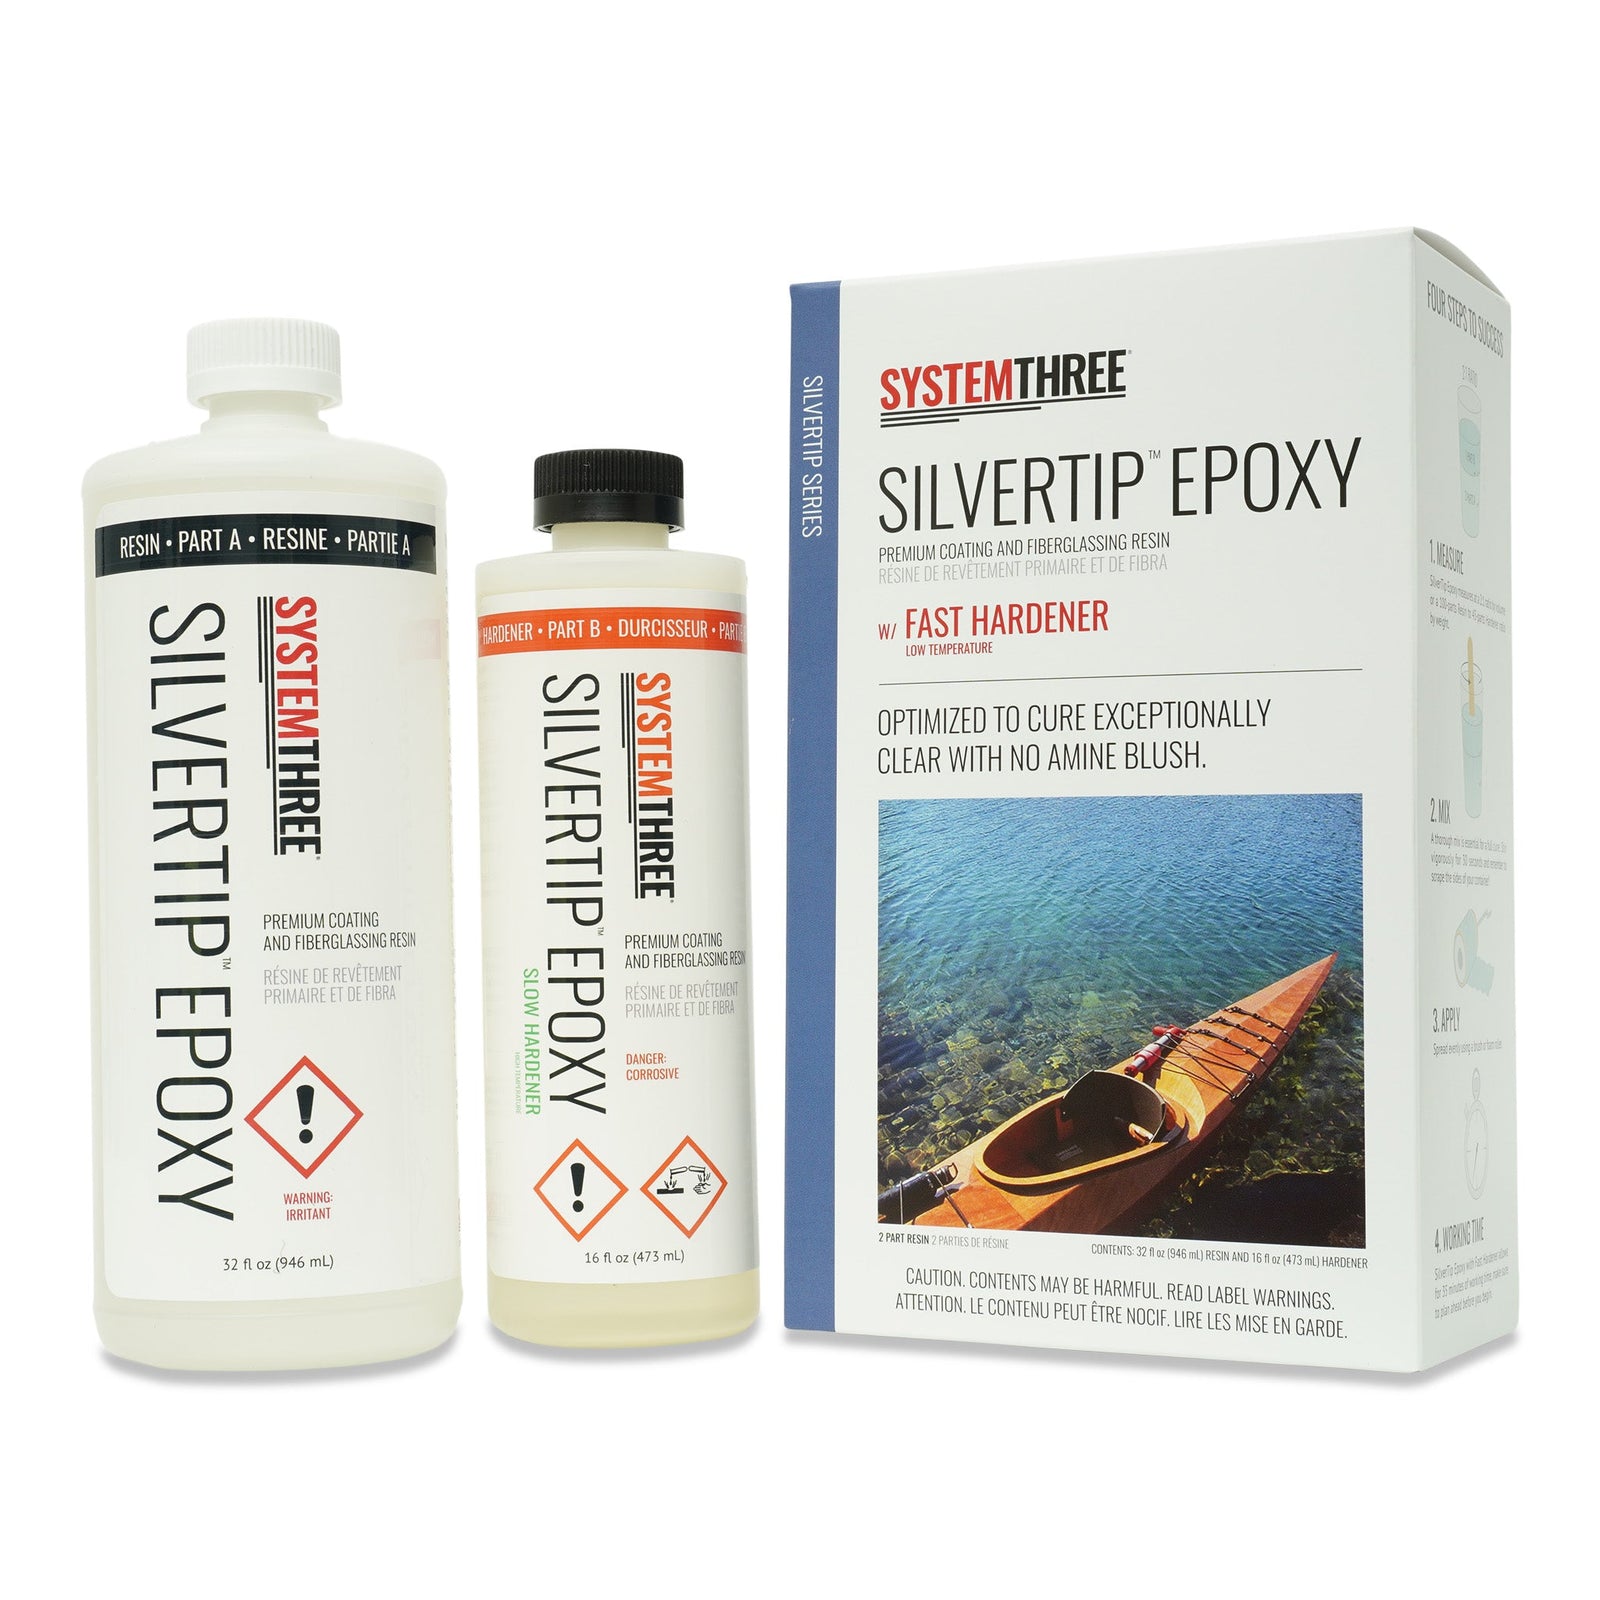
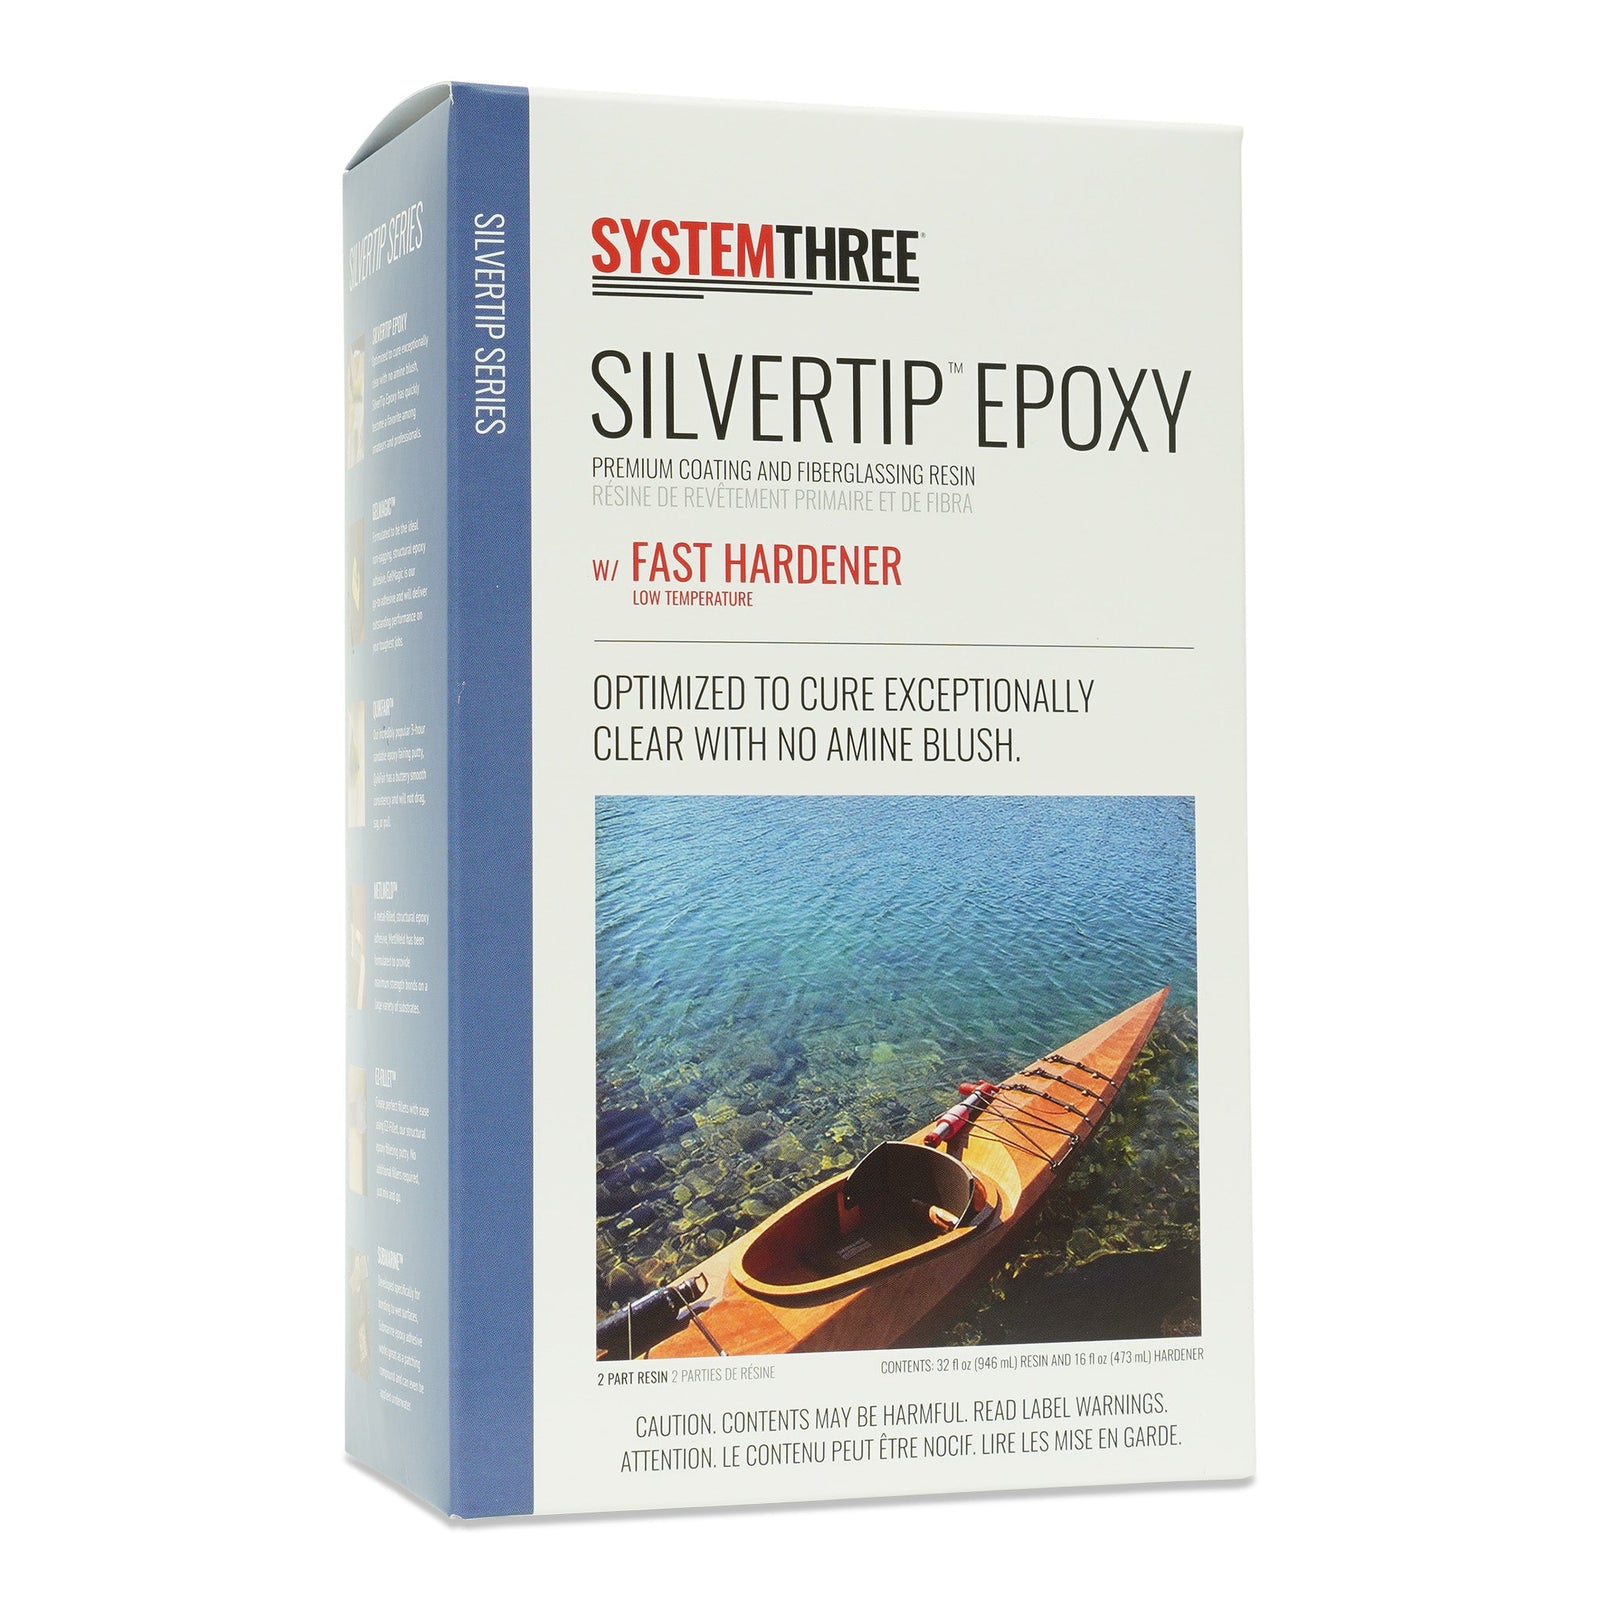
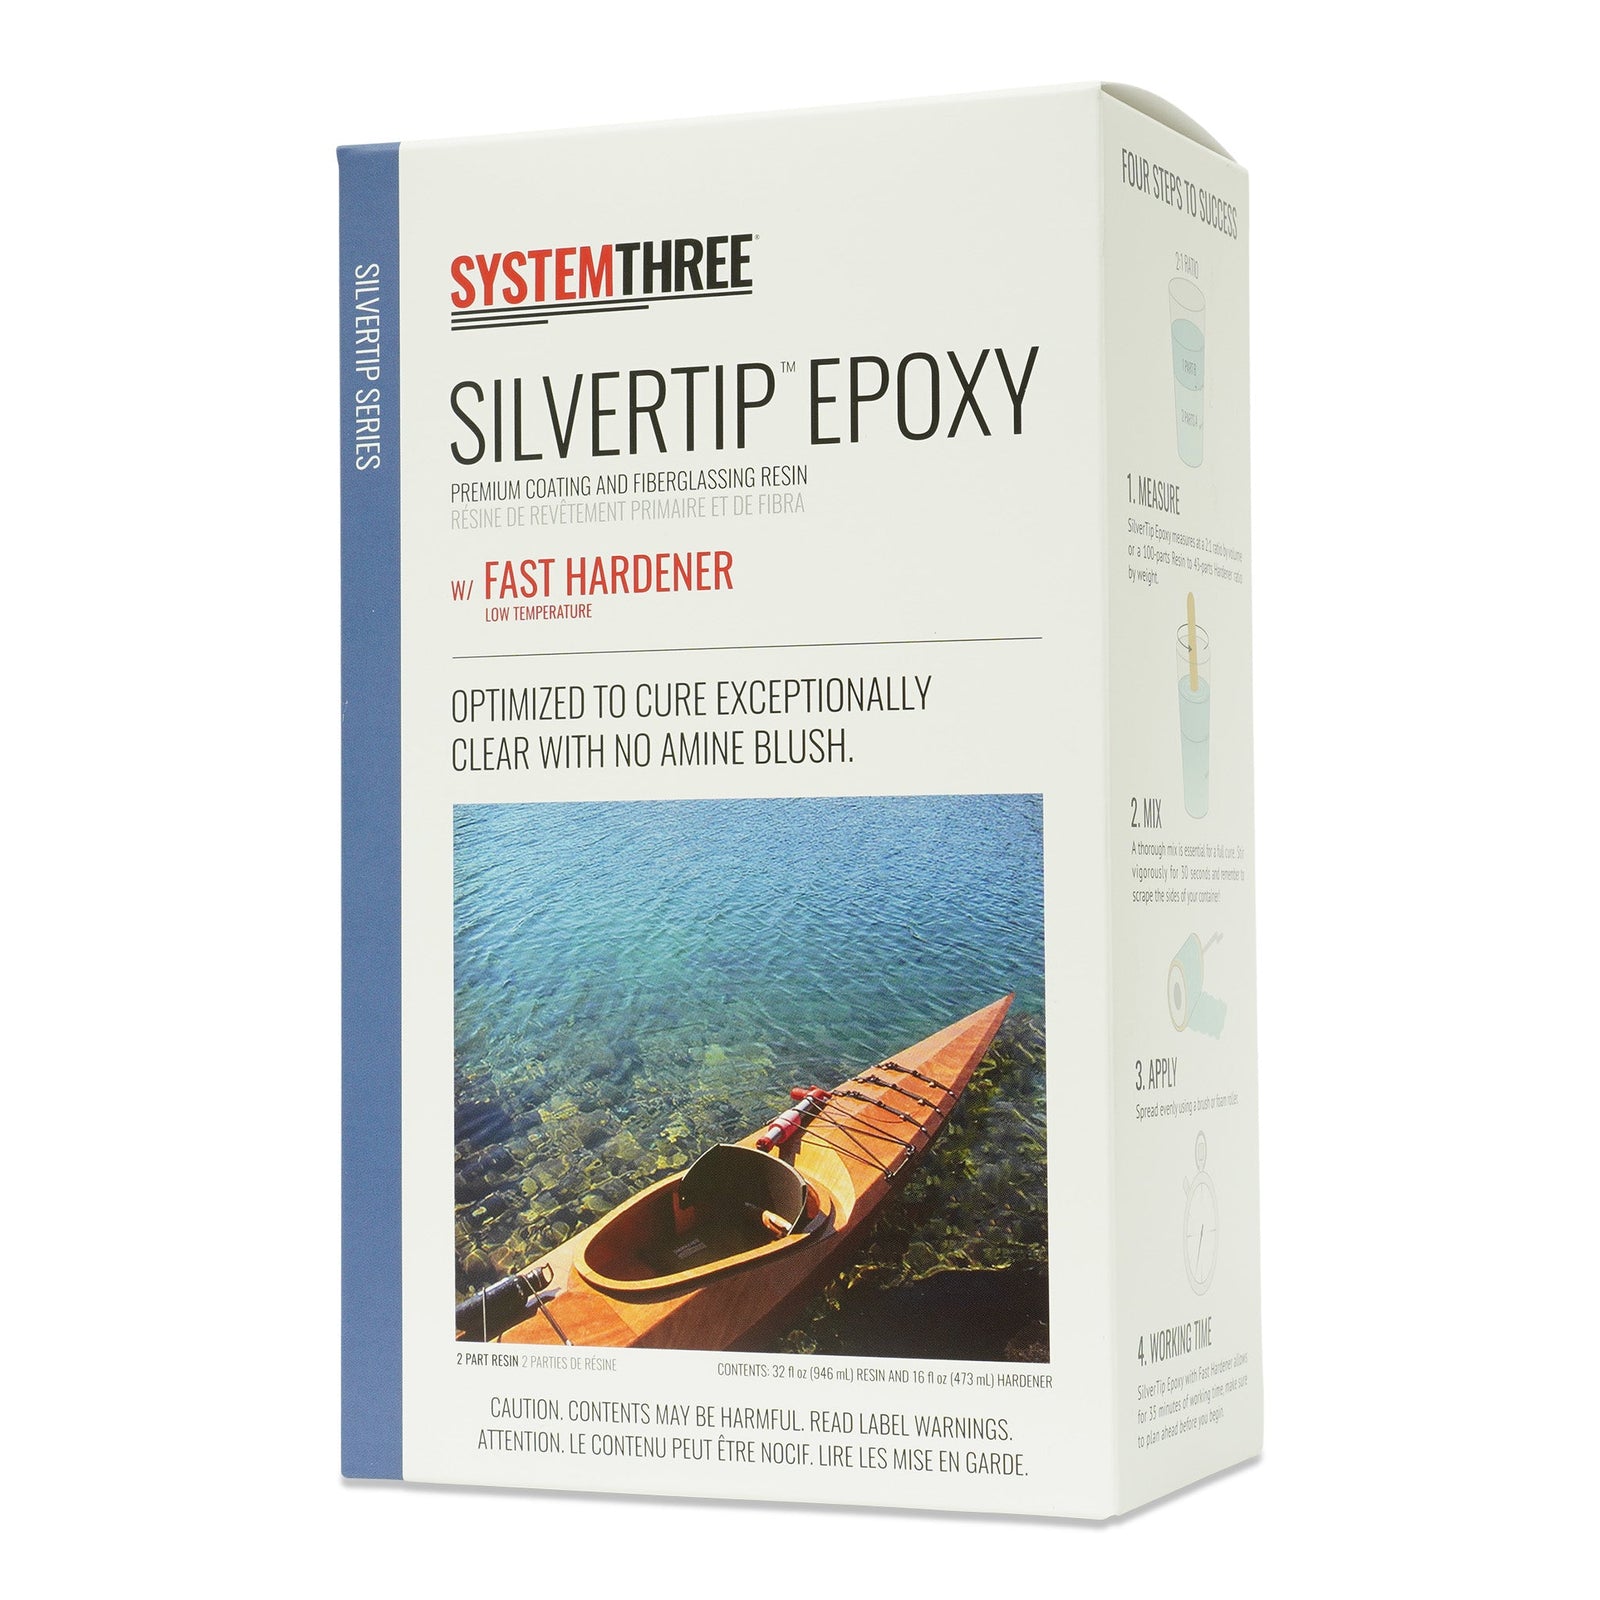
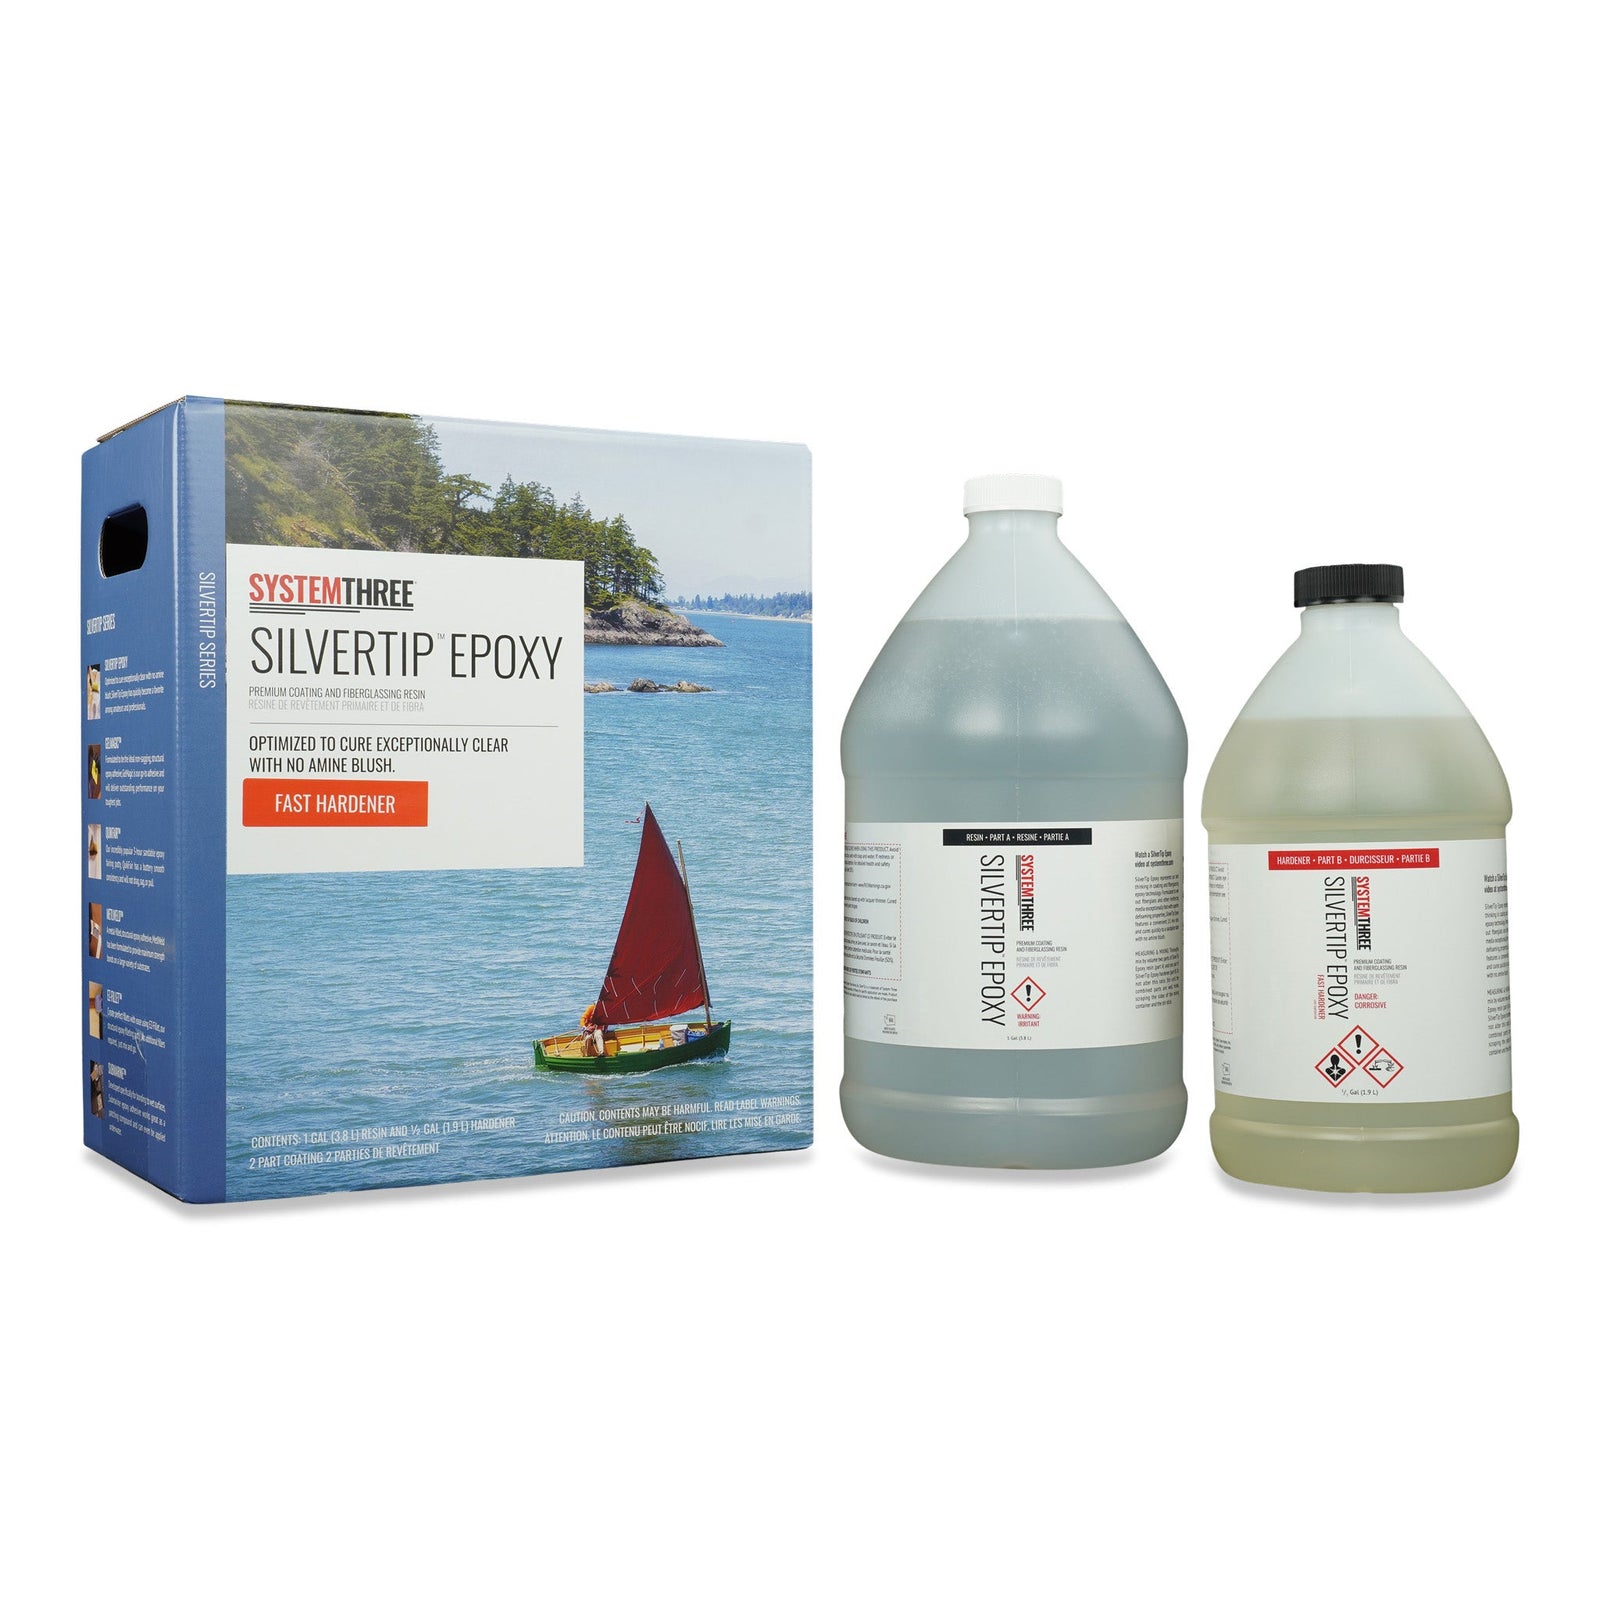
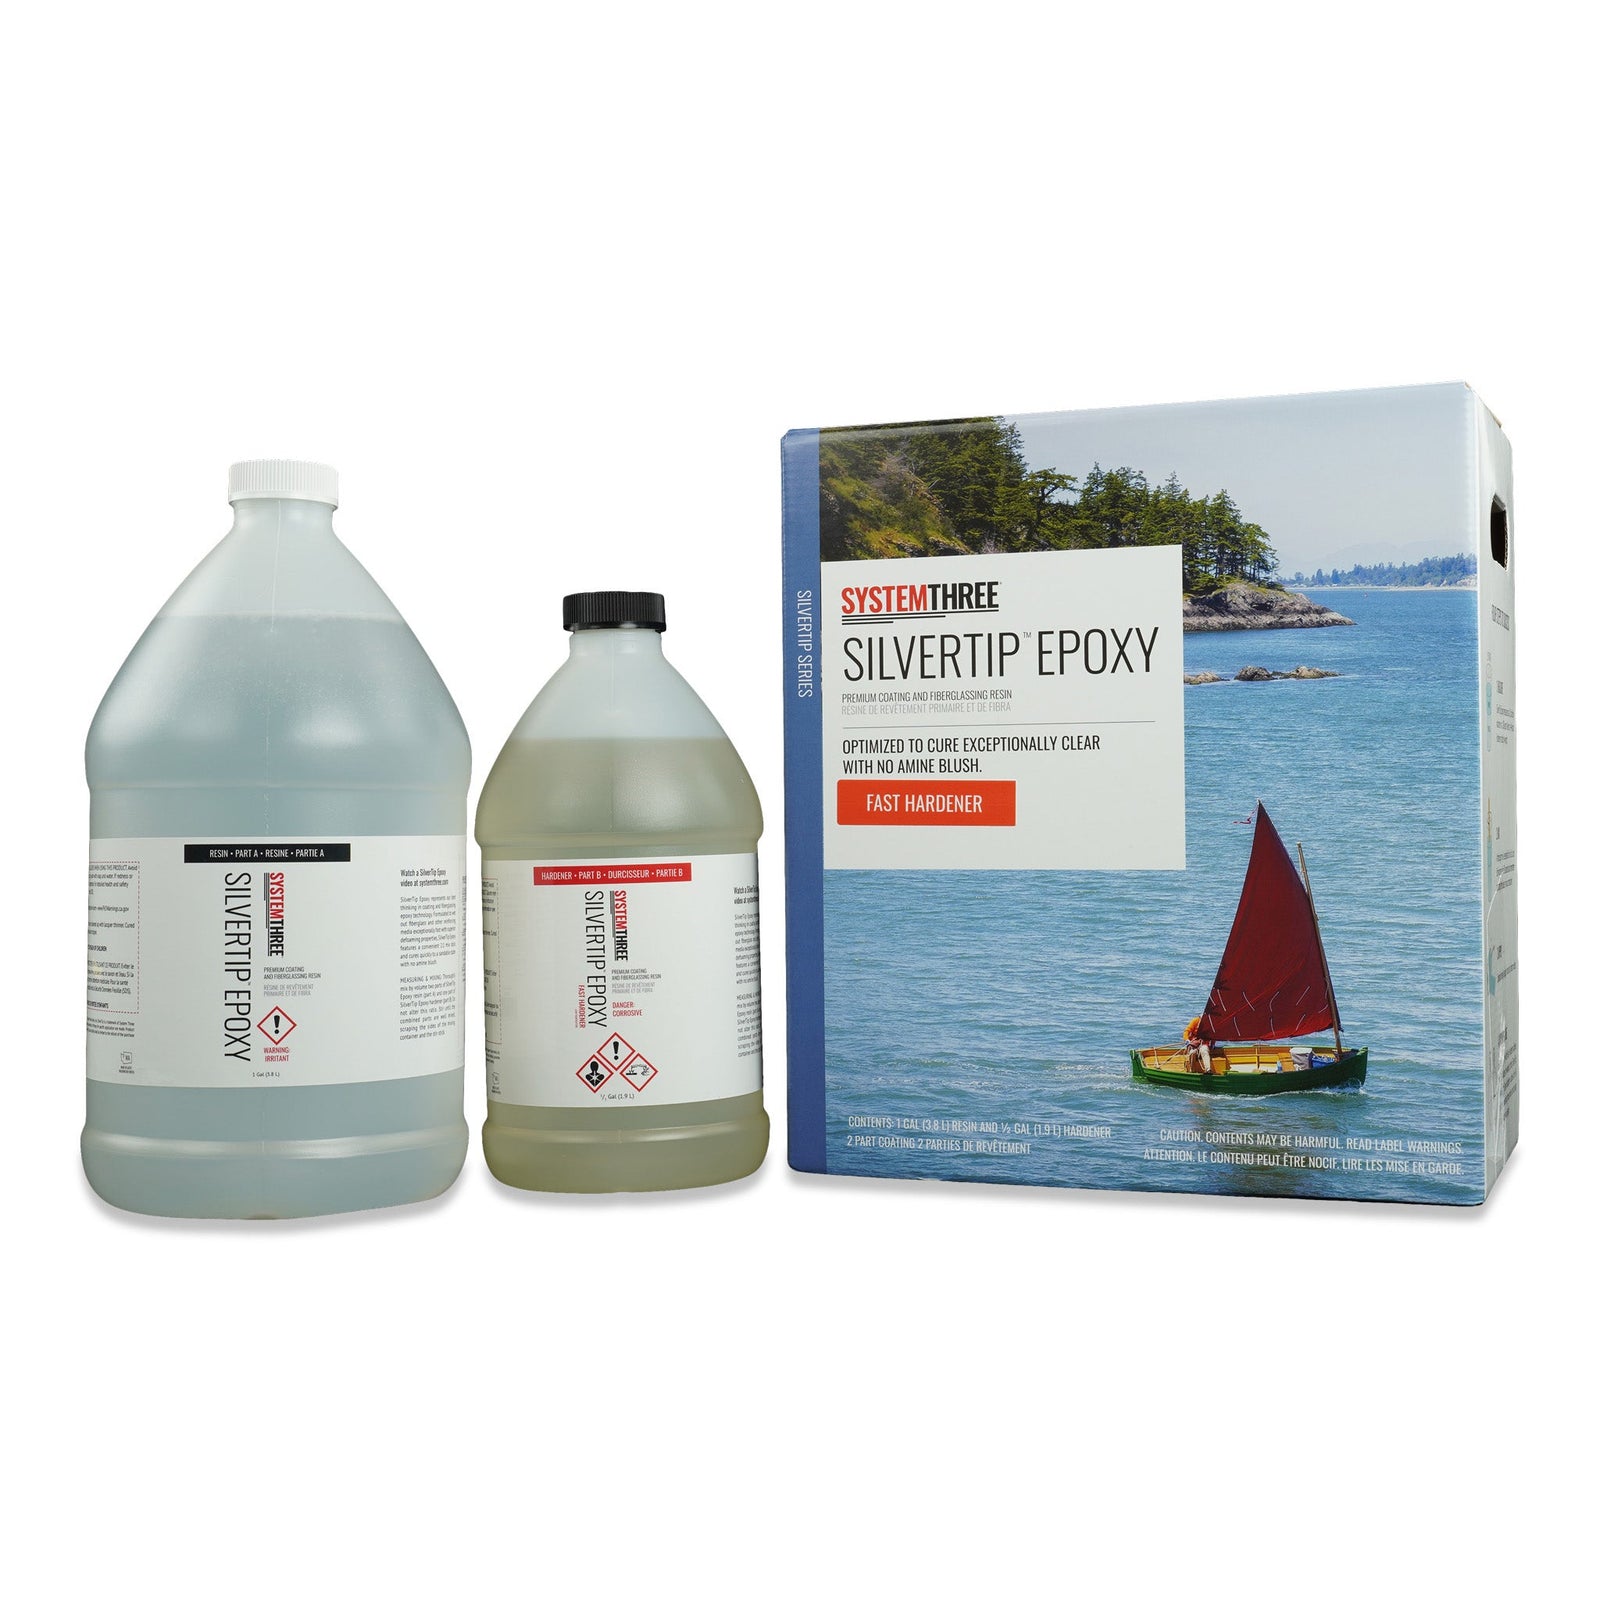
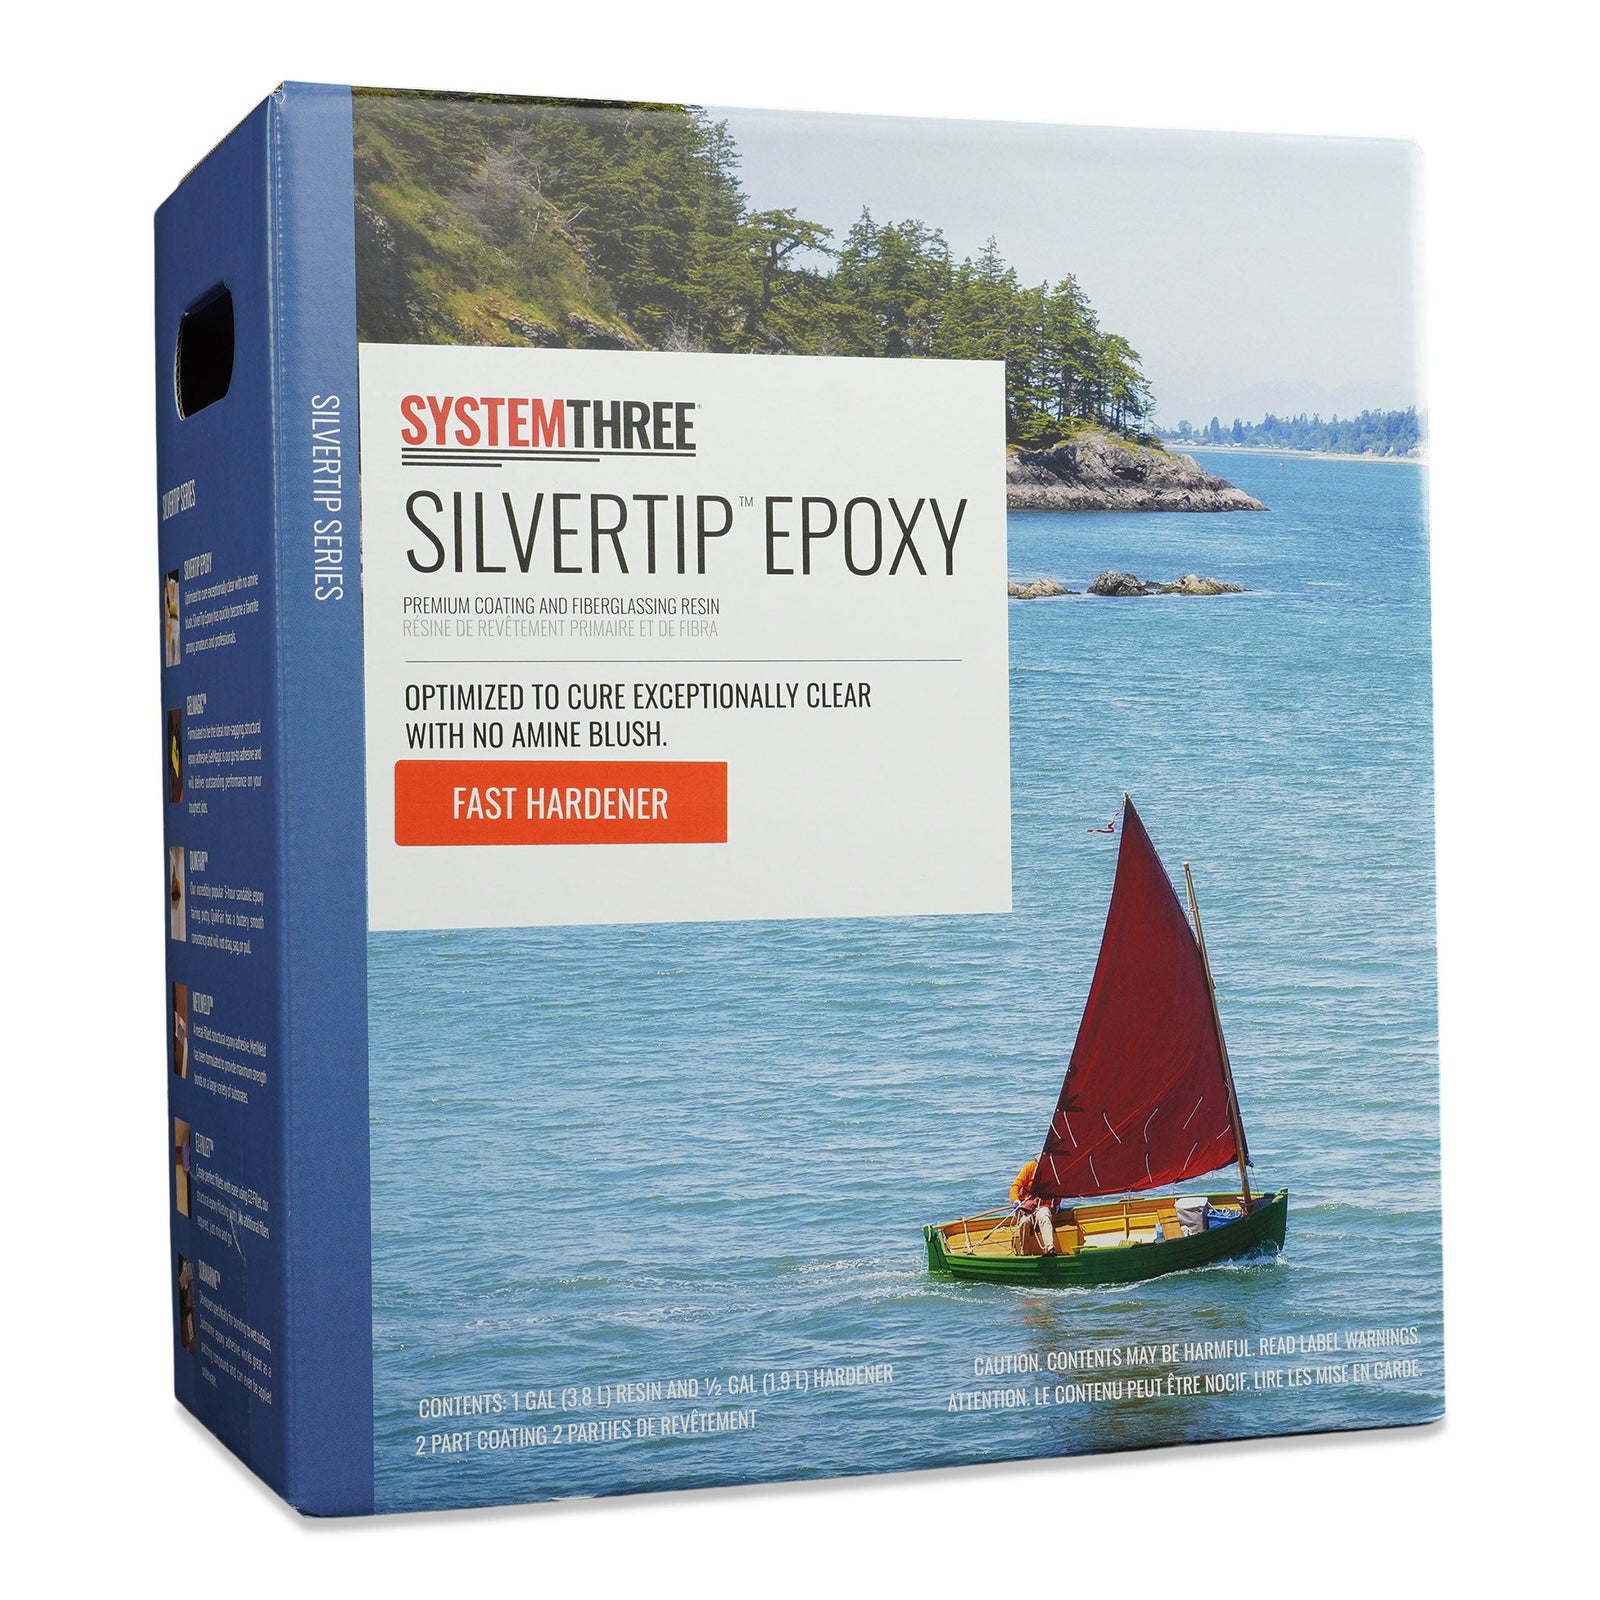
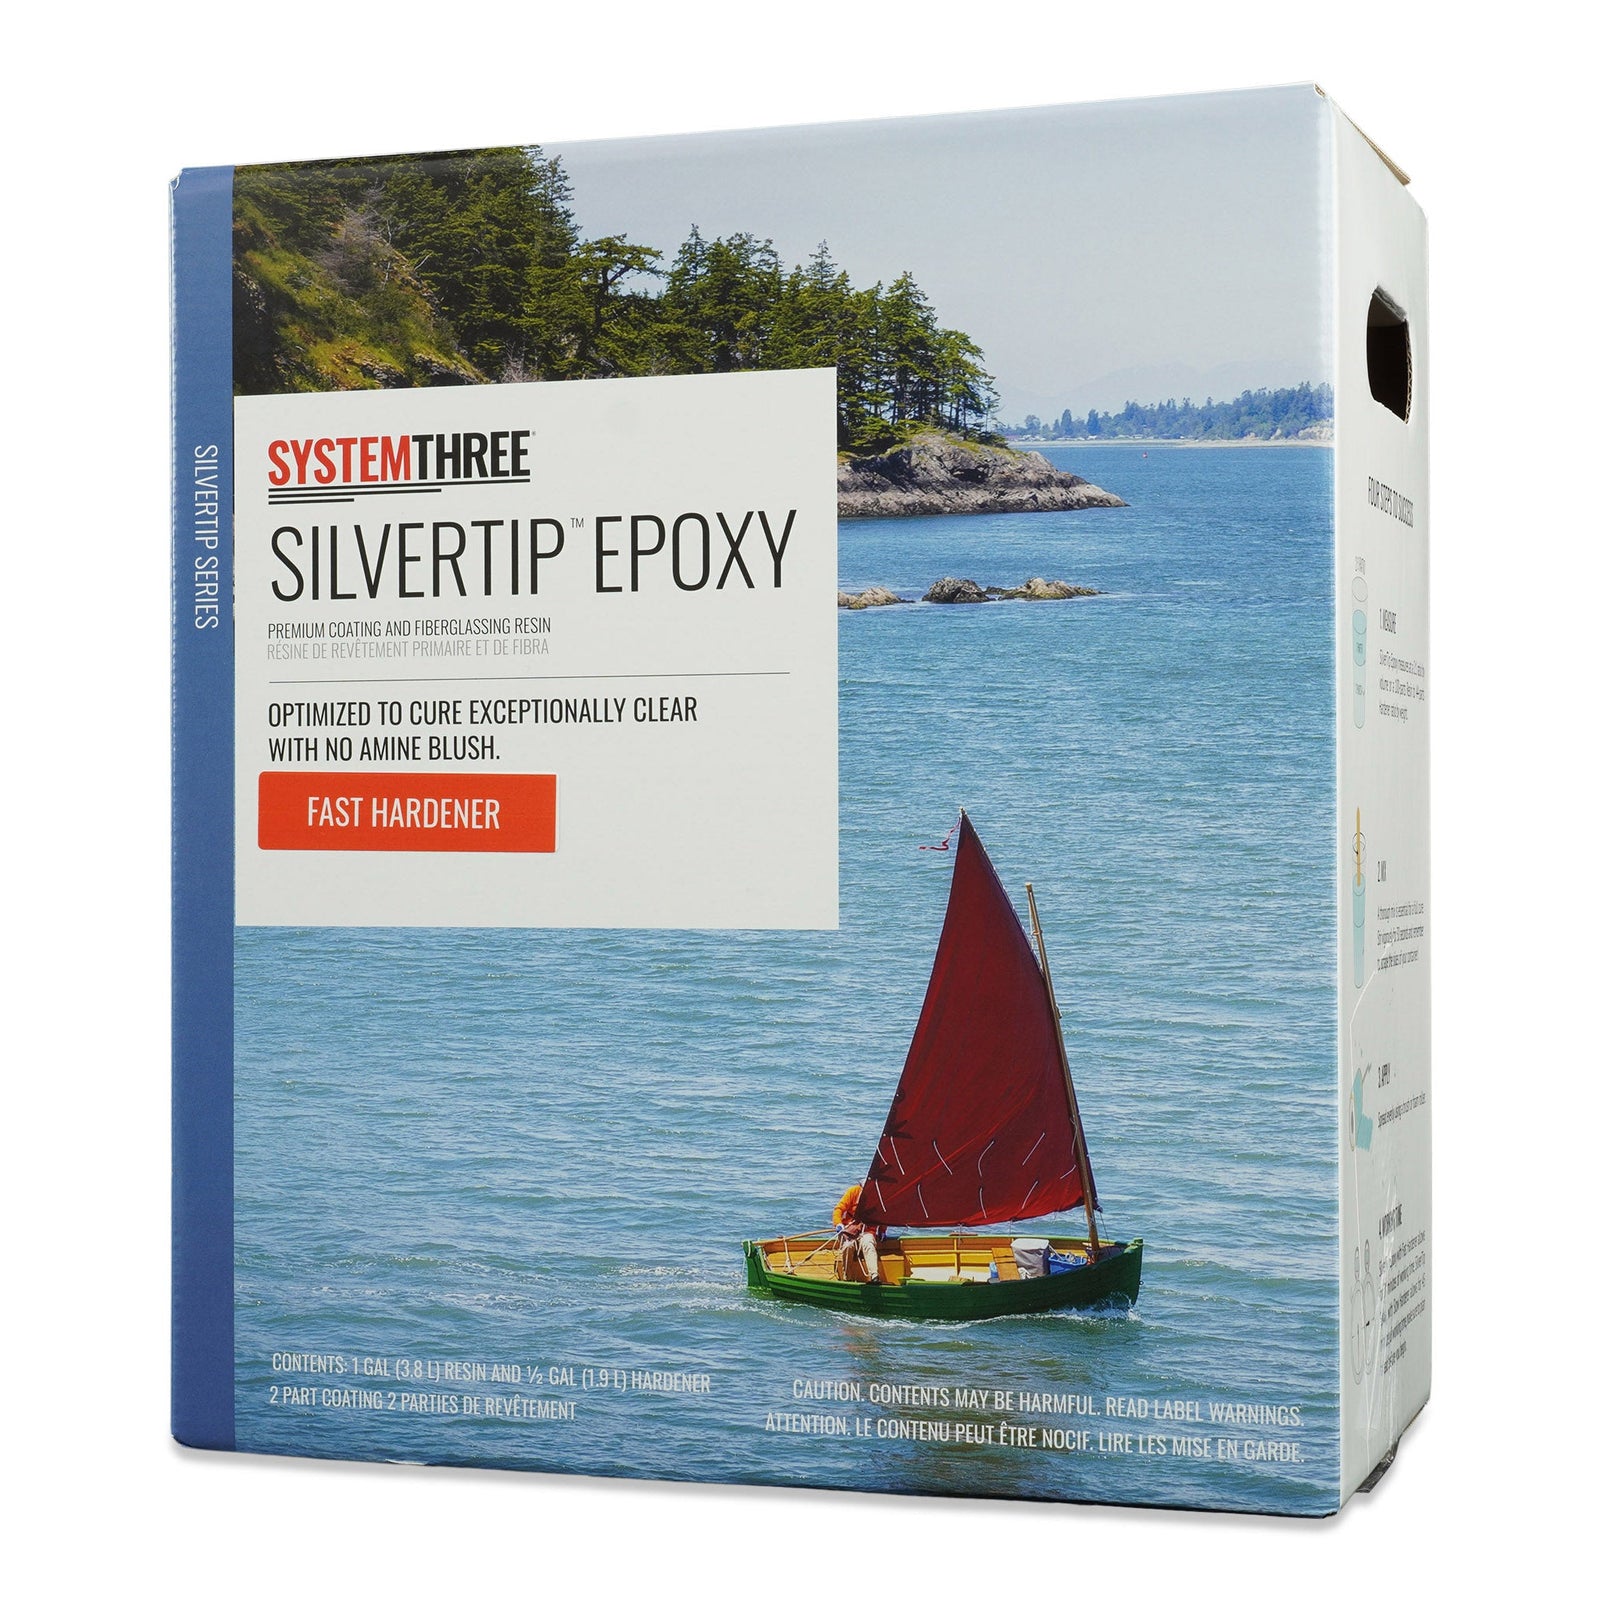
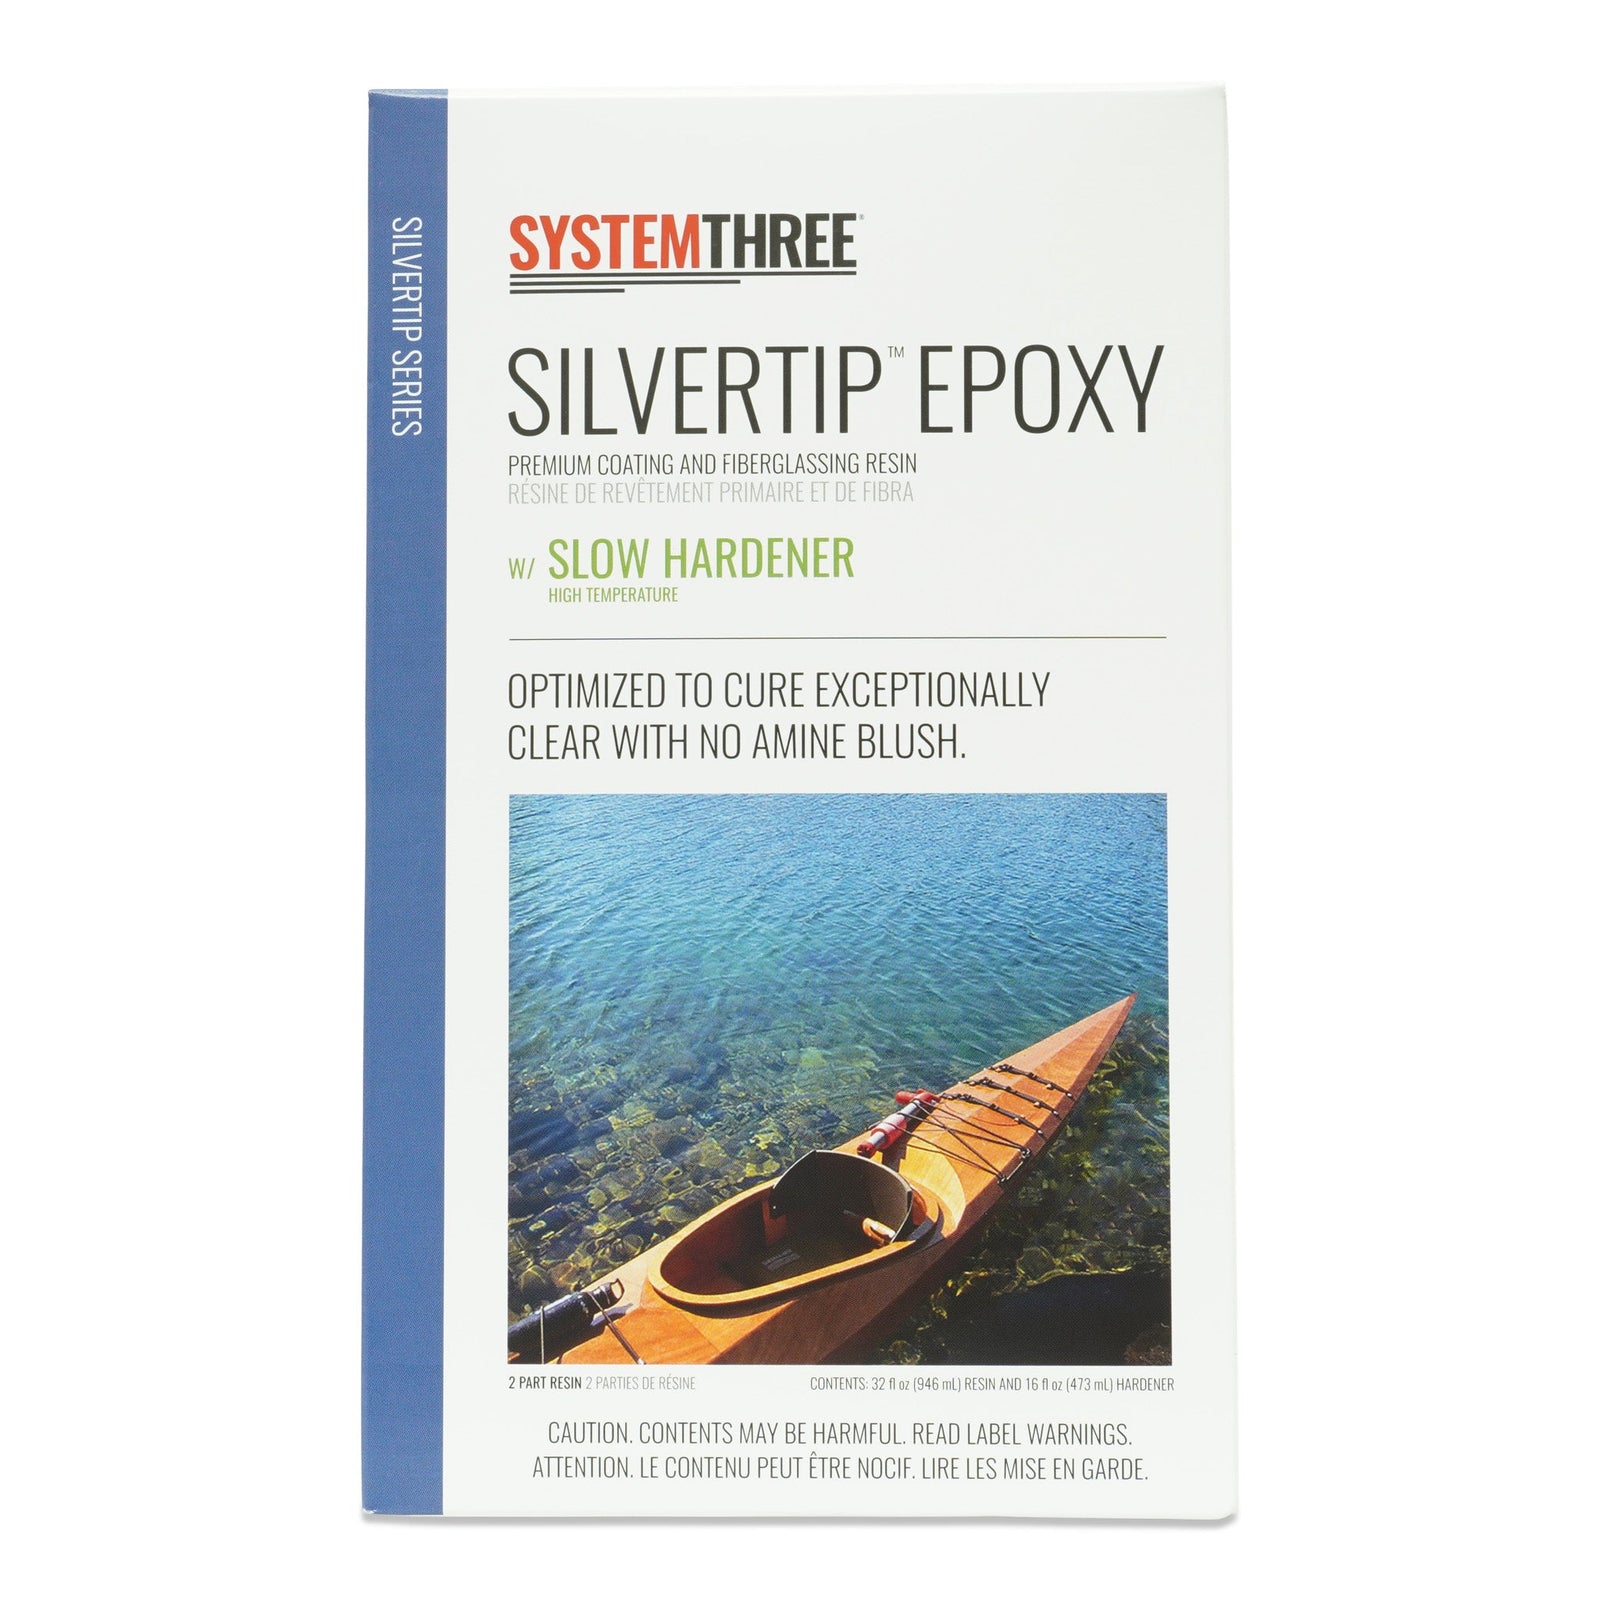
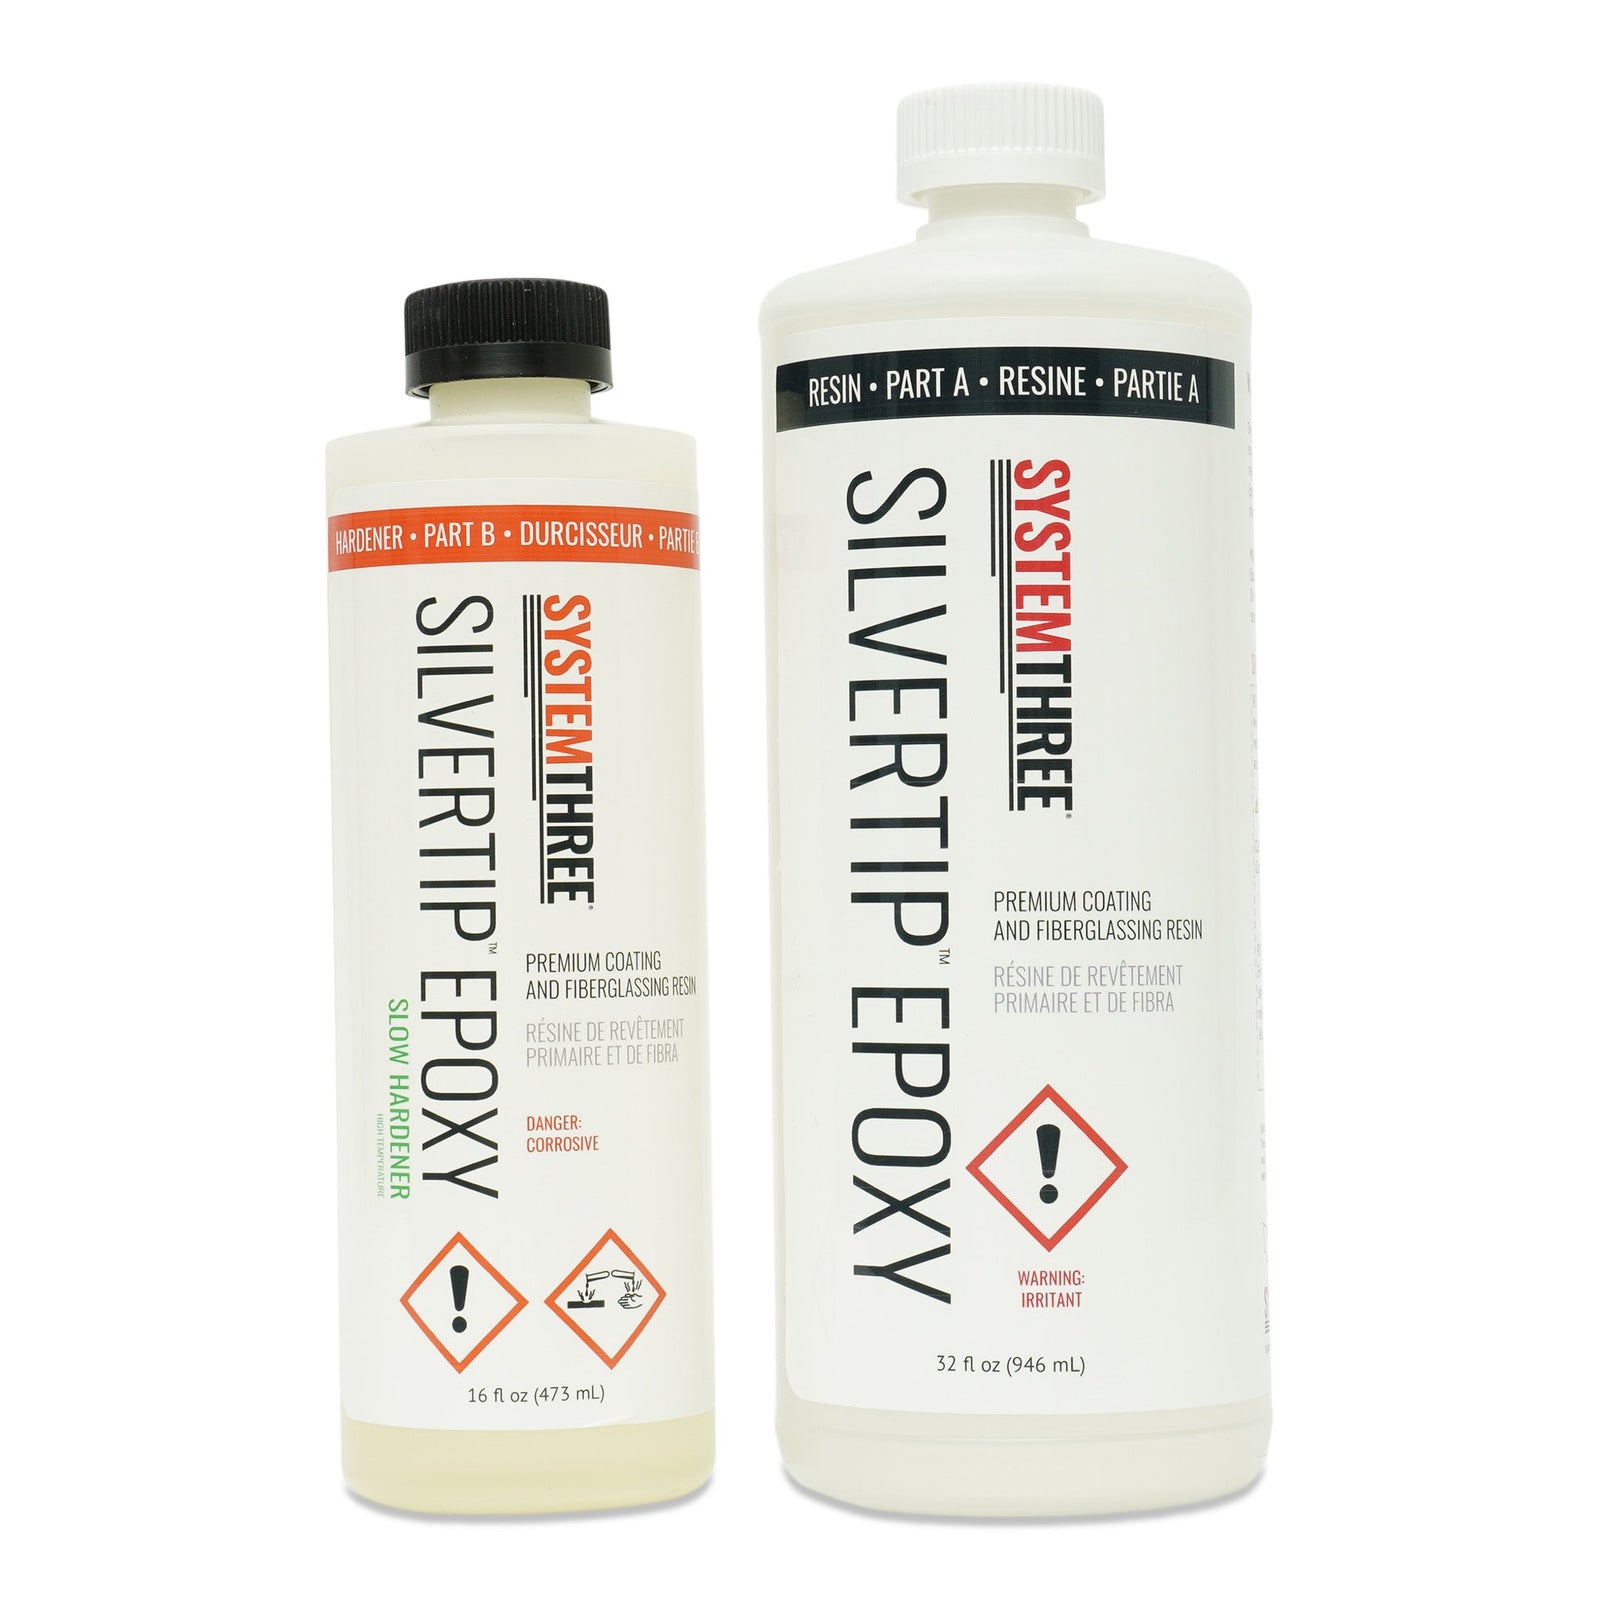
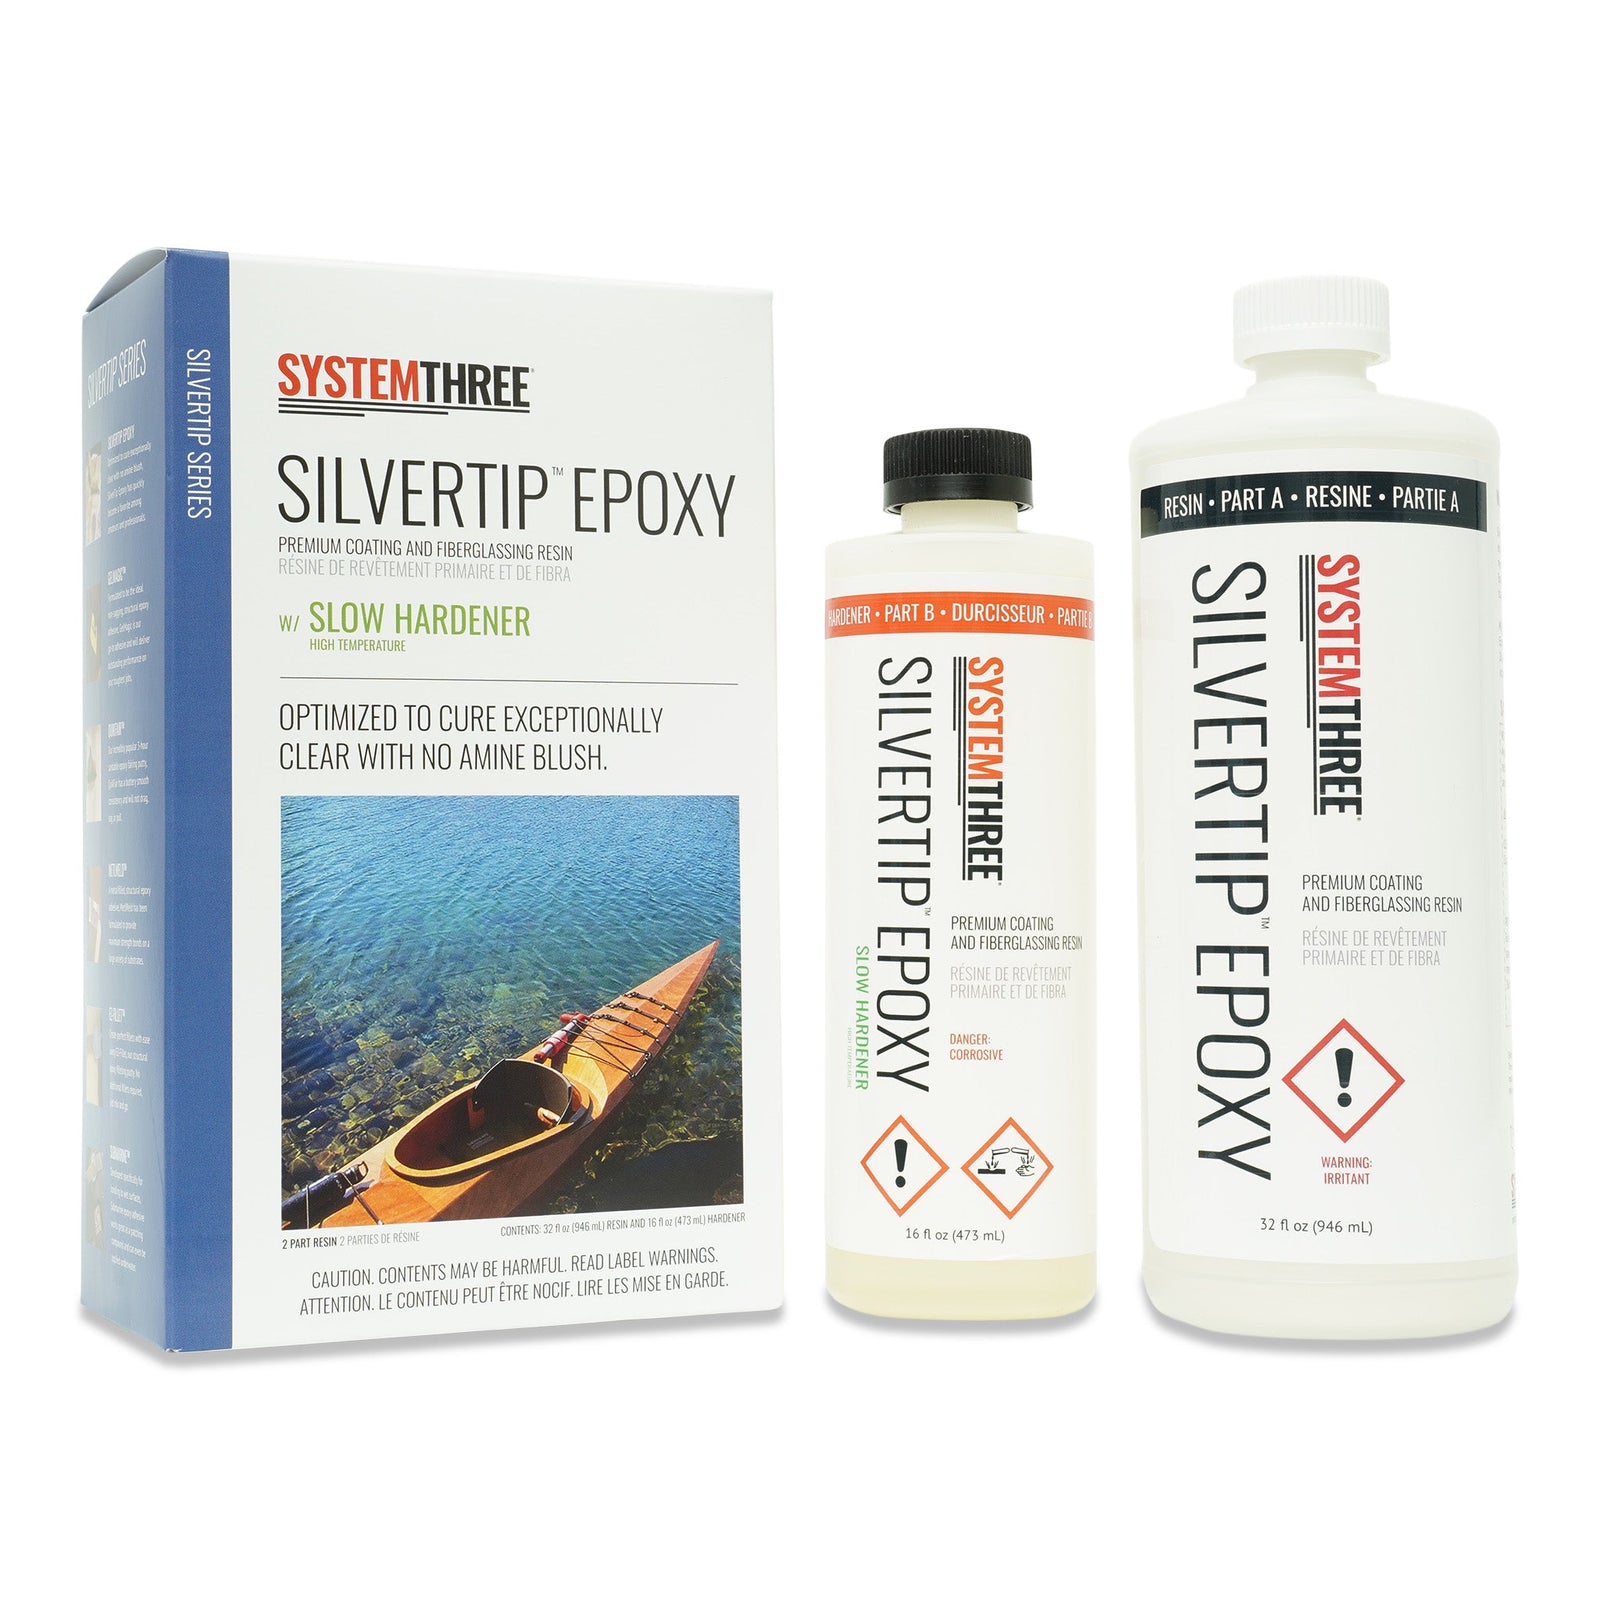
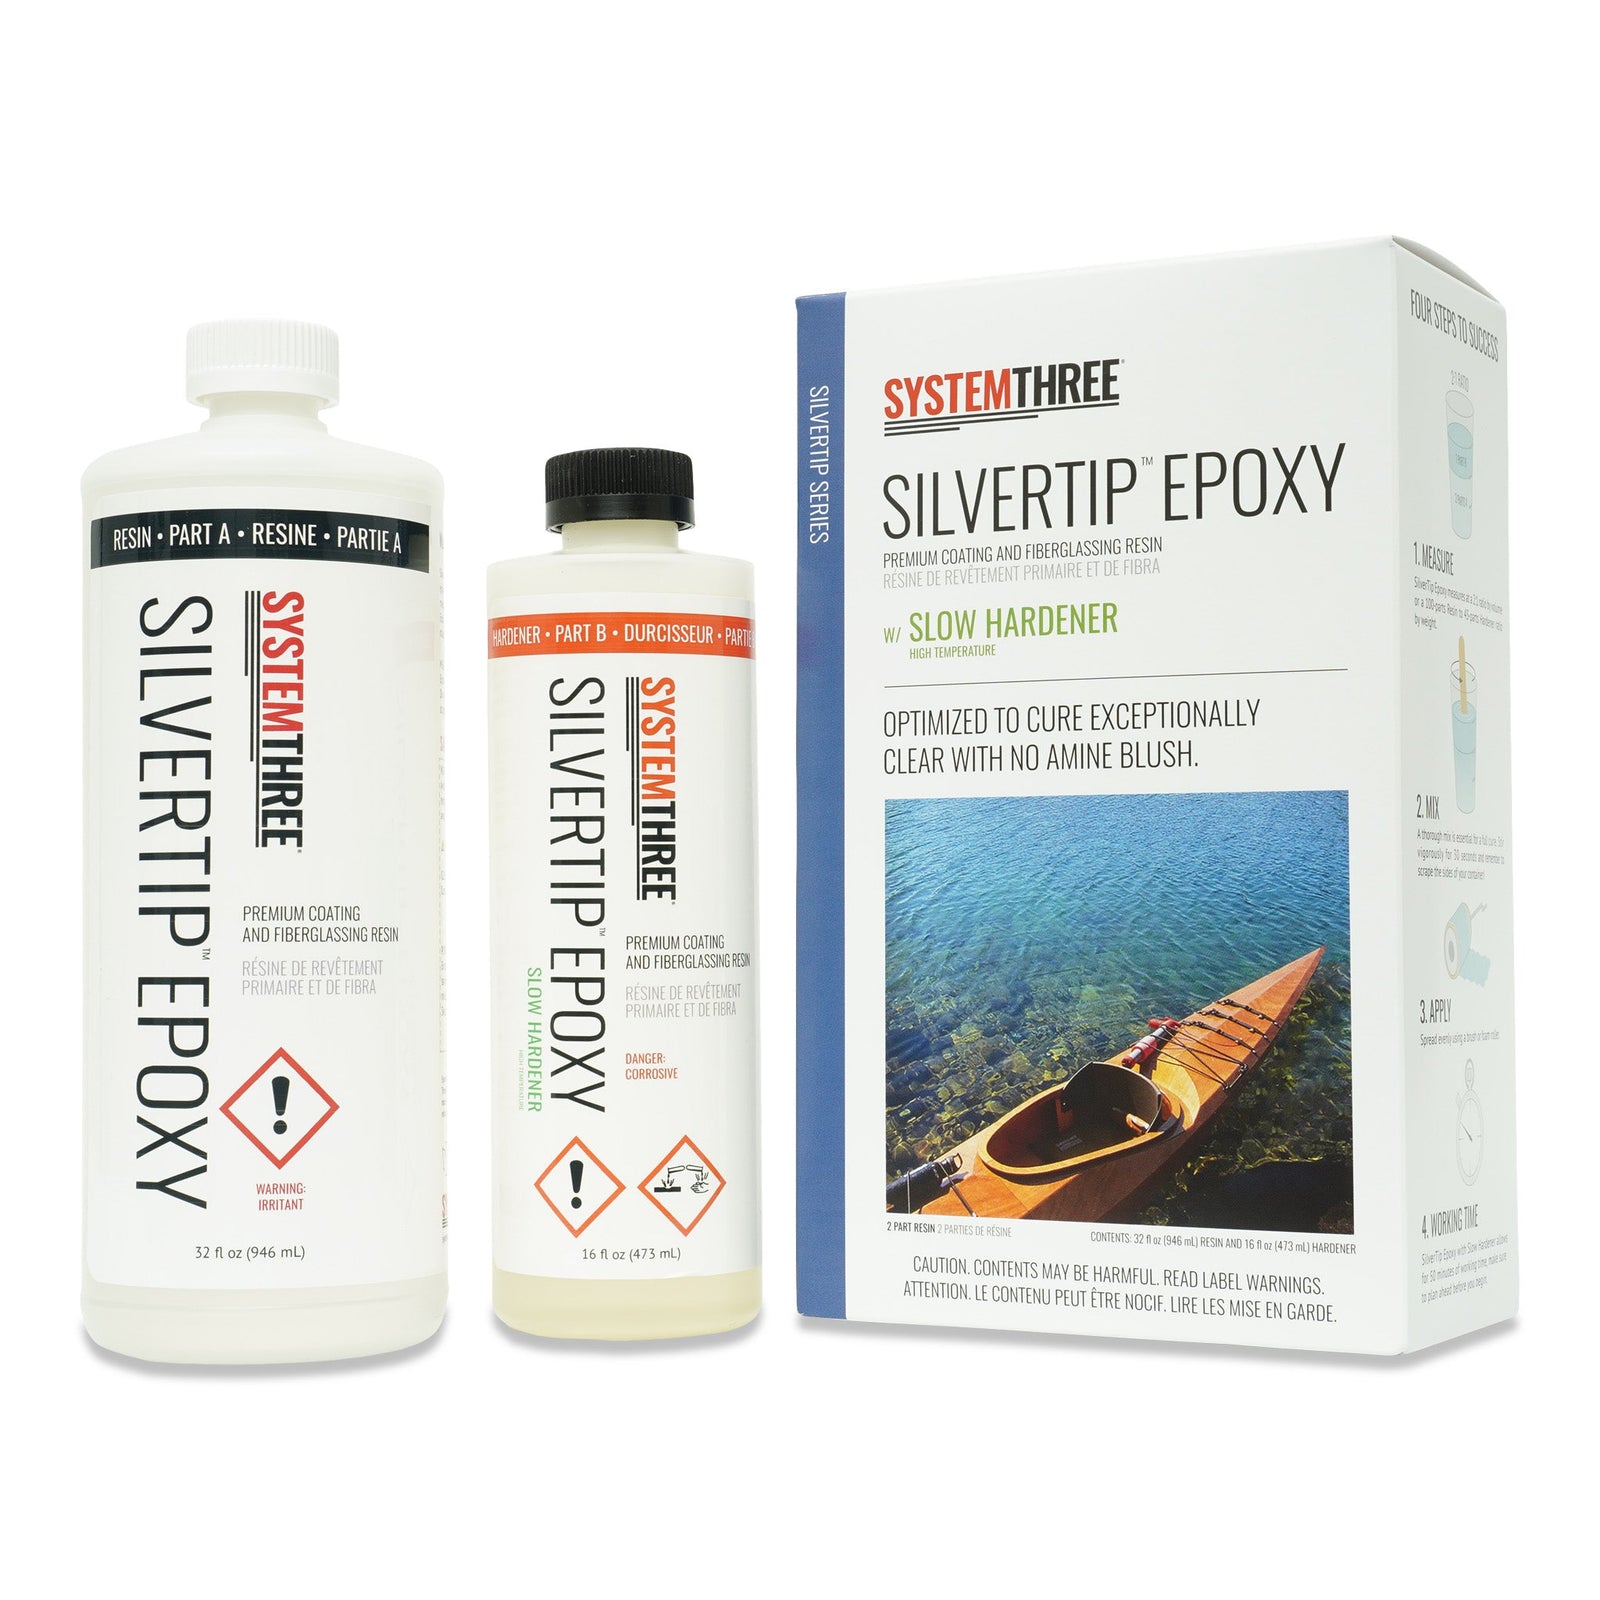
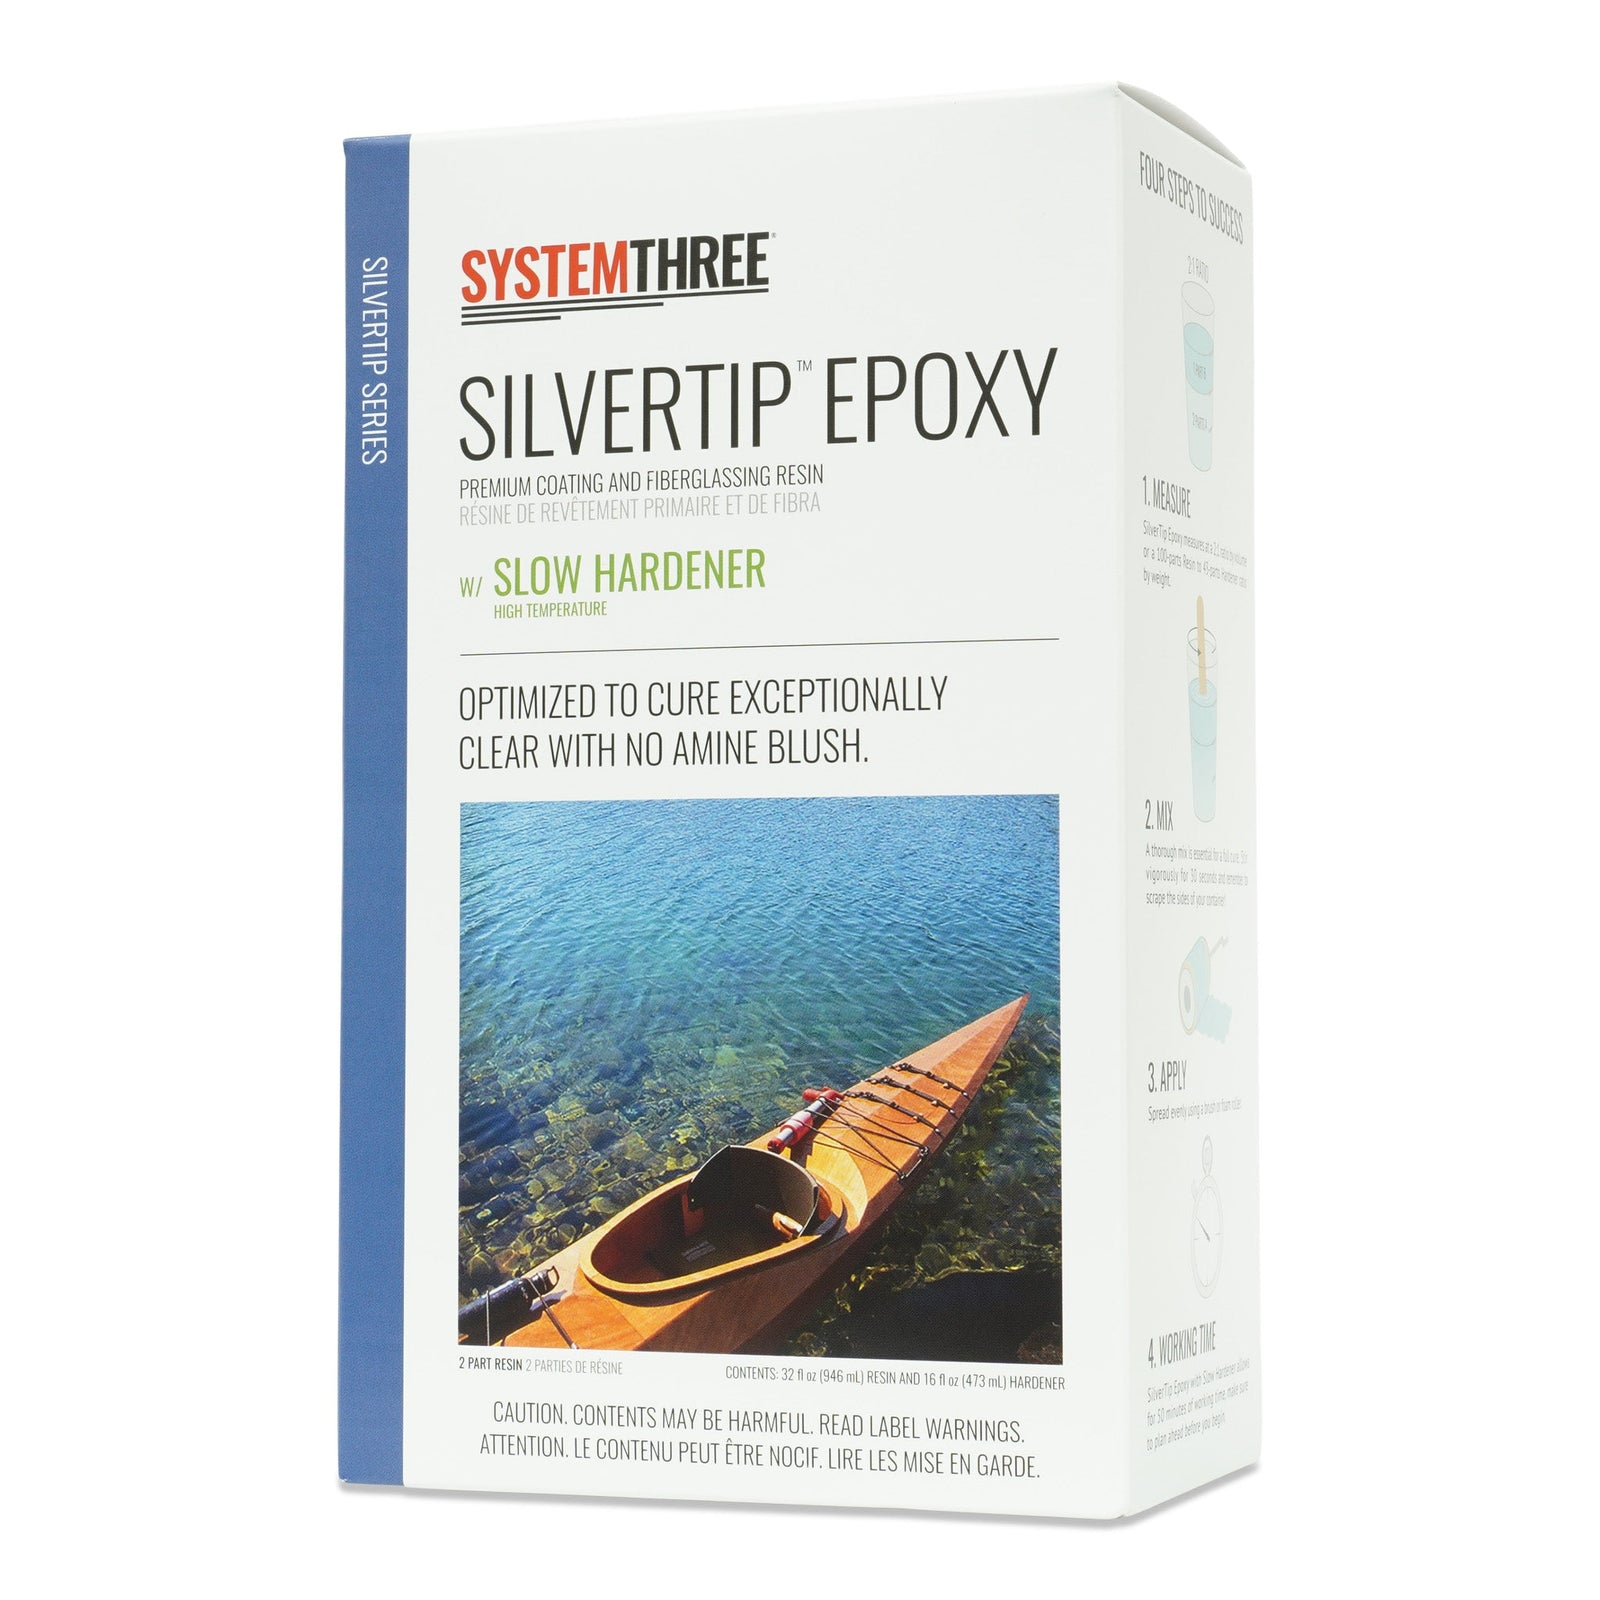
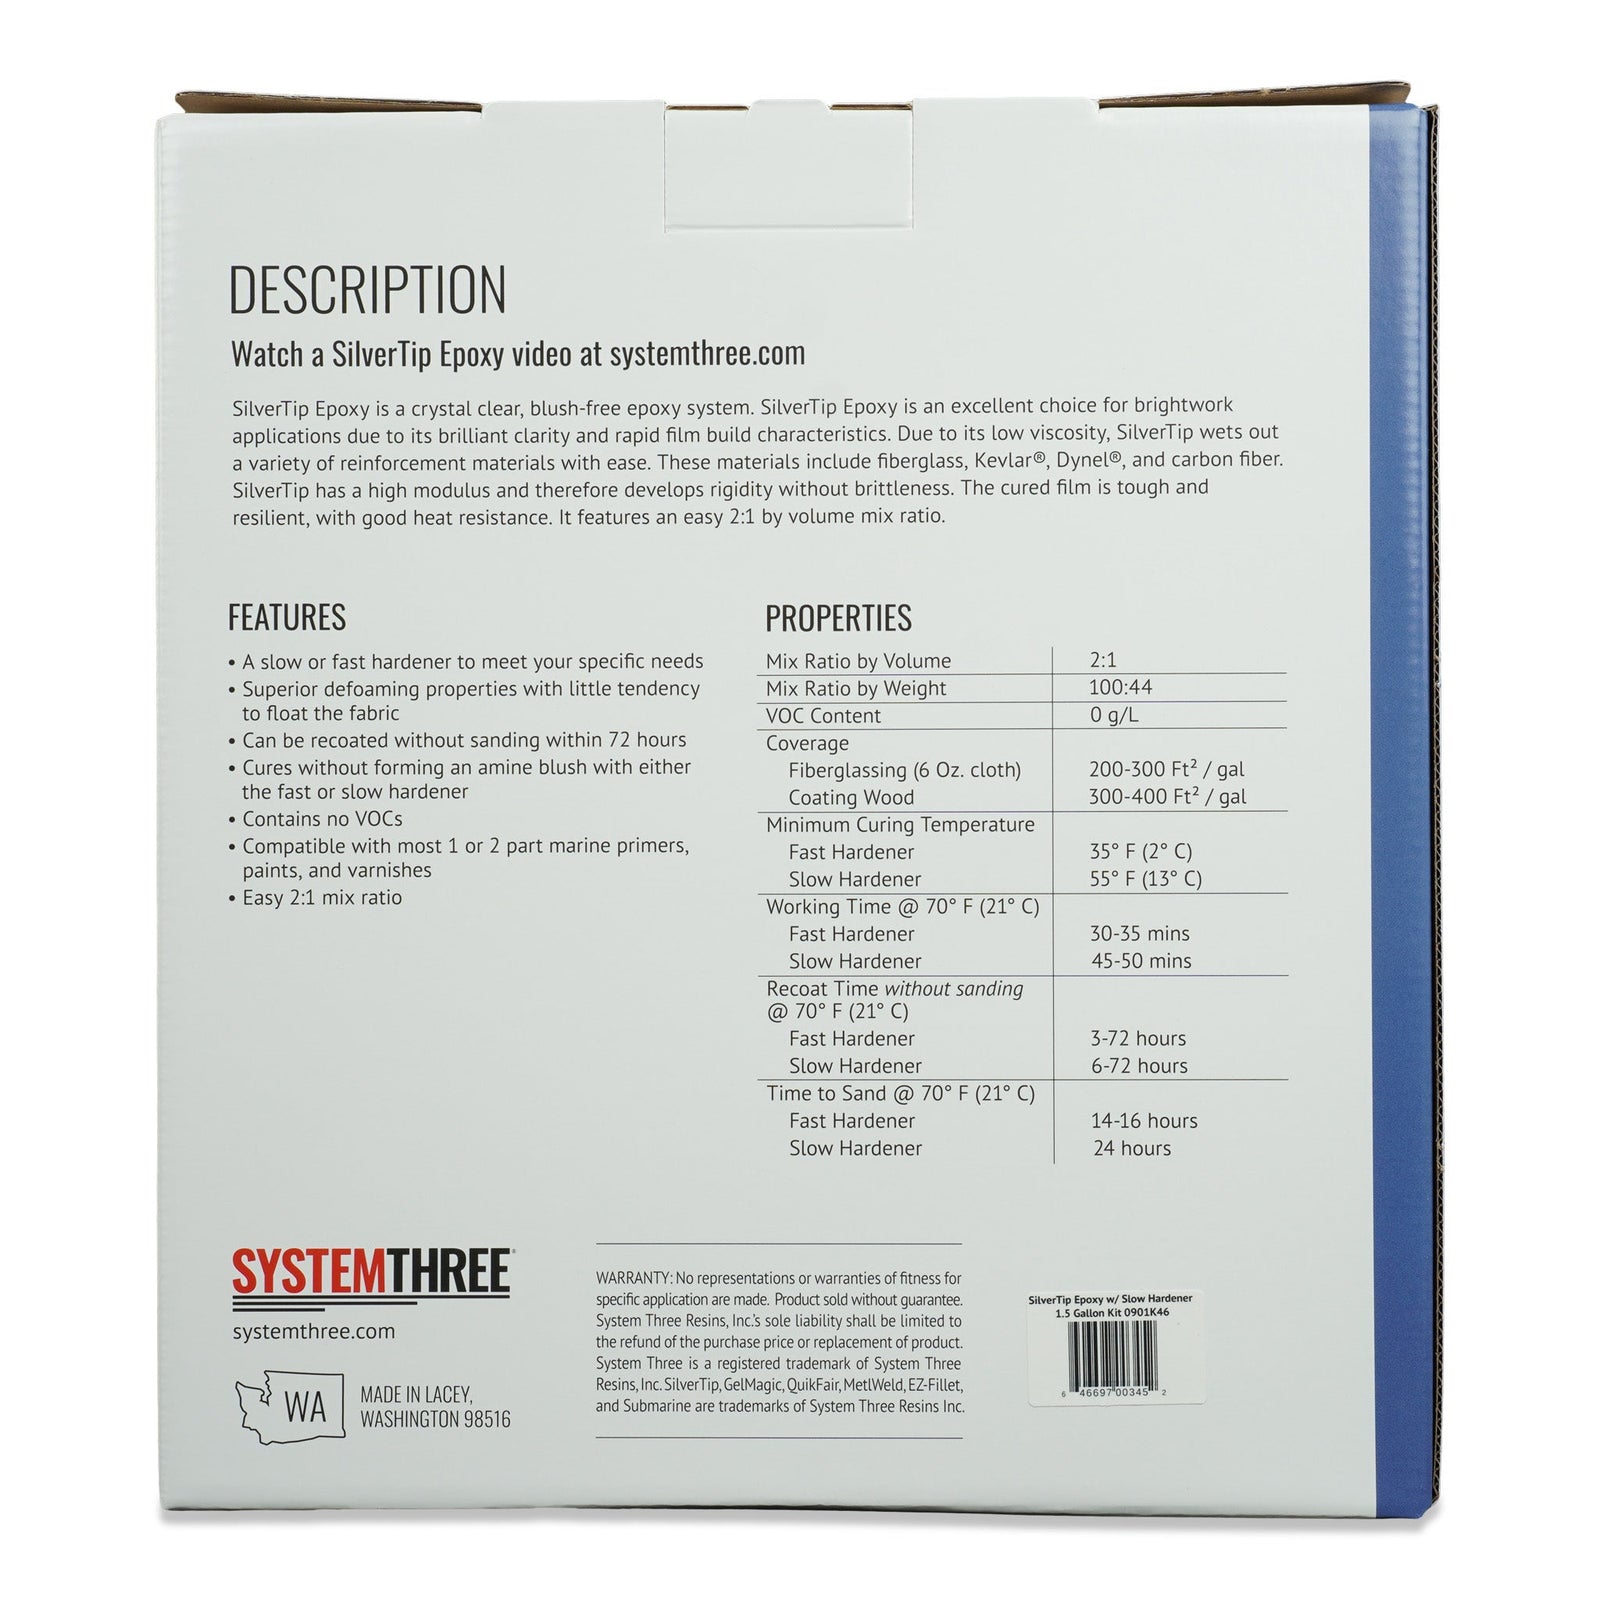
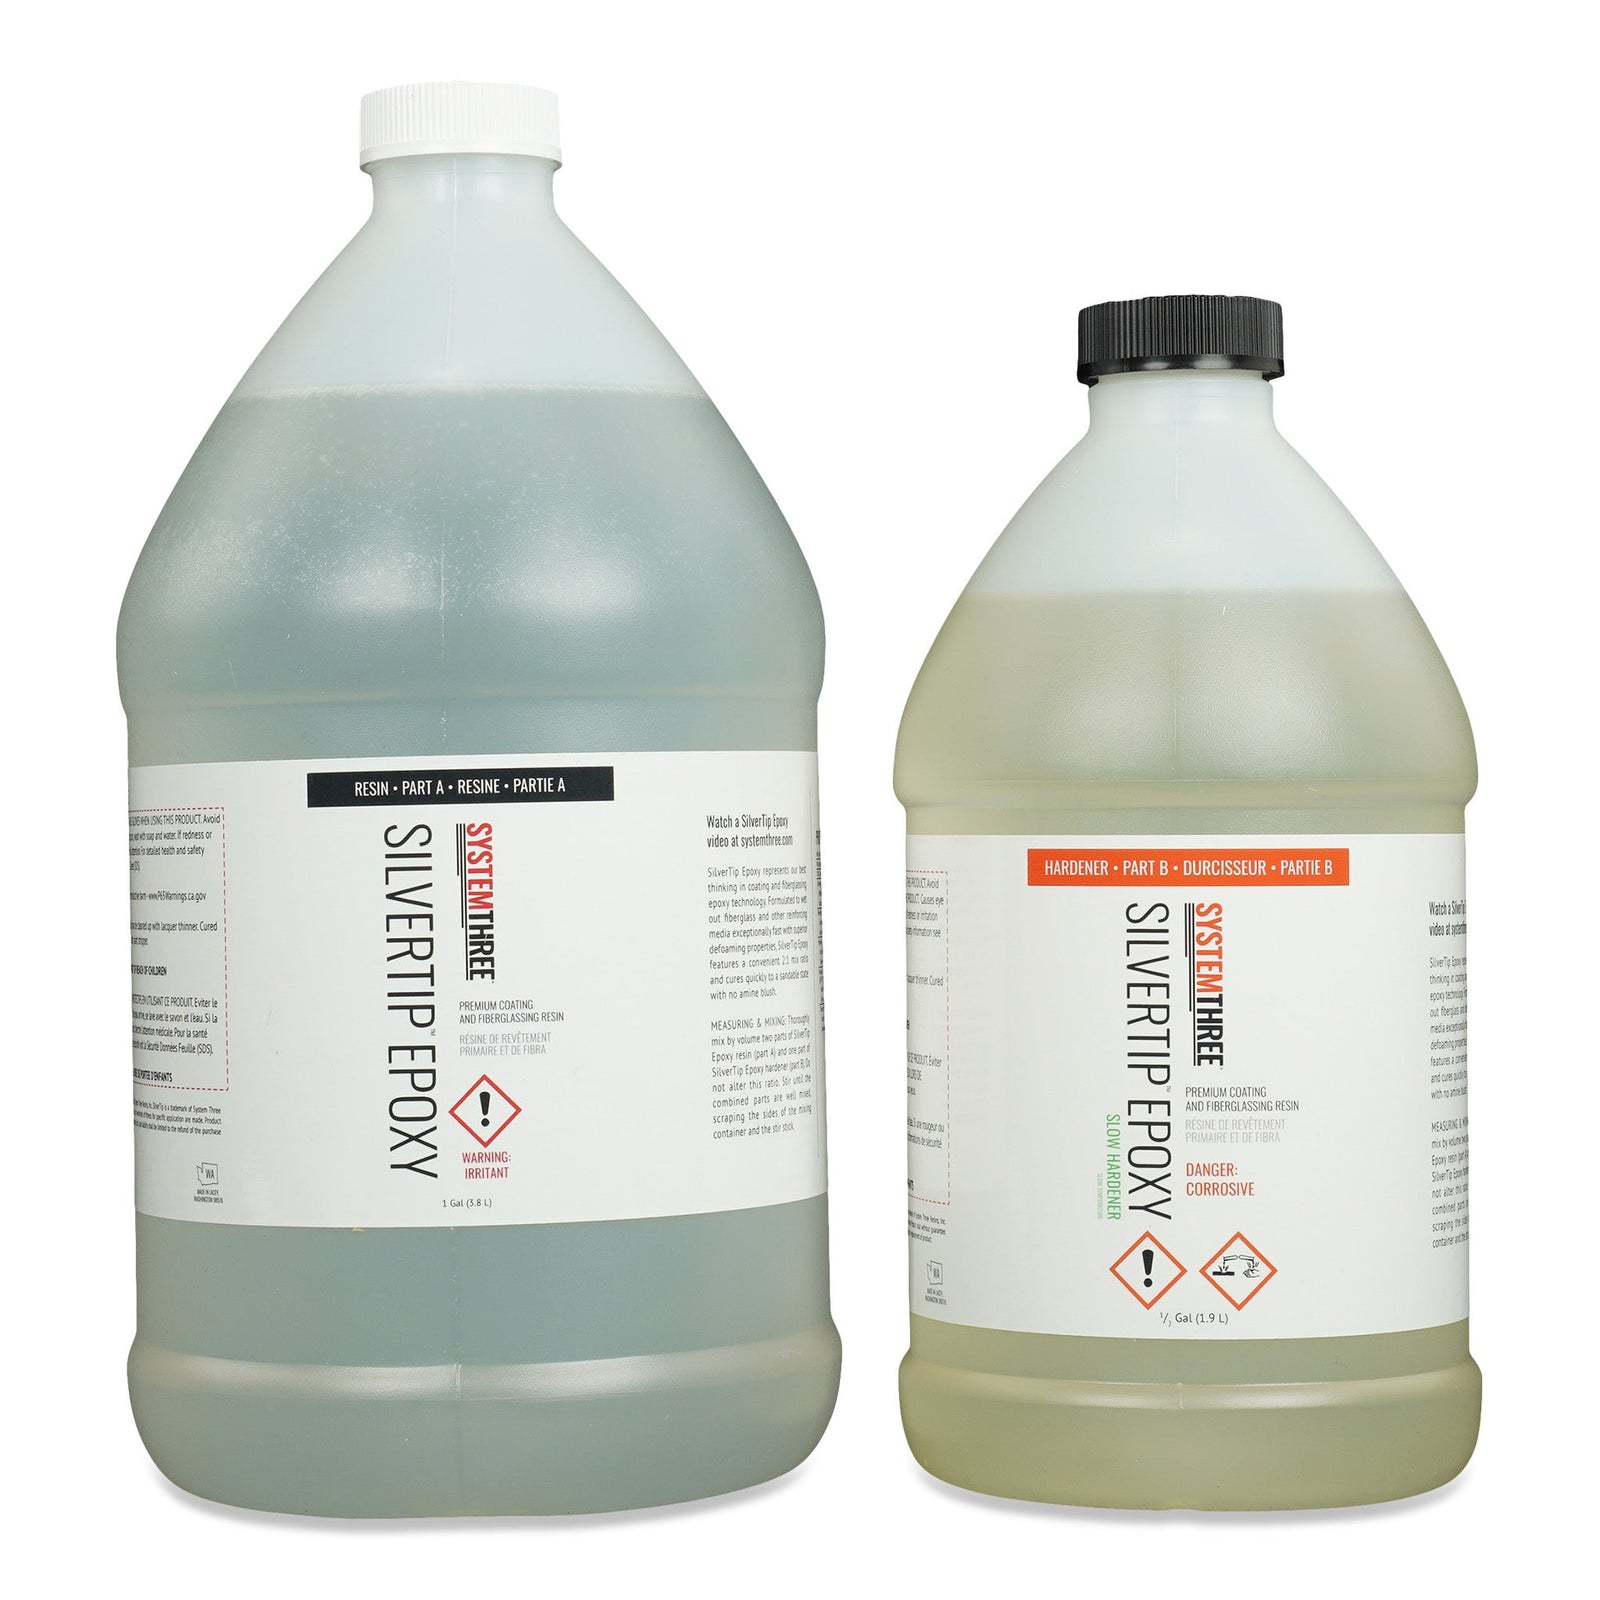
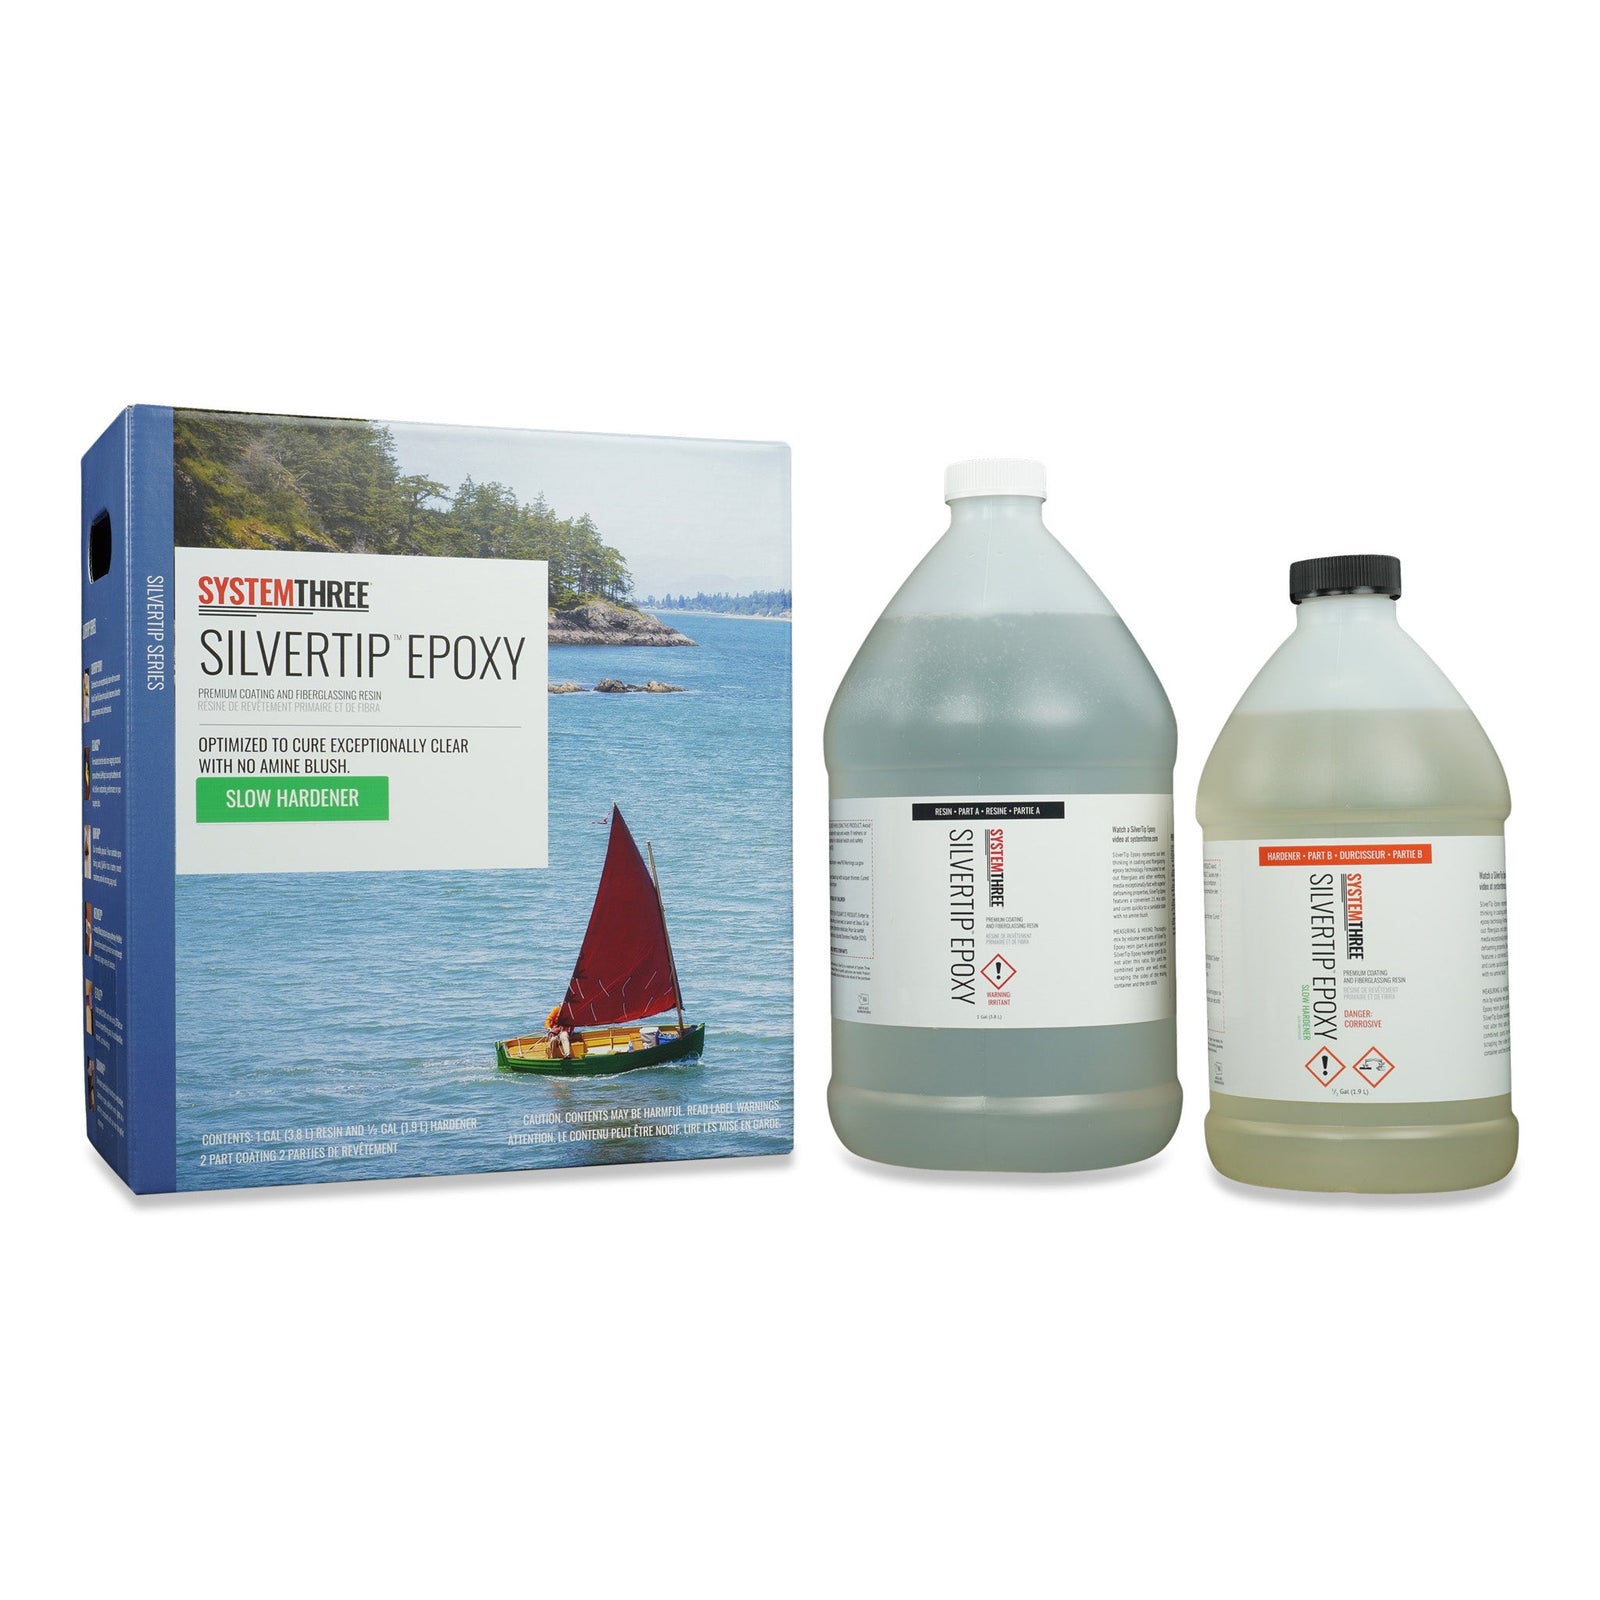
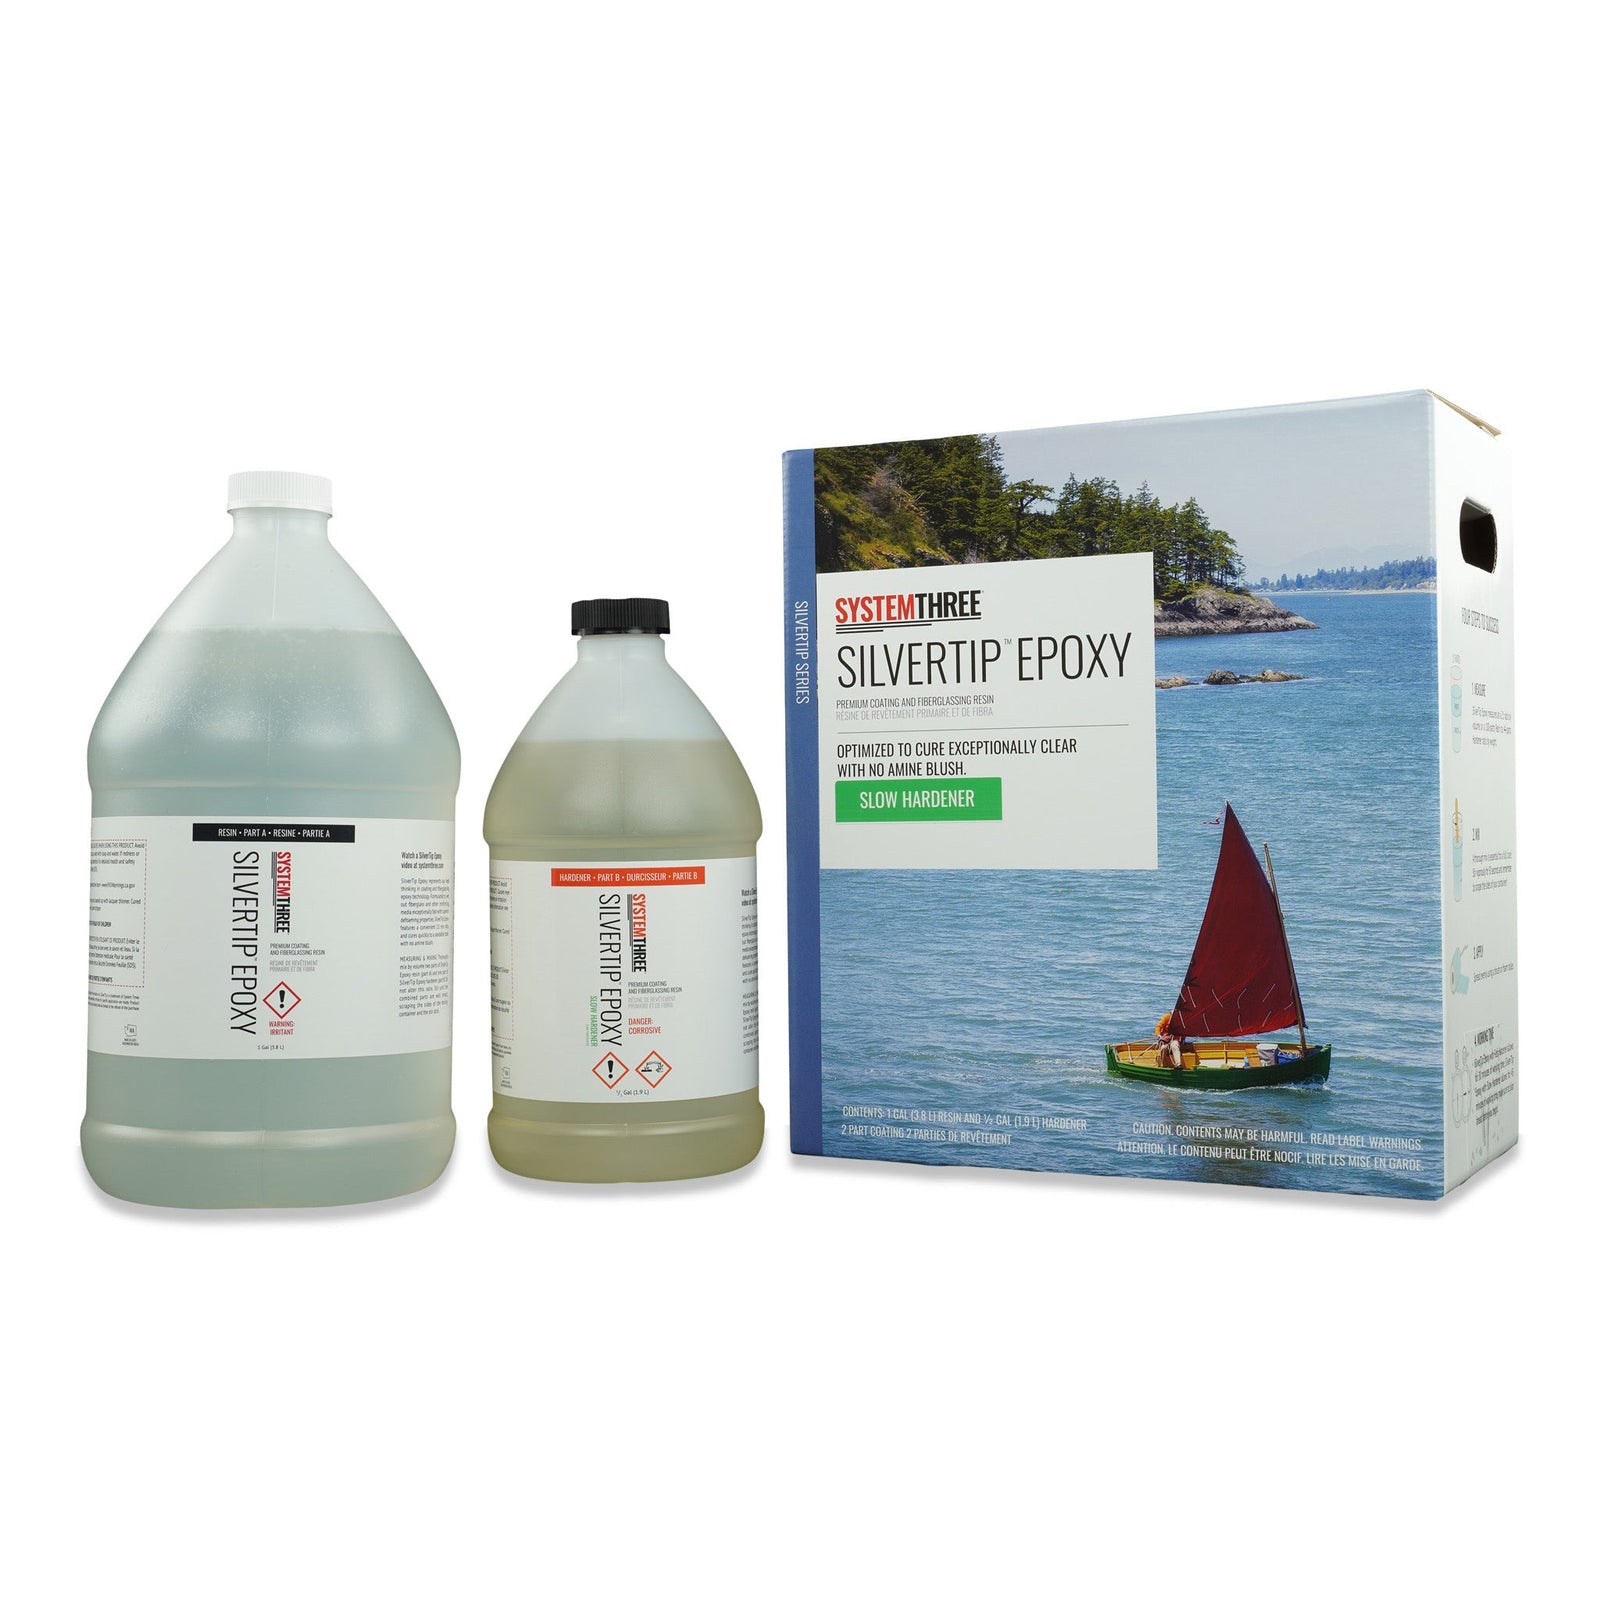
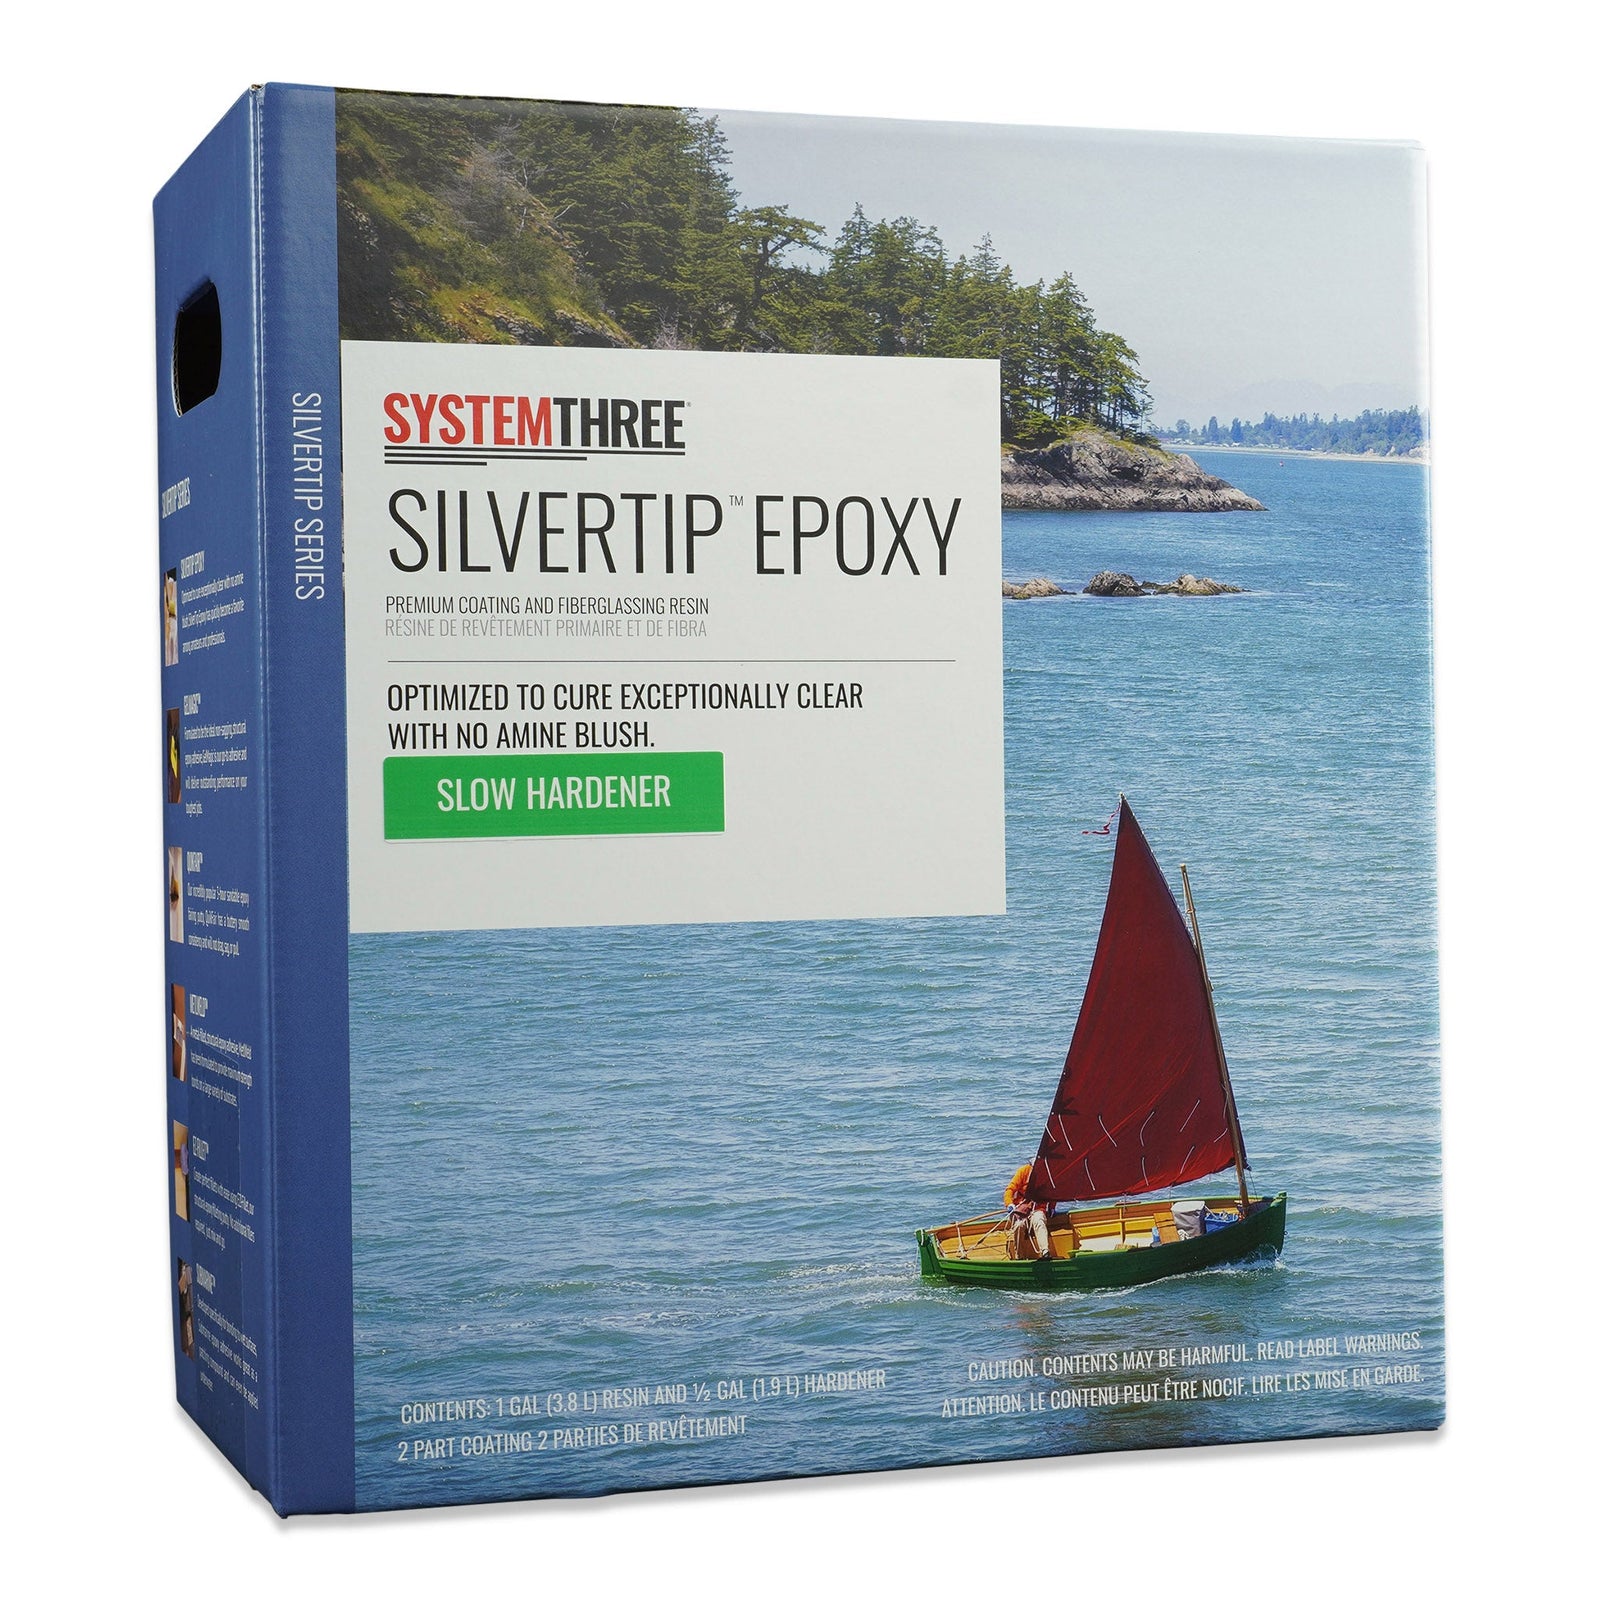
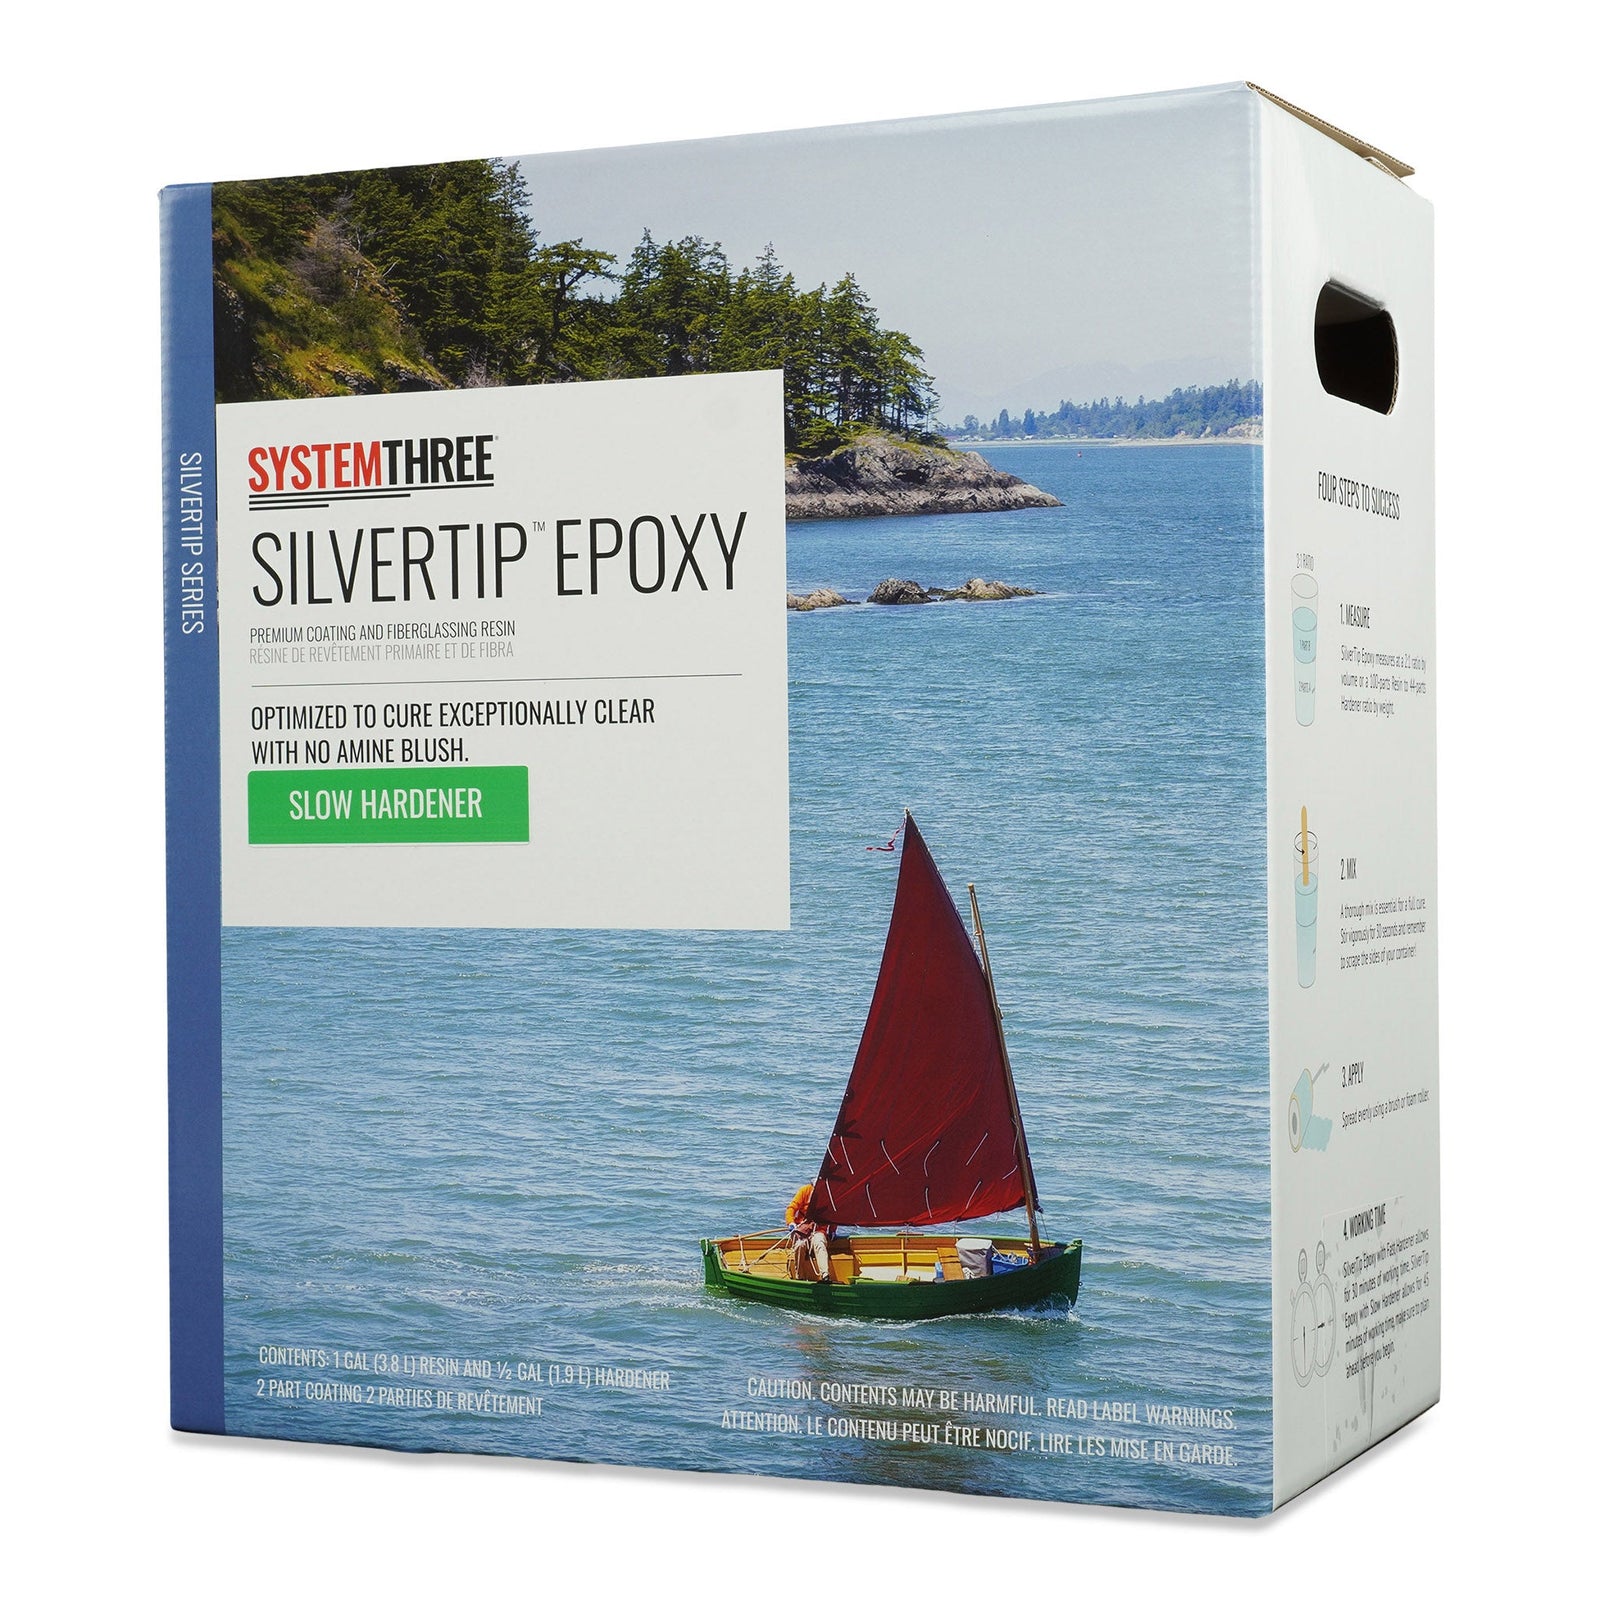
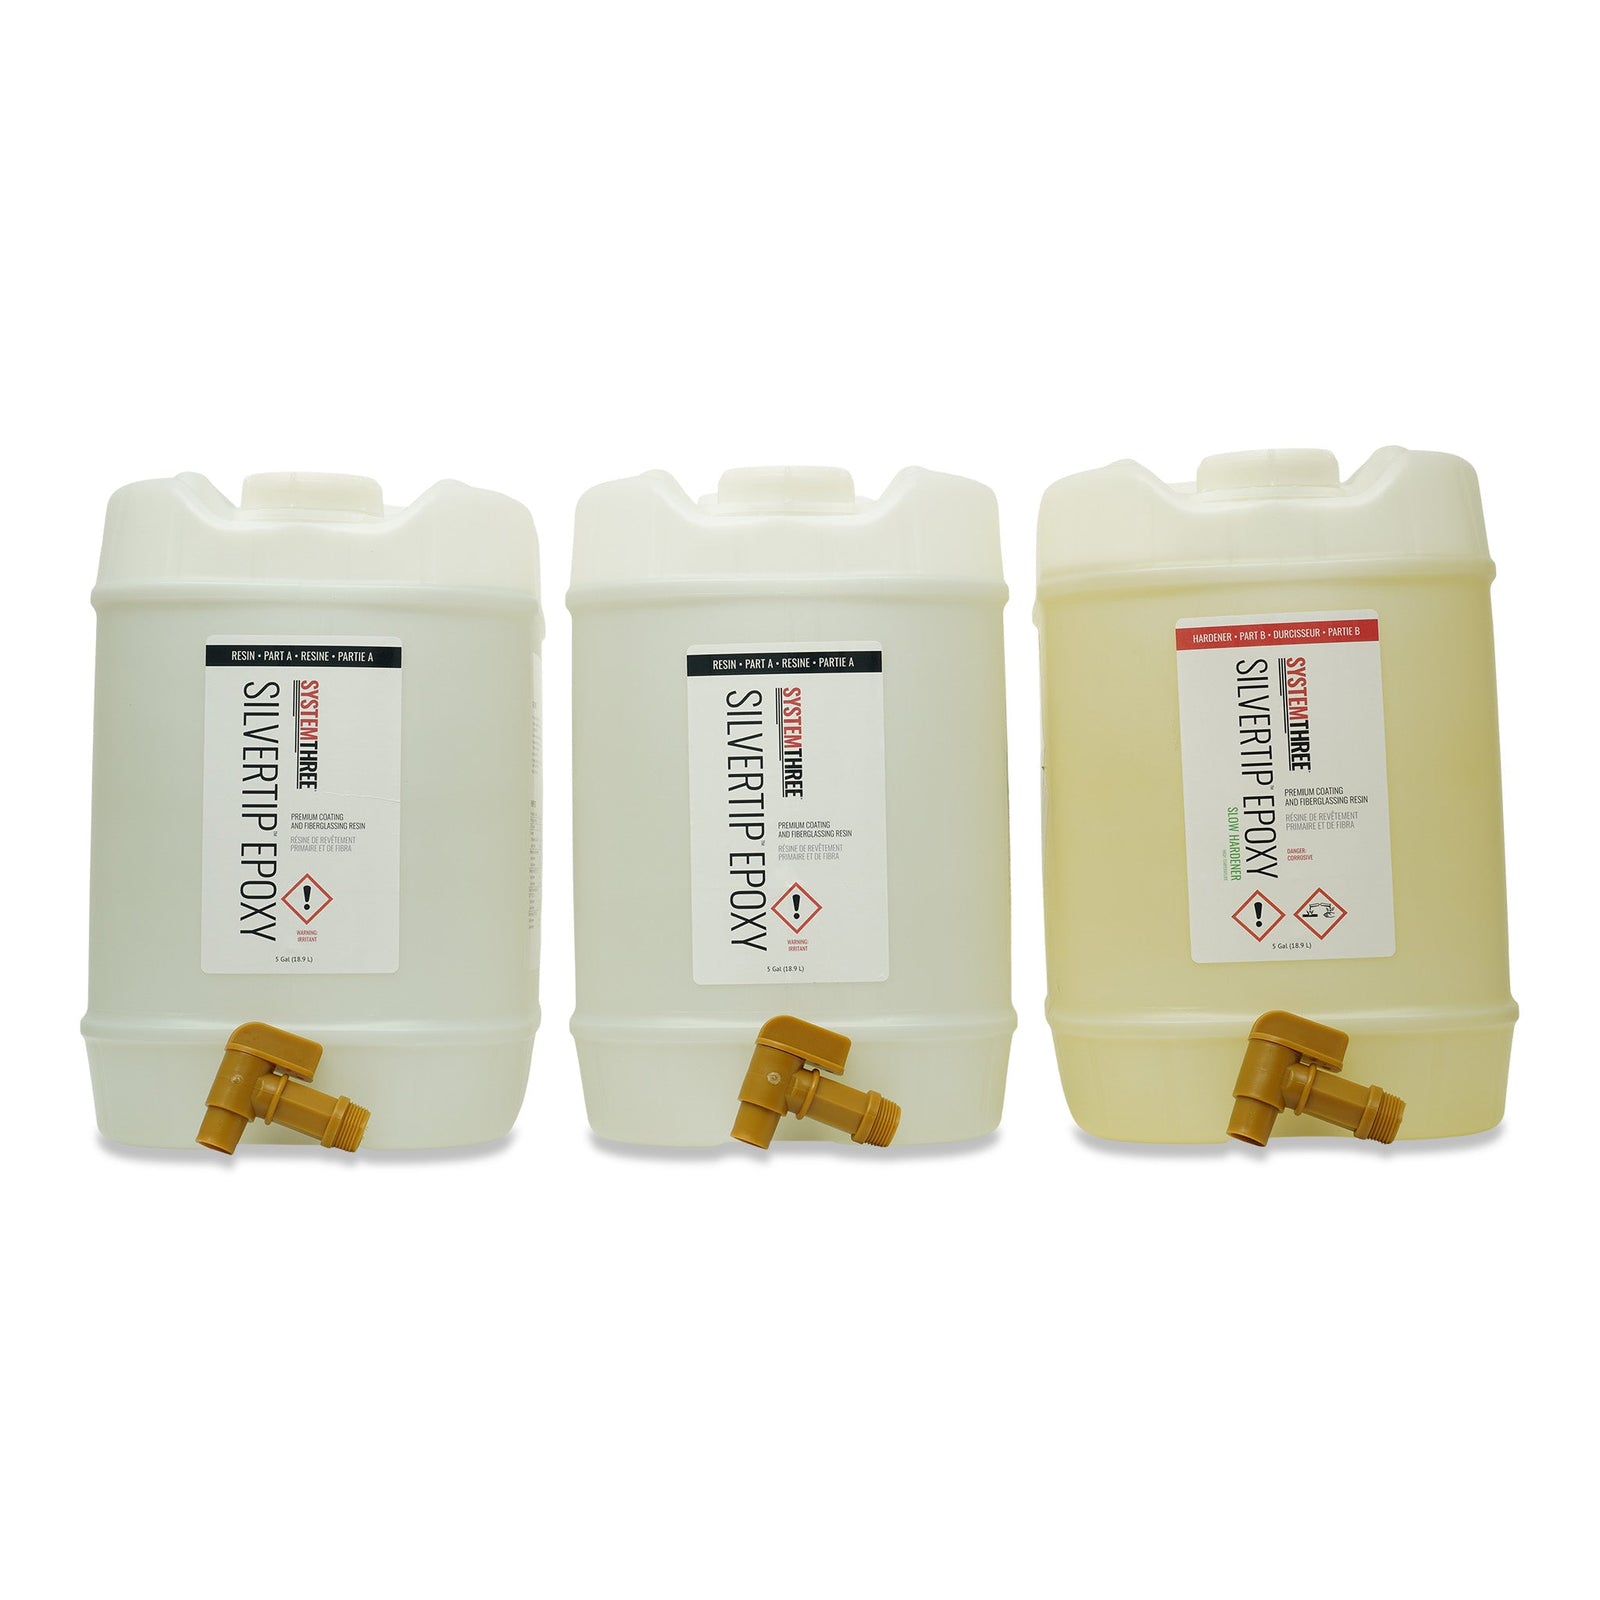
SilverTip Epoxy is a crystal clear, blush-free epoxy system. SilverTip Epoxy is an excellent choice for brightwork applications due to its brilliant clarity and rapid film build characteristics.

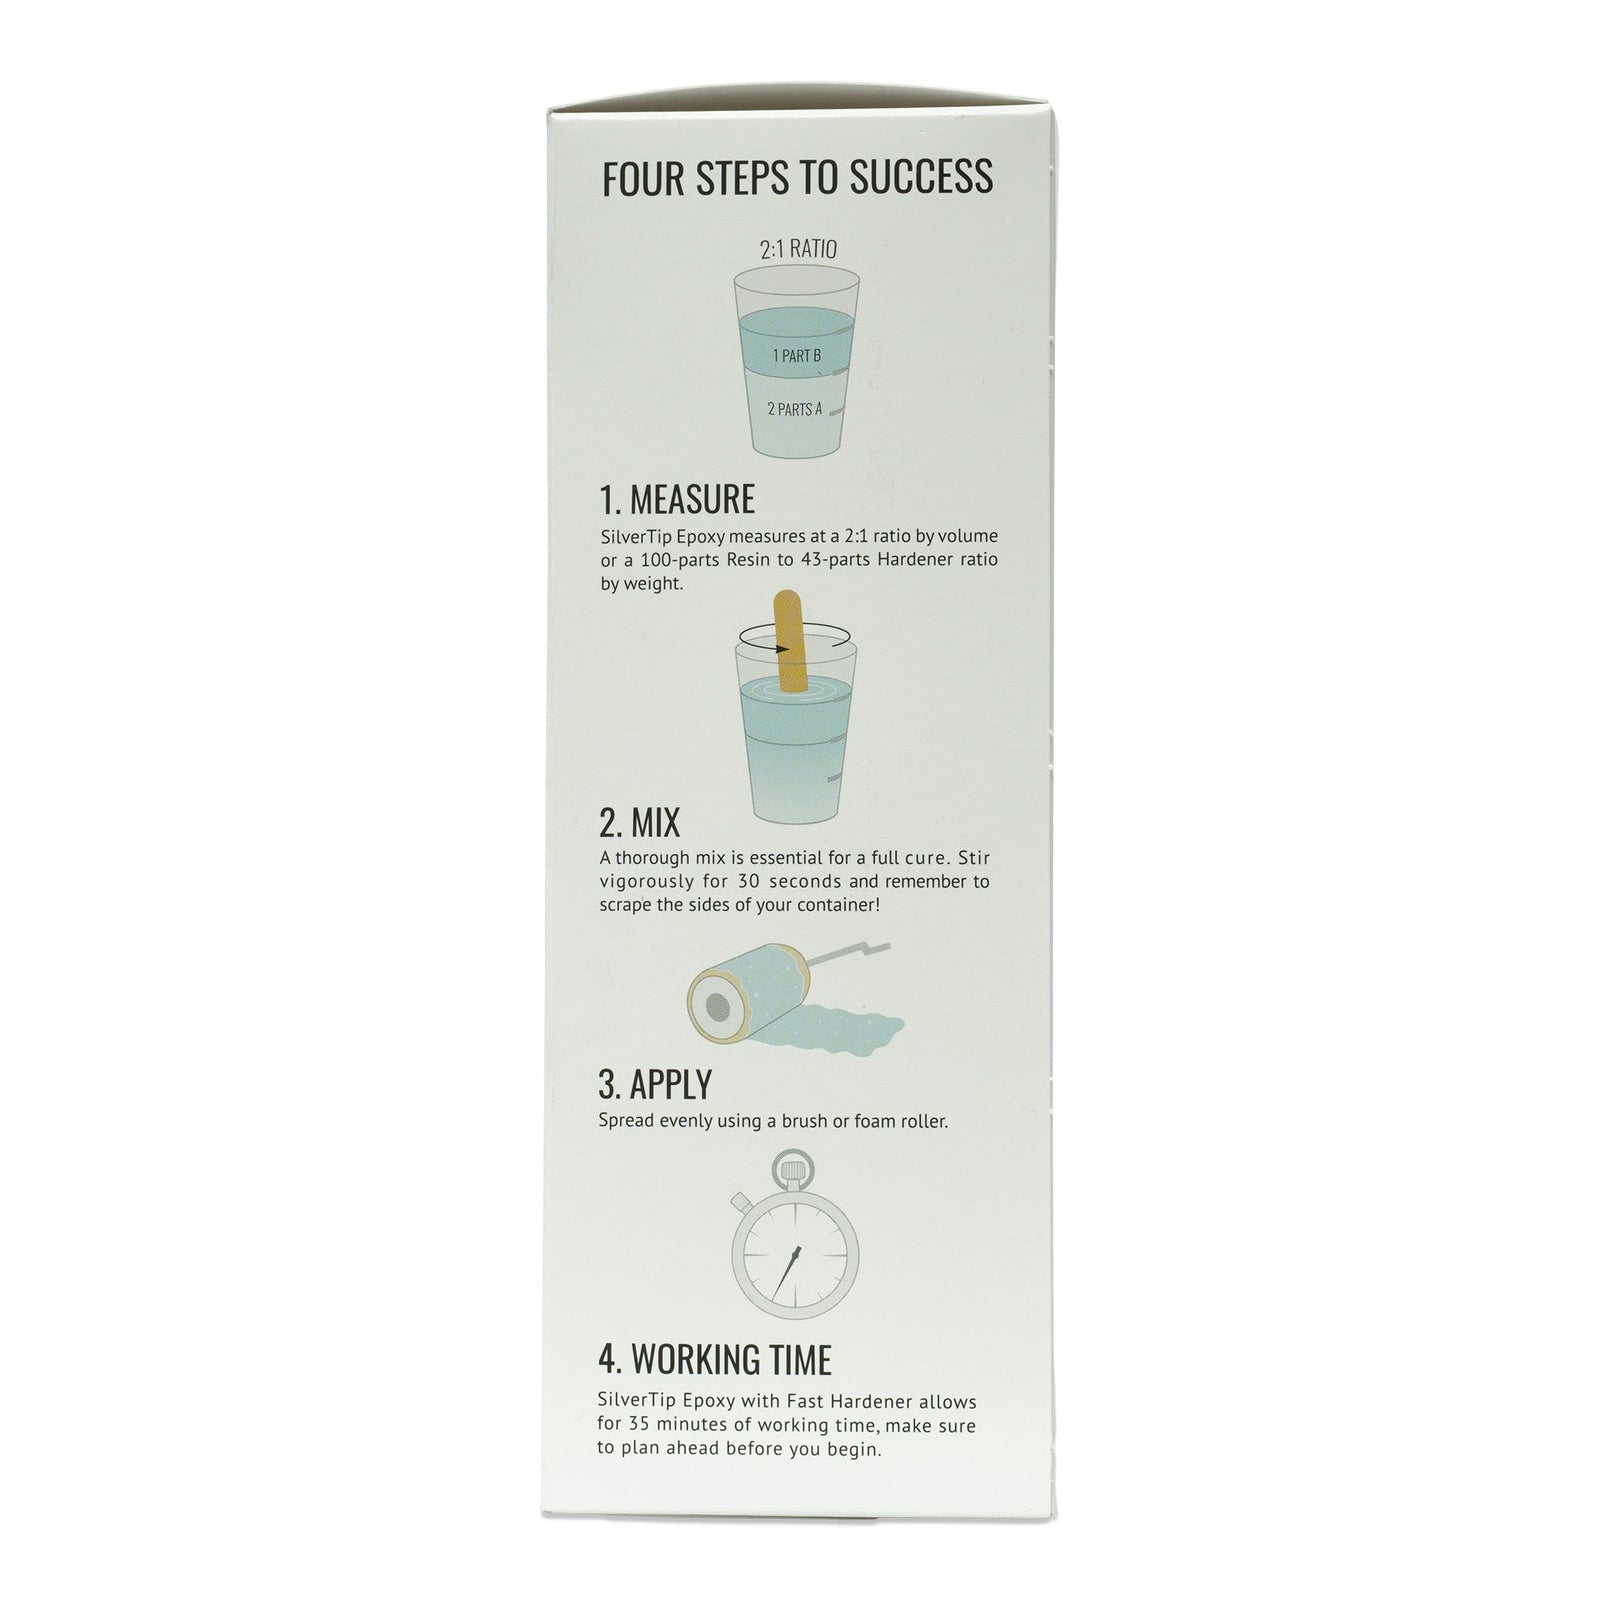
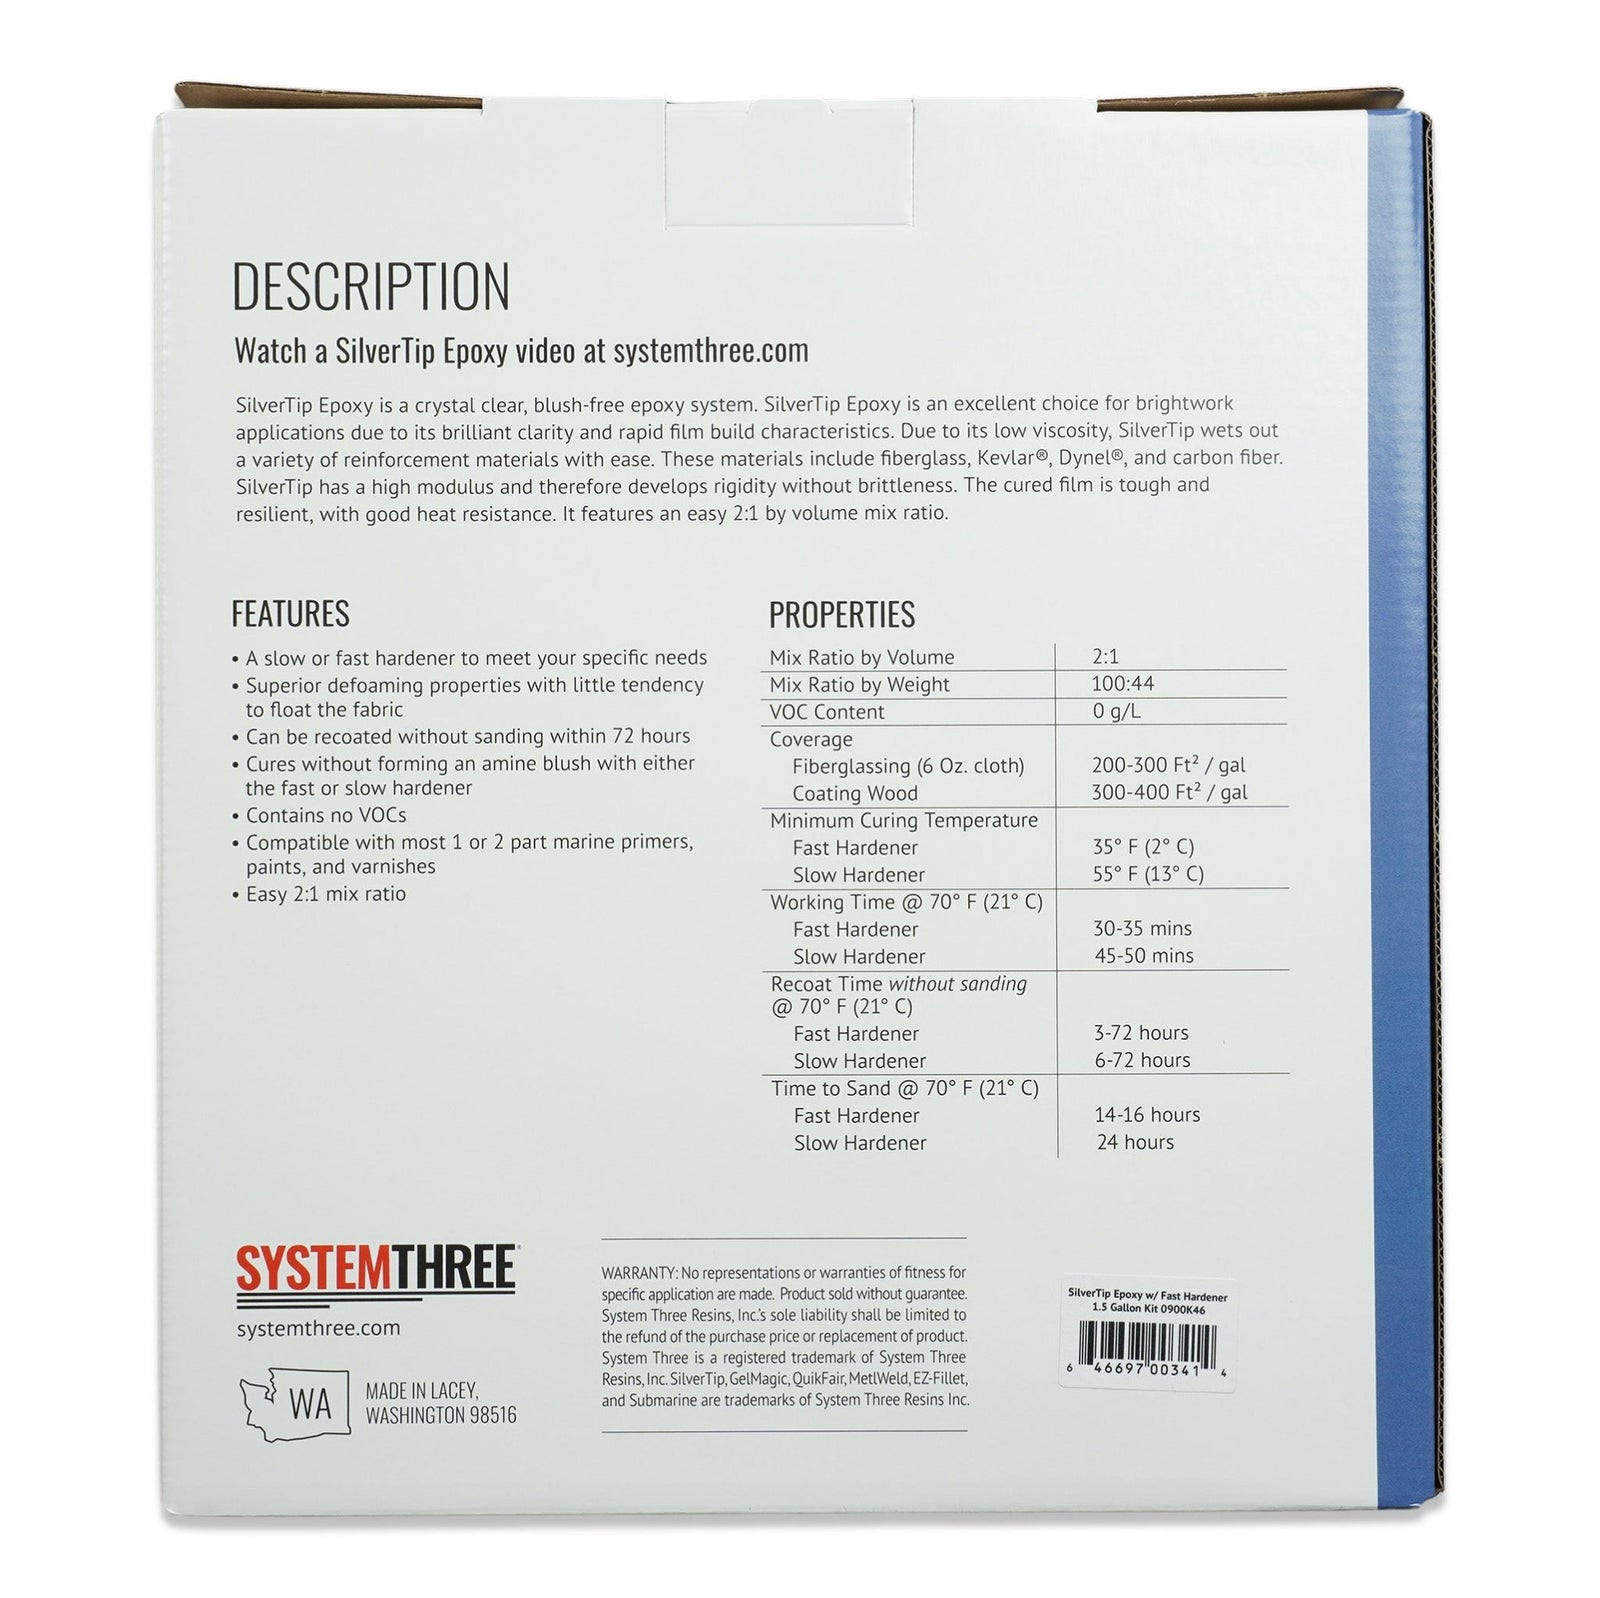
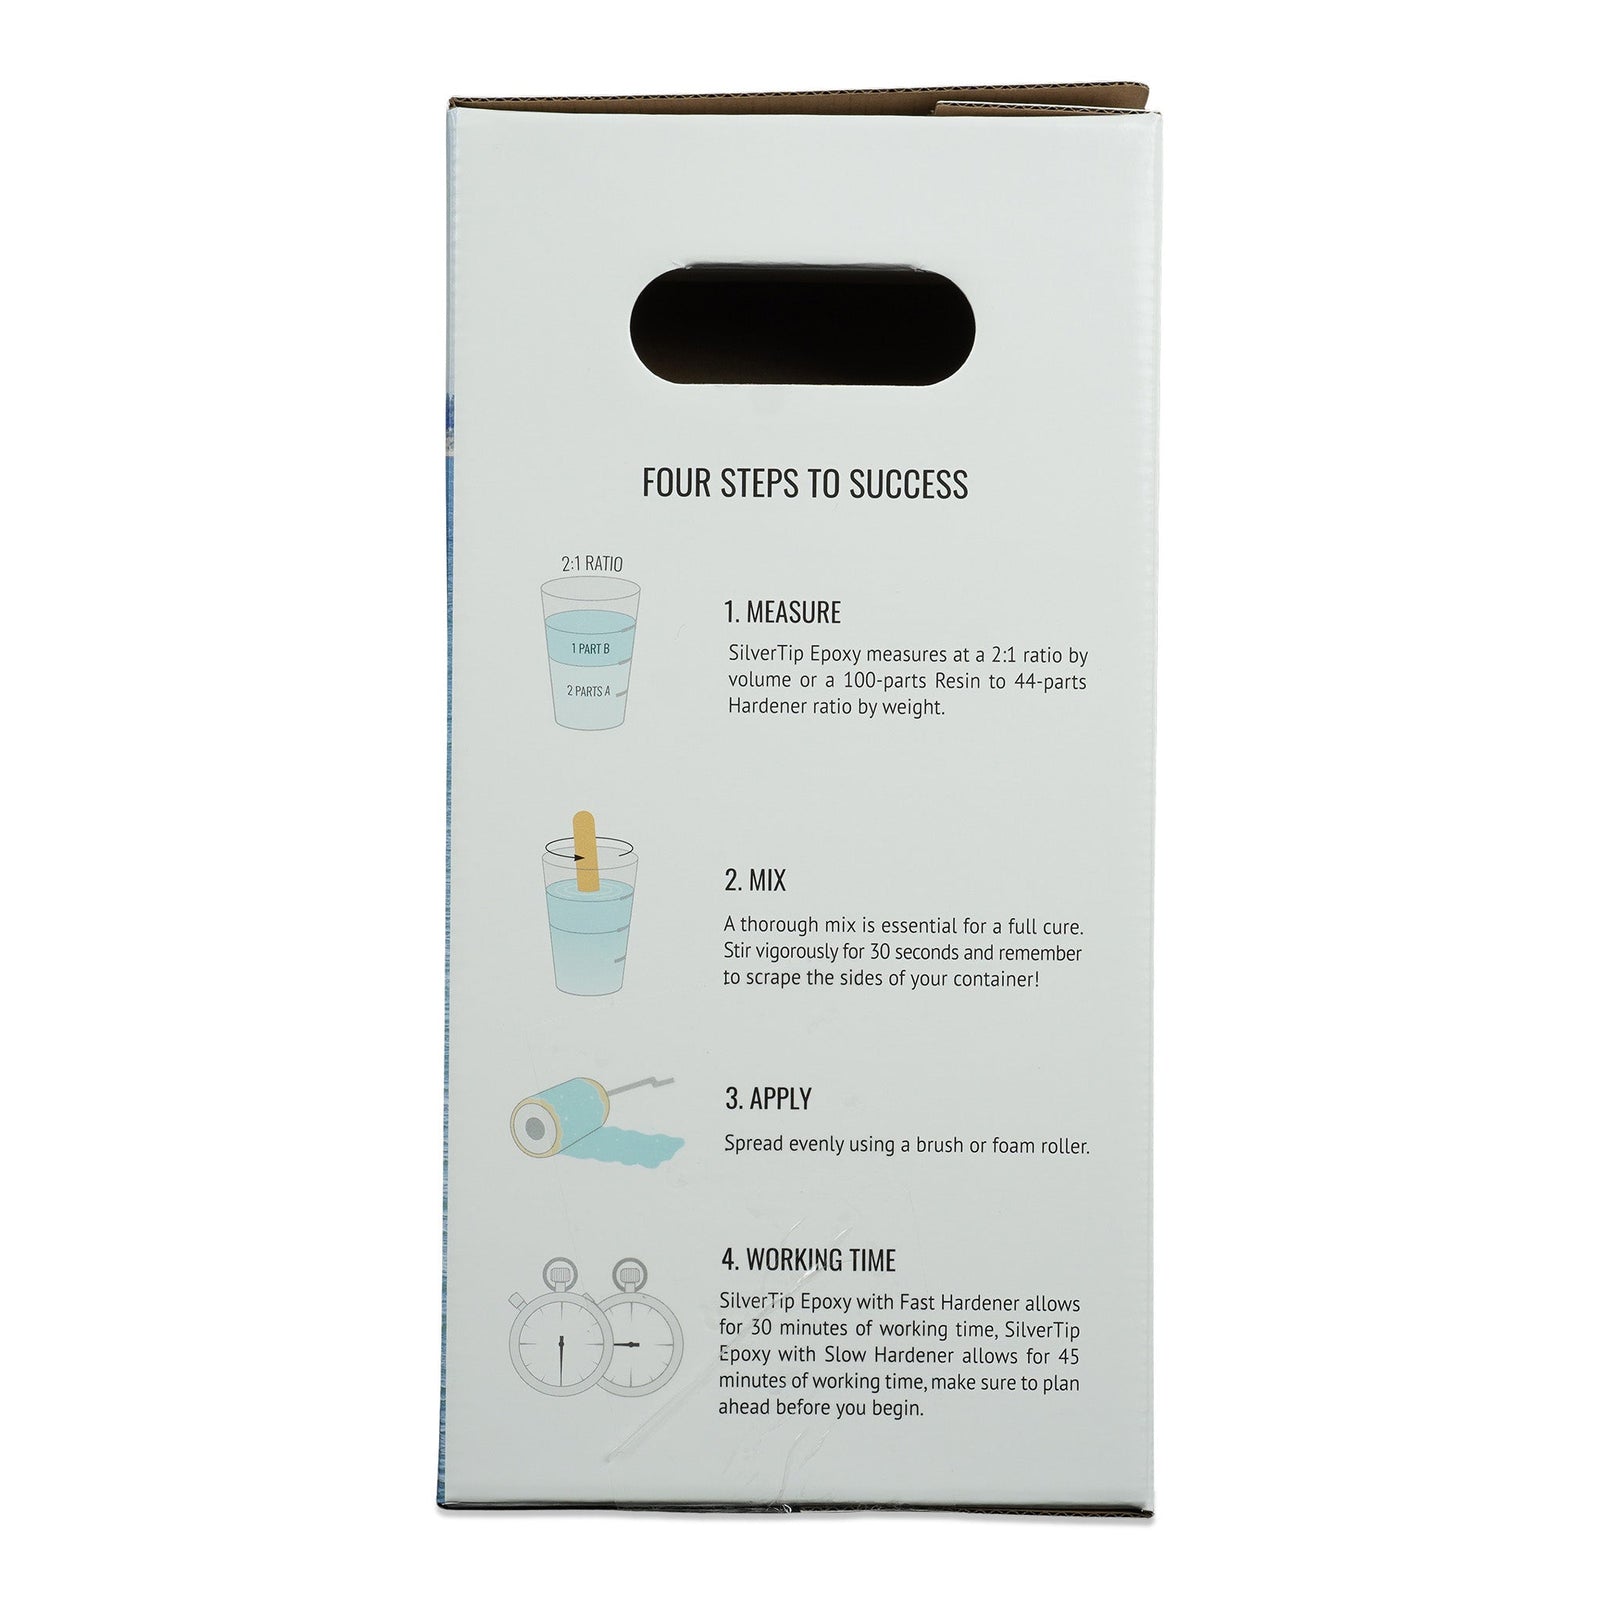
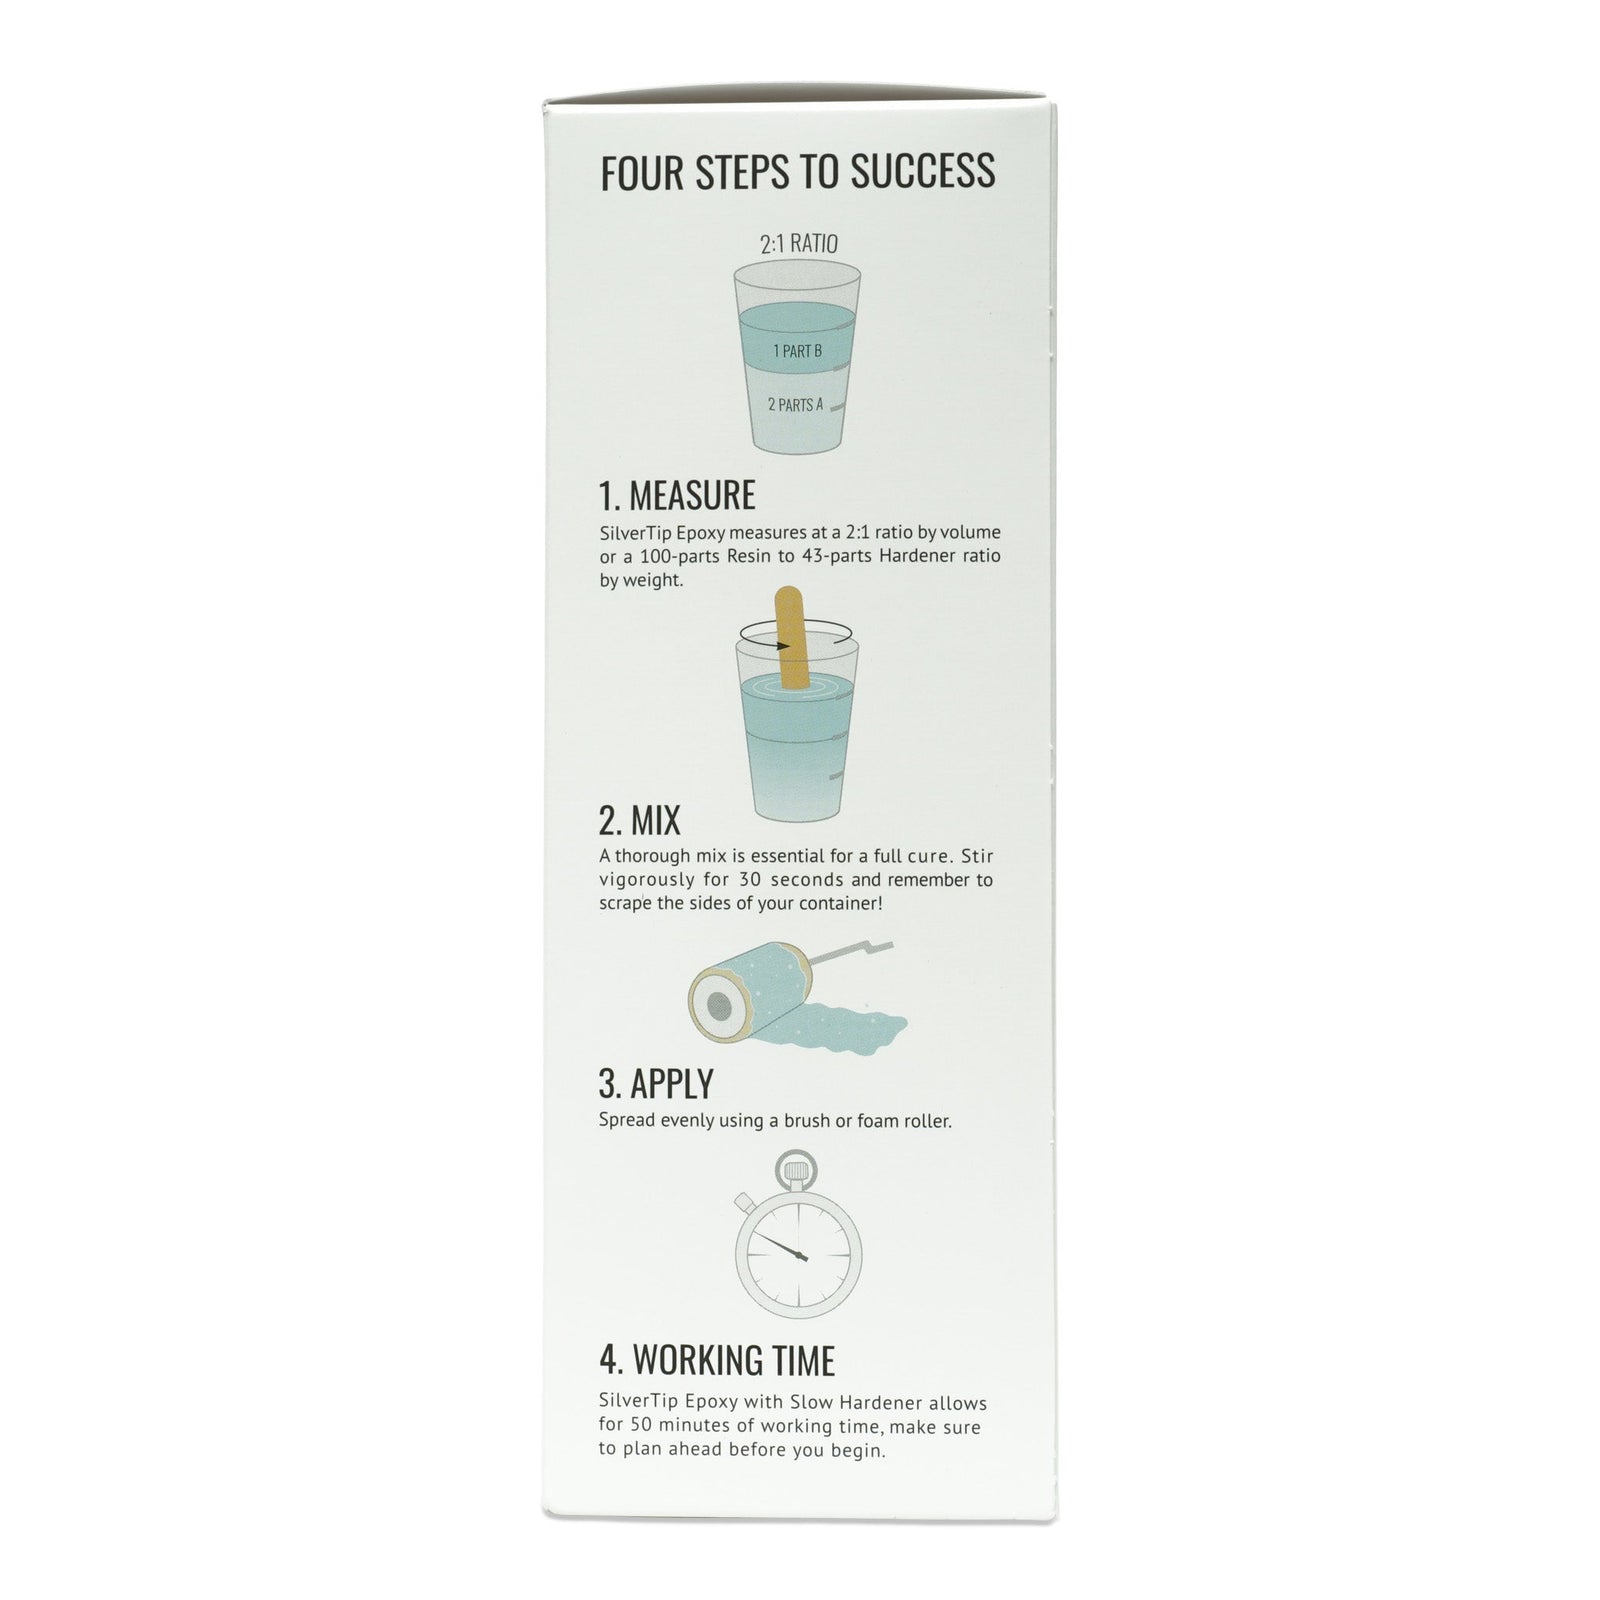
Due to its low viscosity, SilverTip wets out a variety of reinforcement materials with ease. These materials include fiberglass, Kevlar®, Dynel®, and carbon fiber. SilverTip has a high modulus and therefore develops rigidity without brittleness. The cured film is tough and resilient, with good heat resistance. It features an easy 2:1 by volume mix ratio.

Description

SilverTip Epoxy

SilverTip Epoxy is a crystal clear, blush-free epoxy system. SilverTip Epoxy is an excellent choice for brightwork applications due to its brilliant clarity and rapid film build characteristics.

Due to its low viscosity, SilverTip wets out a variety of reinforcement materials with ease. These materials include fiberglass, Kevlar®, Dynel®, and carbon fiber. SilverTip has a high modulus and therefore develops rigidity without brittleness. The cured film is tough and resilient, with good heat resistance. It features an easy 2:1 by volume mix ratio.

Features

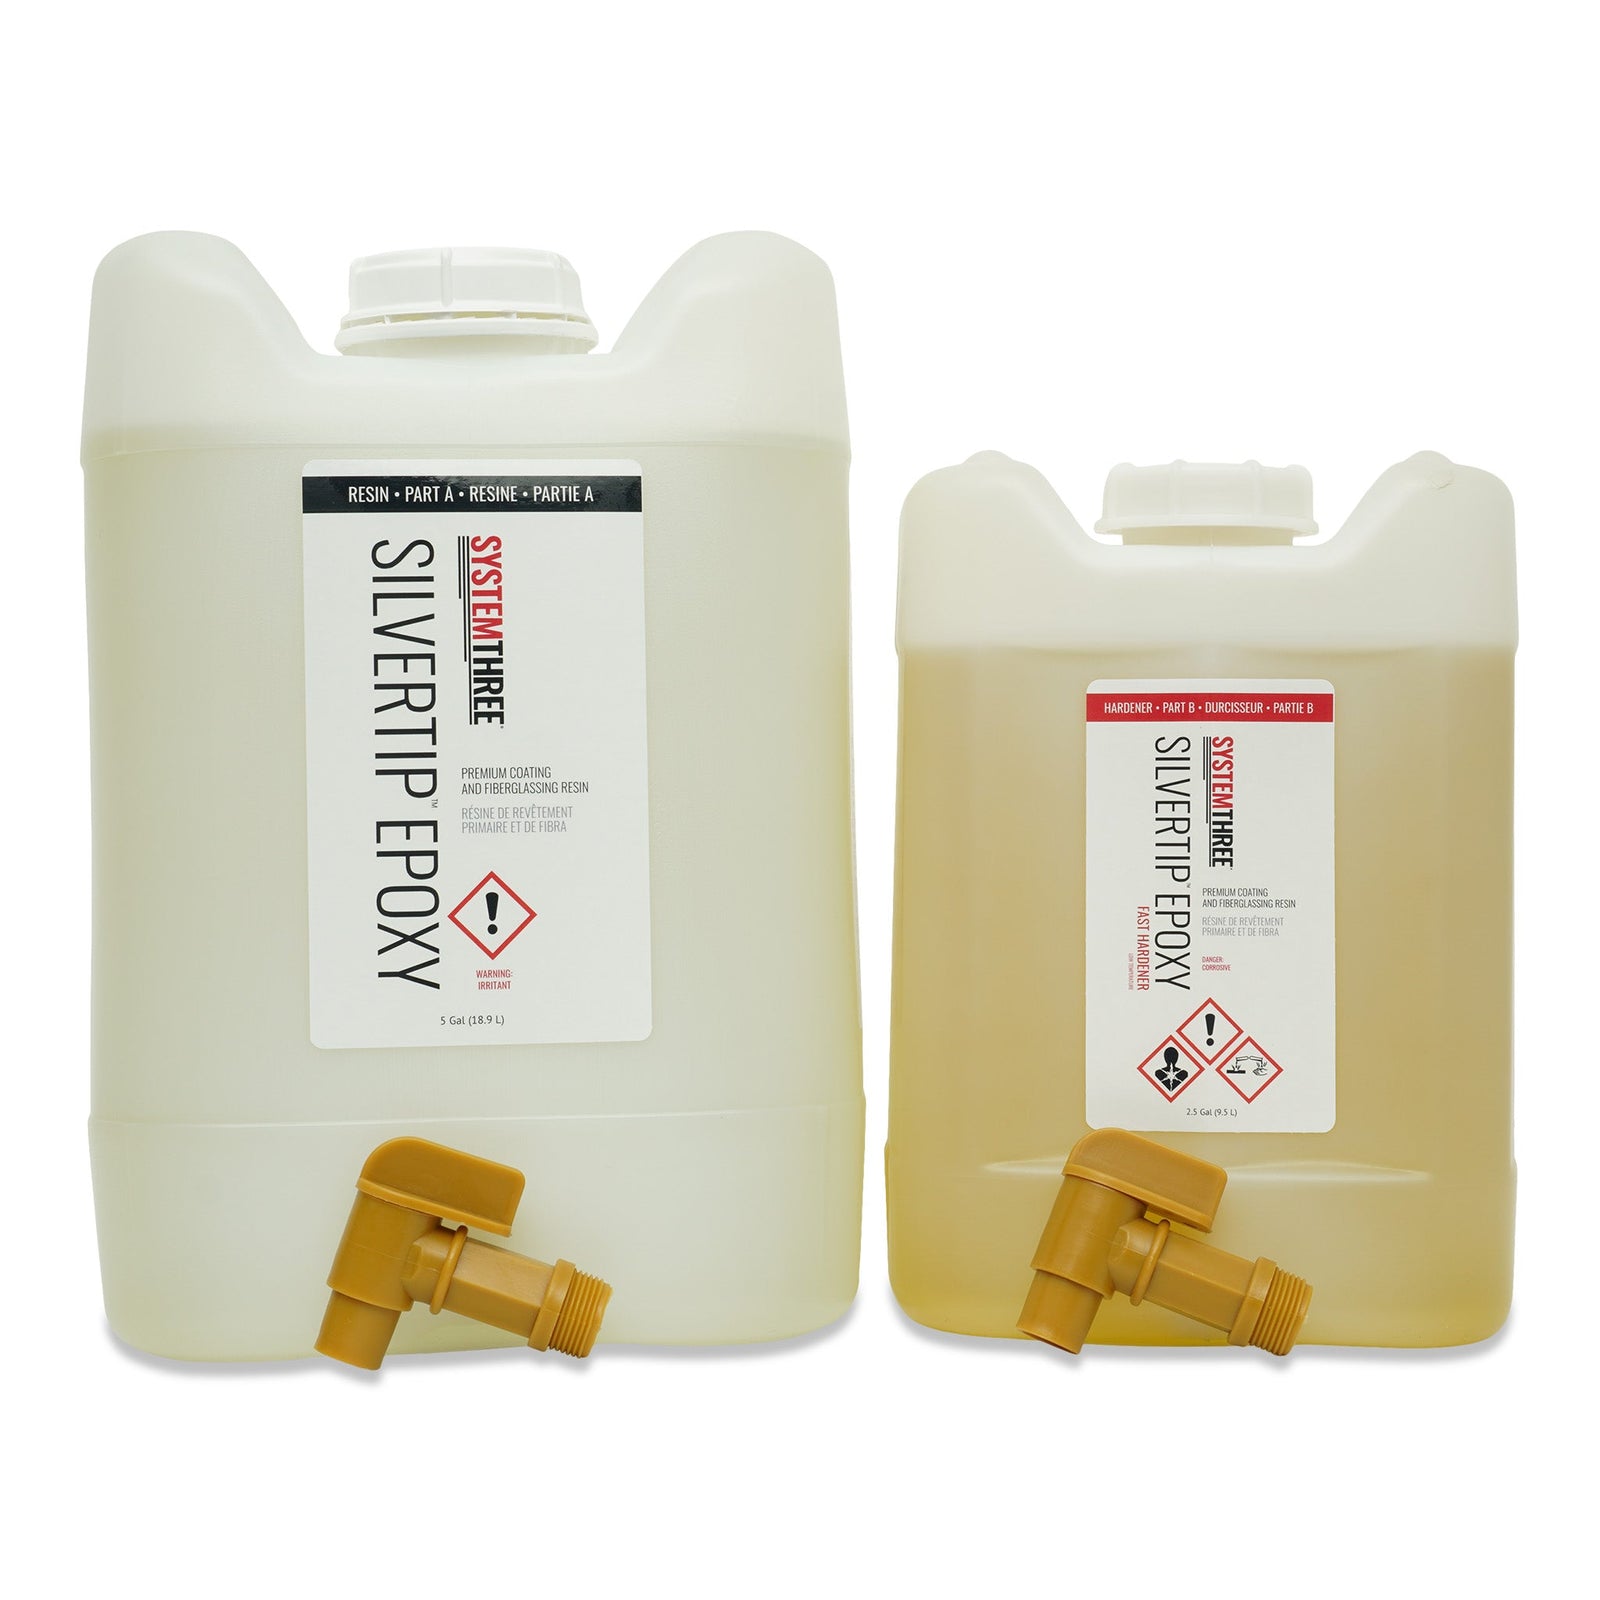
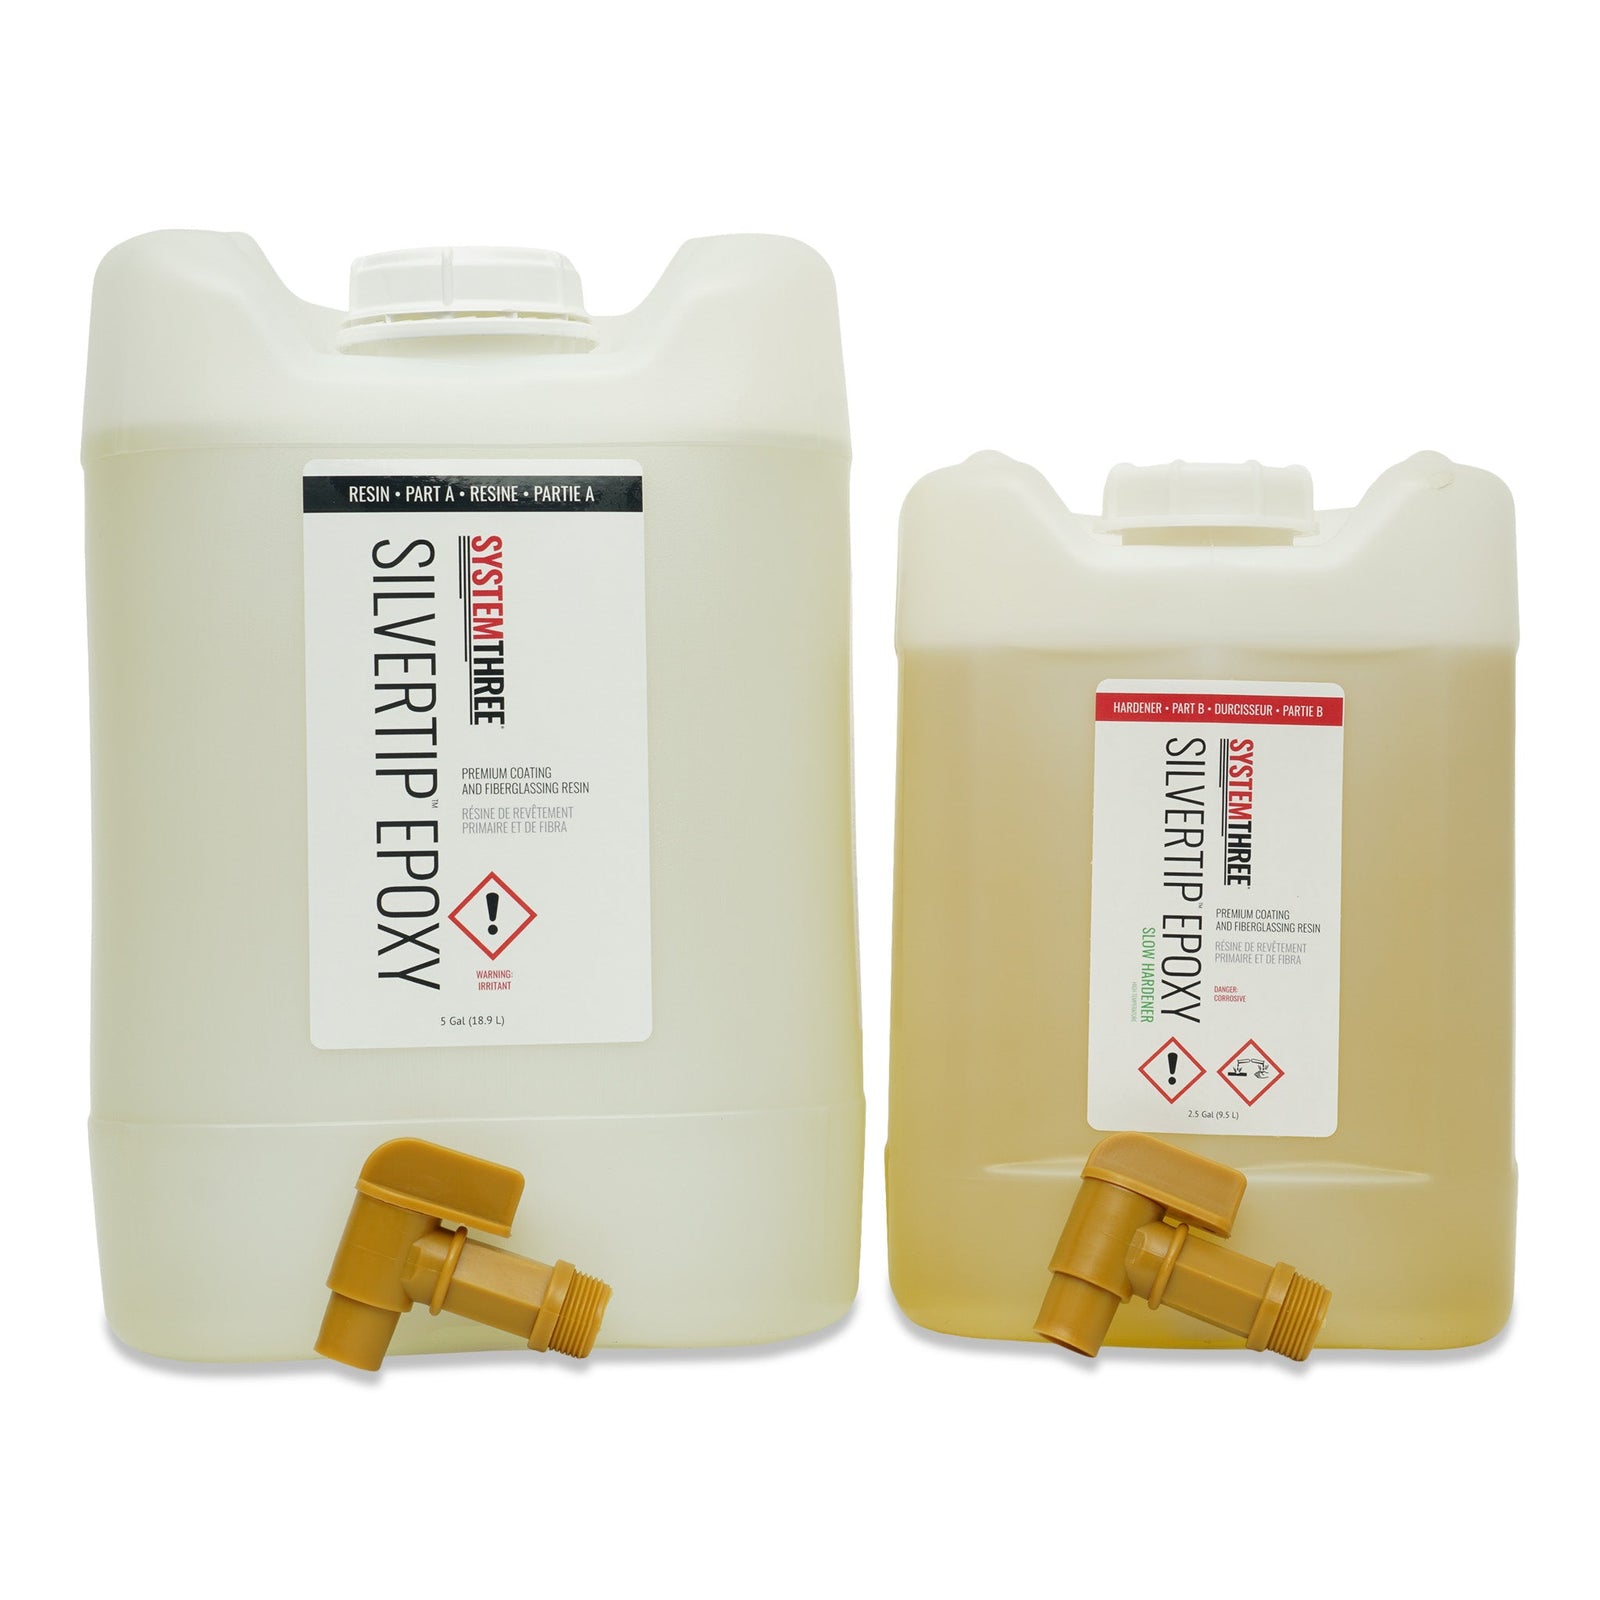
• A slow or fast hardener to meet your specific needs

• Superior defoaming properties with little tendency to float the fabric

• Can be recoated without sanding within 72 hours

• Cures without forming an amine blush with either the fast or slow hardener

• Contains no VOC

• Compatible with most 1 or 2 part marine primers, paints, and varnishes

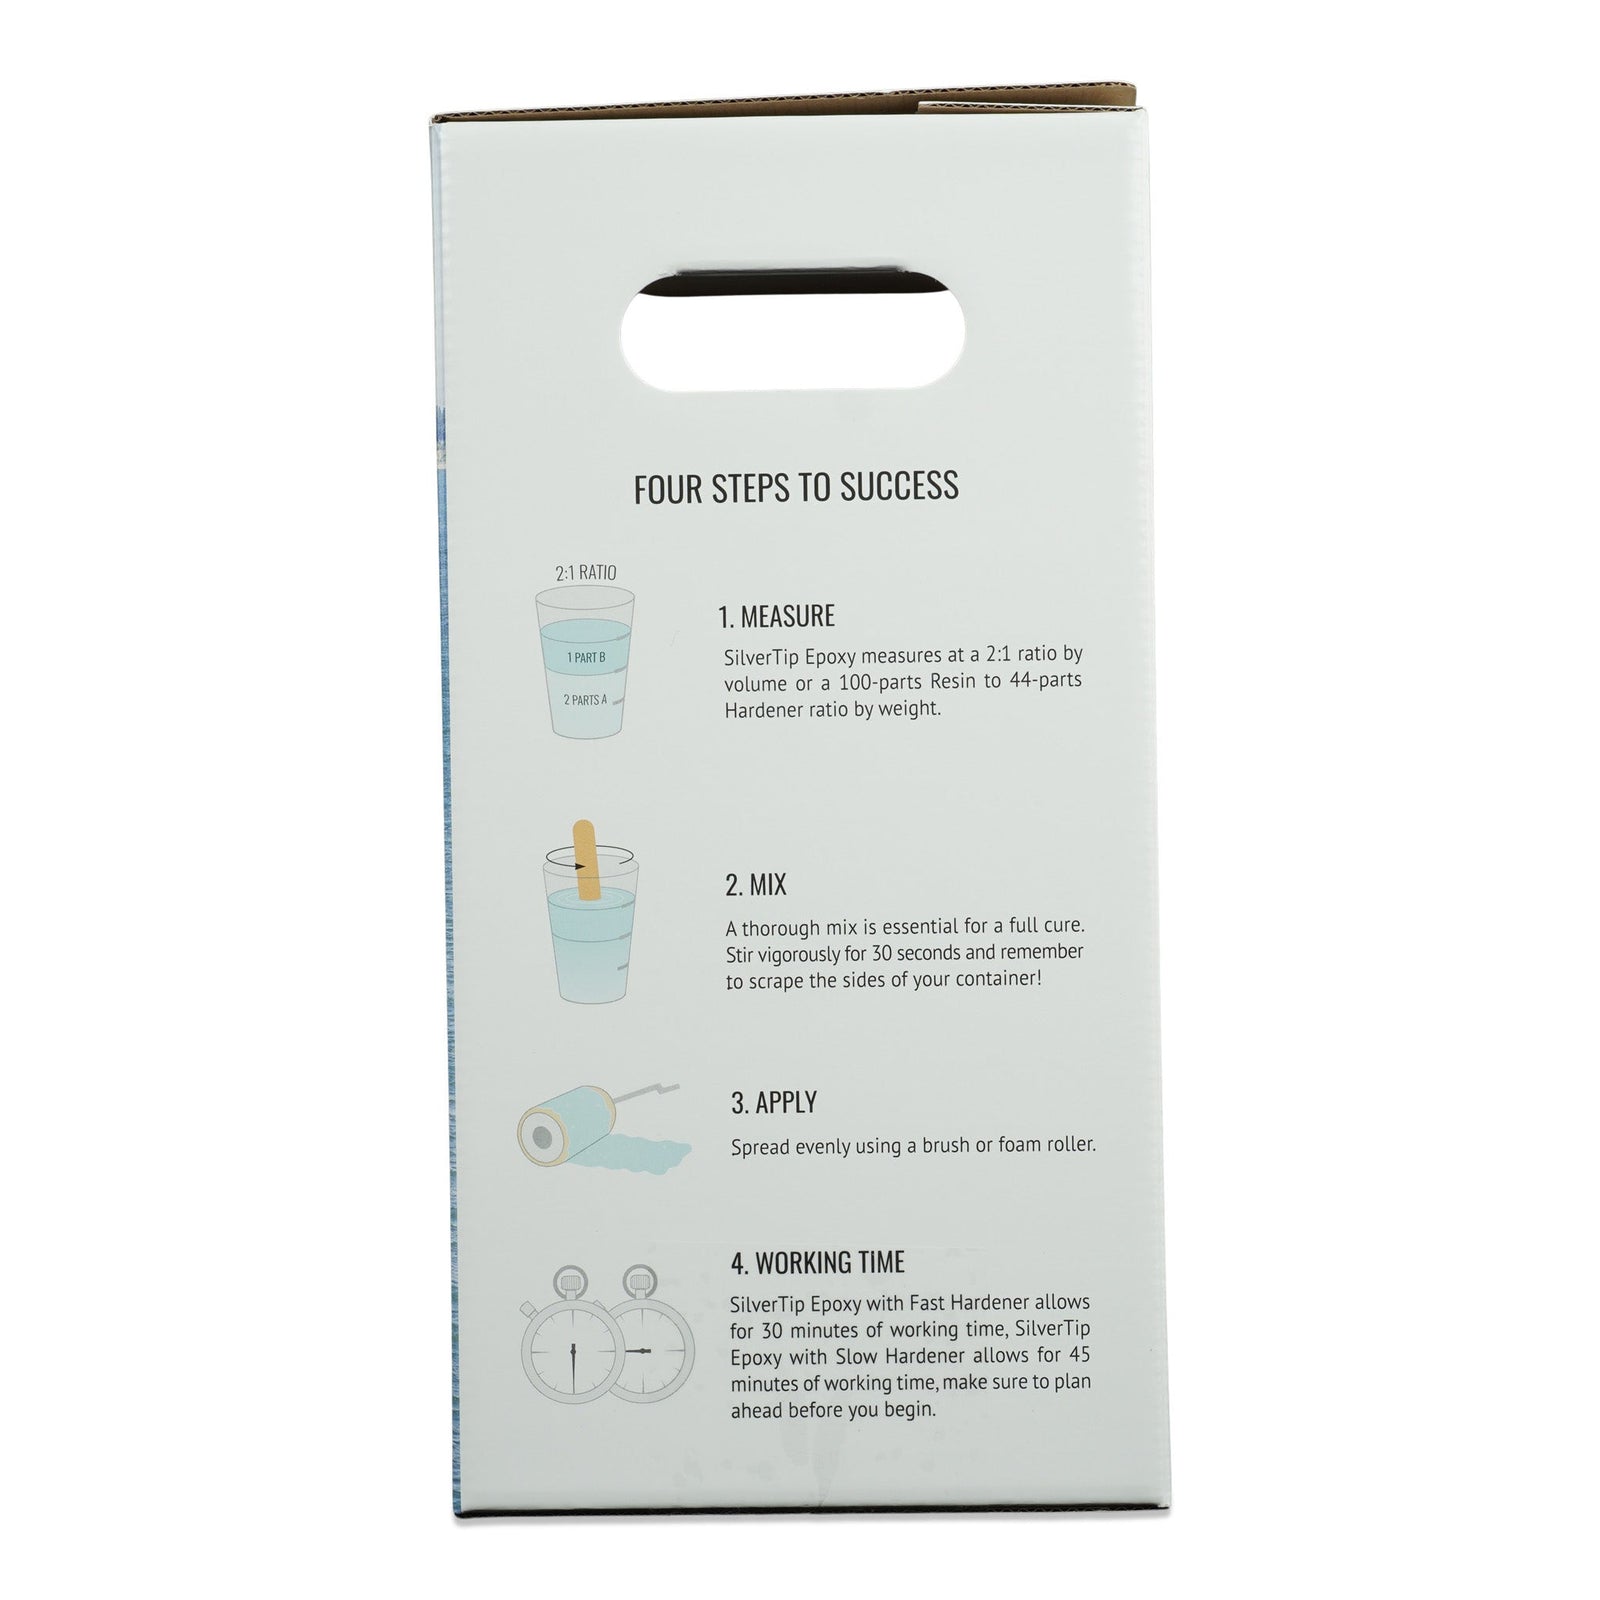
• Easy 2:1 mix ratio

Properties


What is the SilverTip Series?

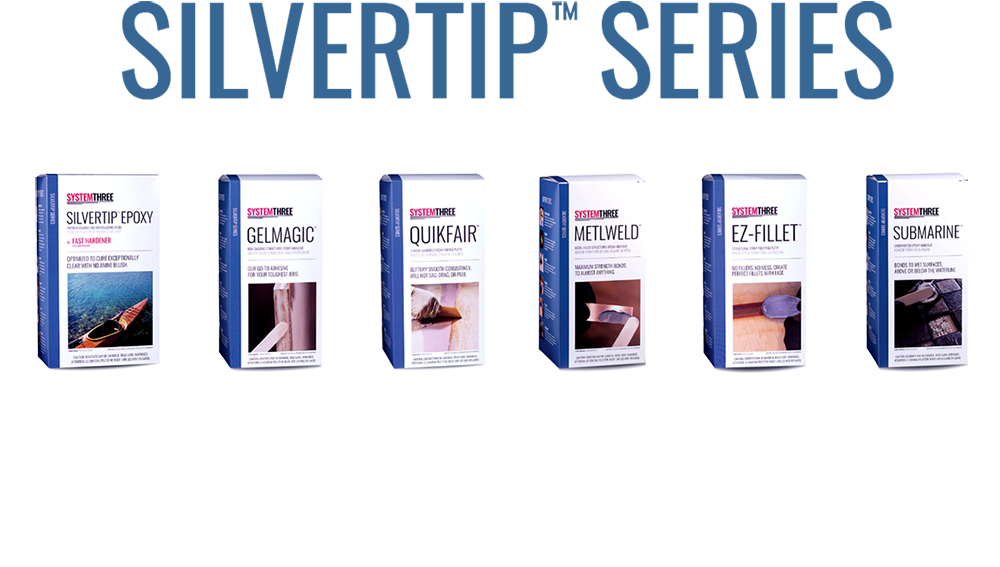
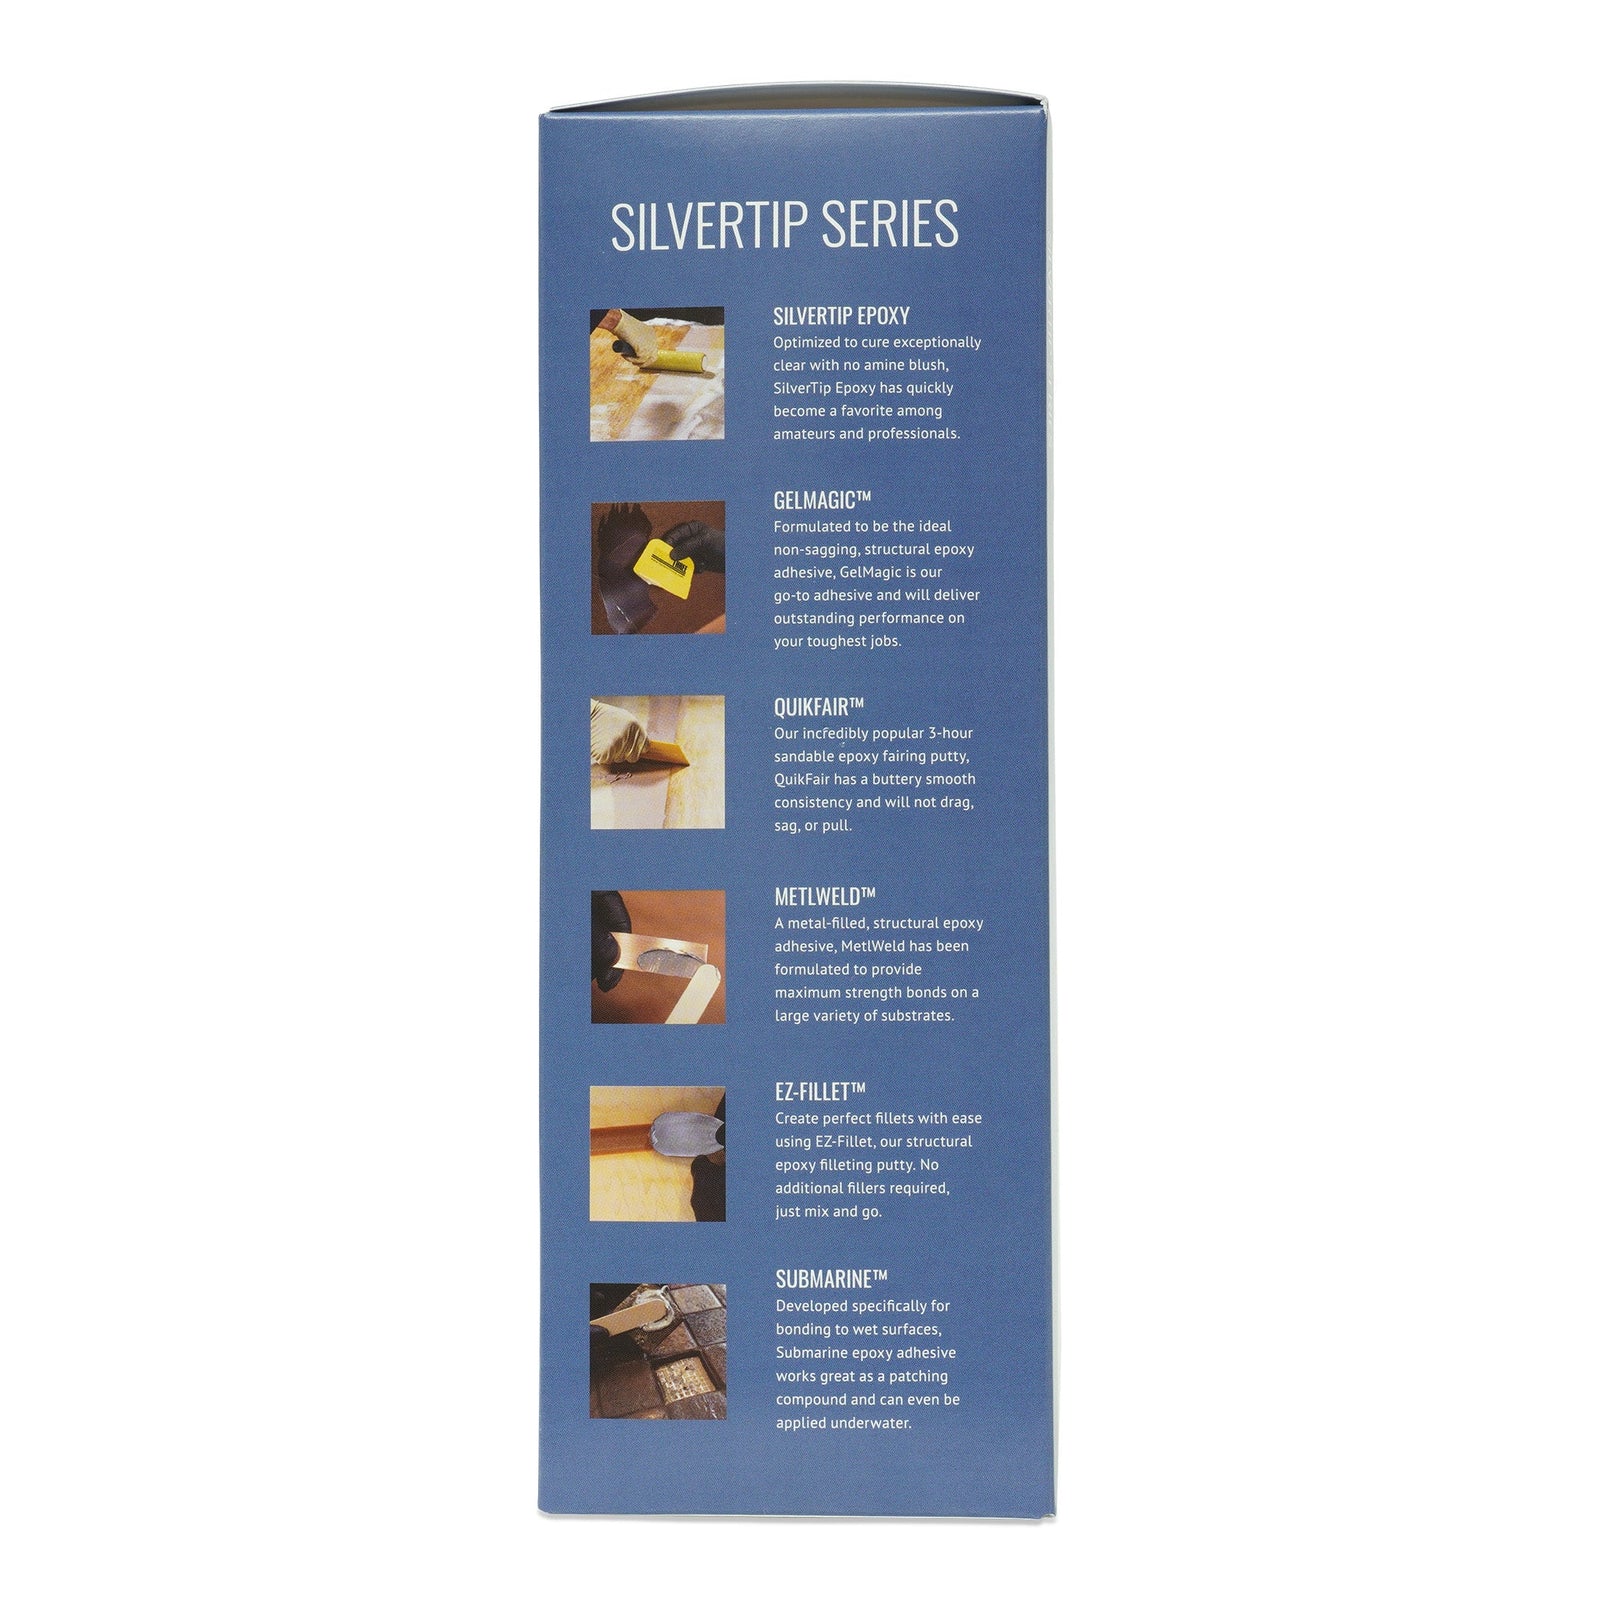
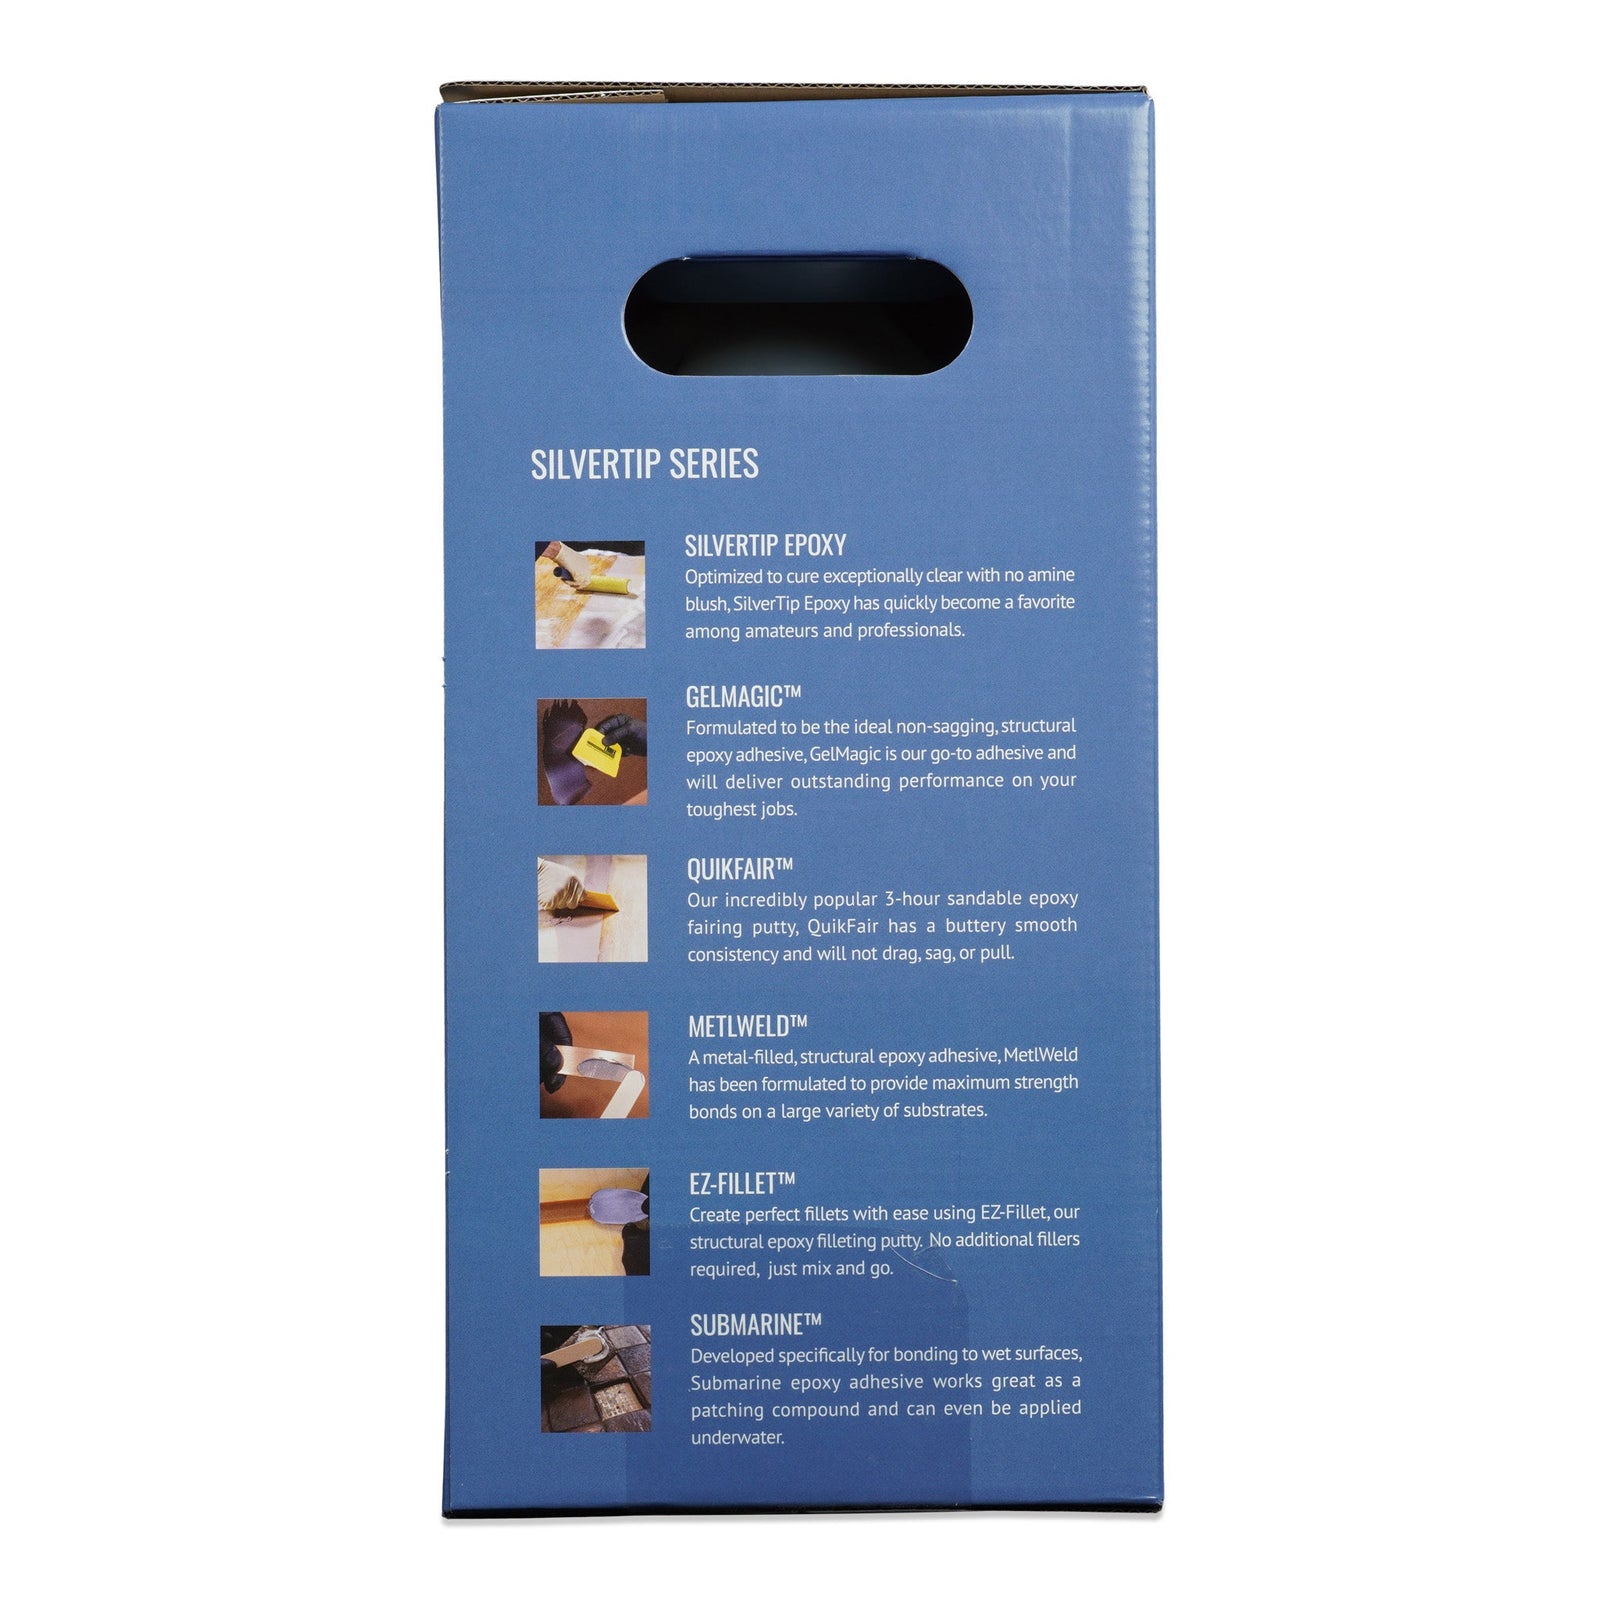
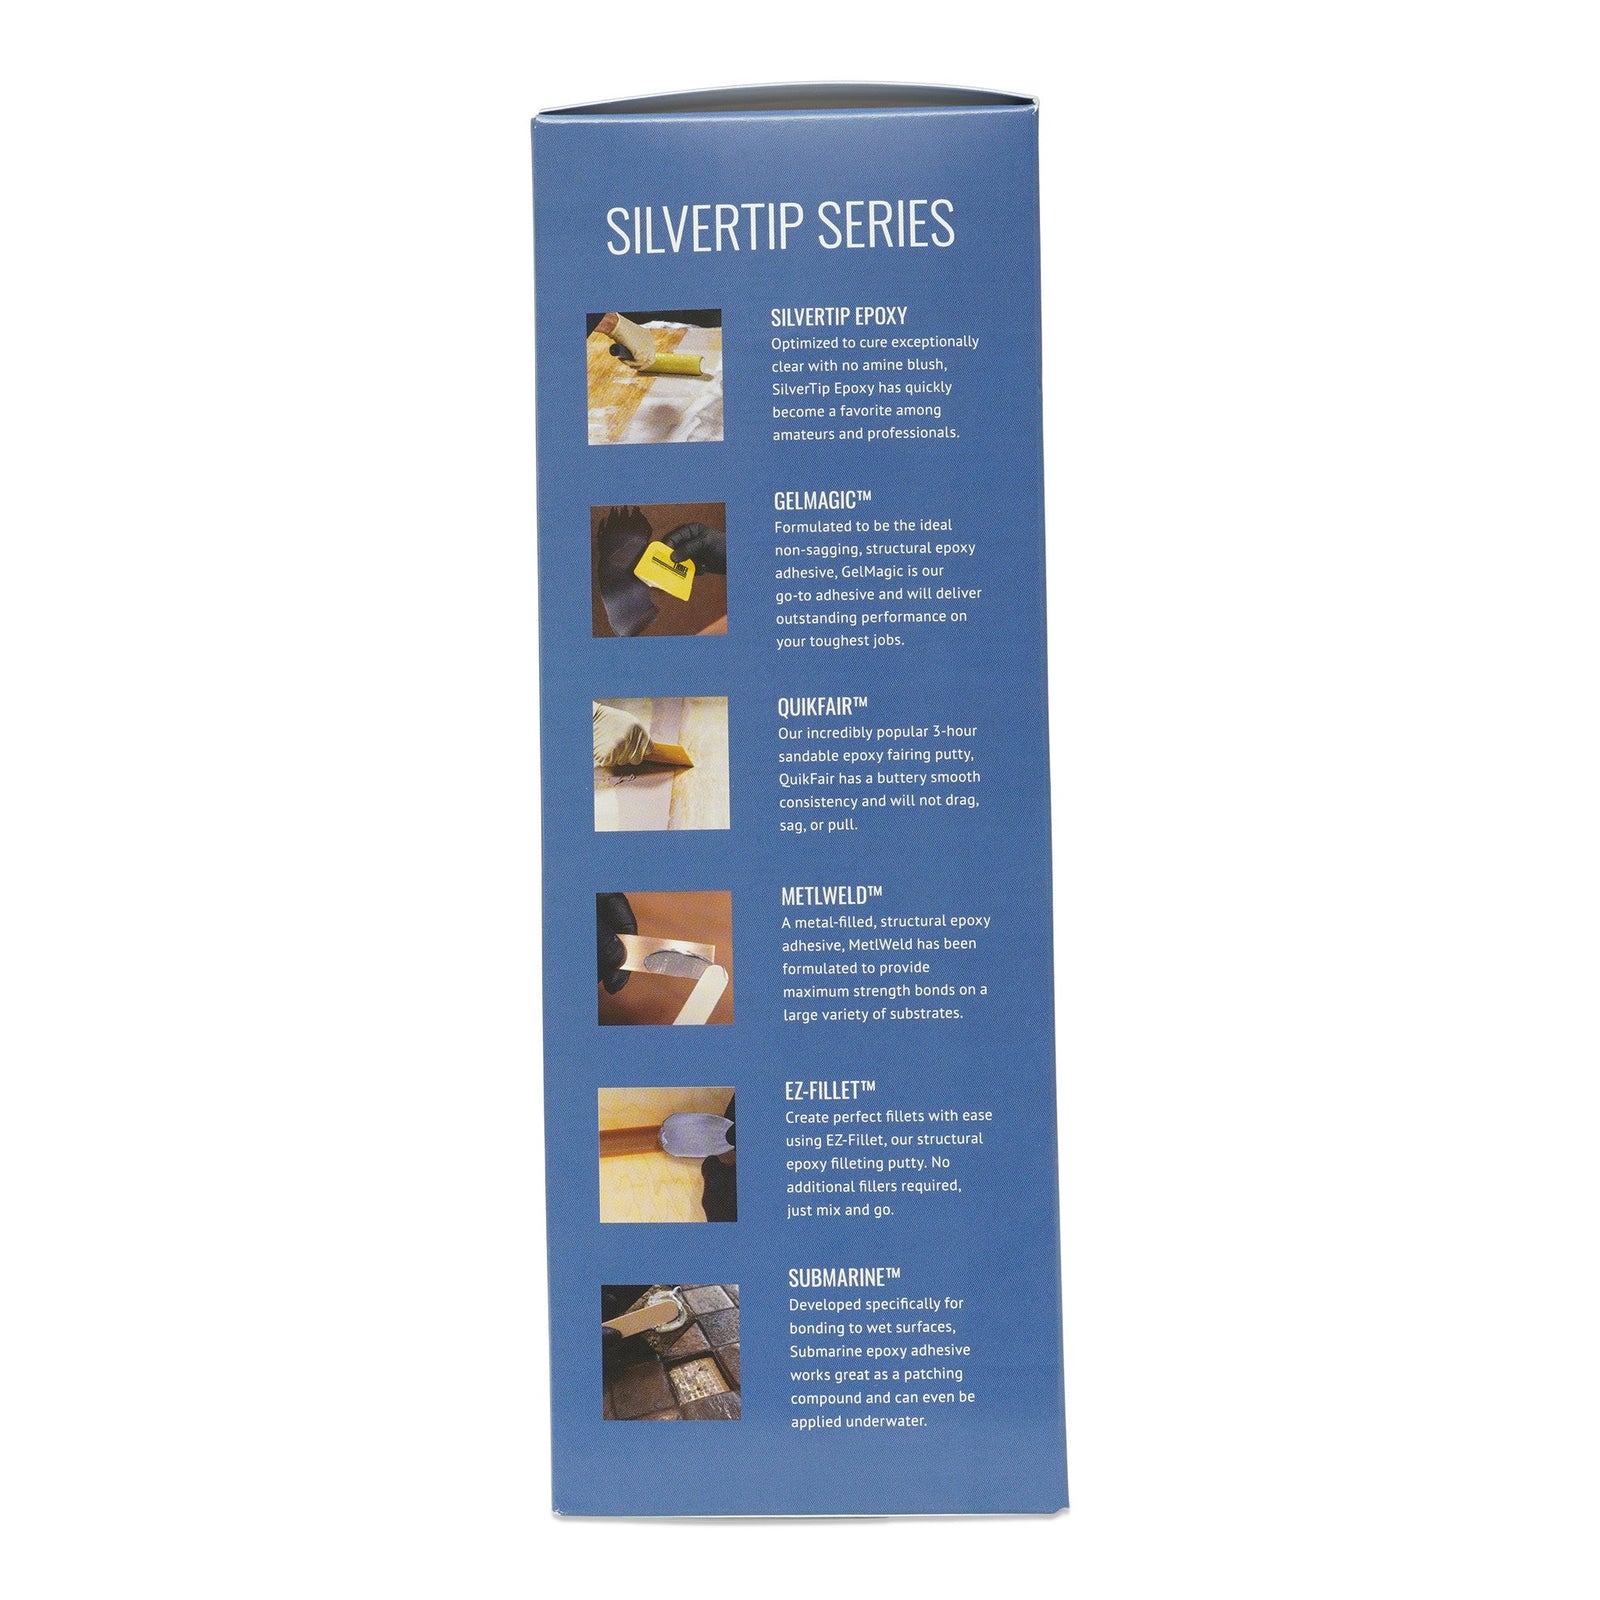
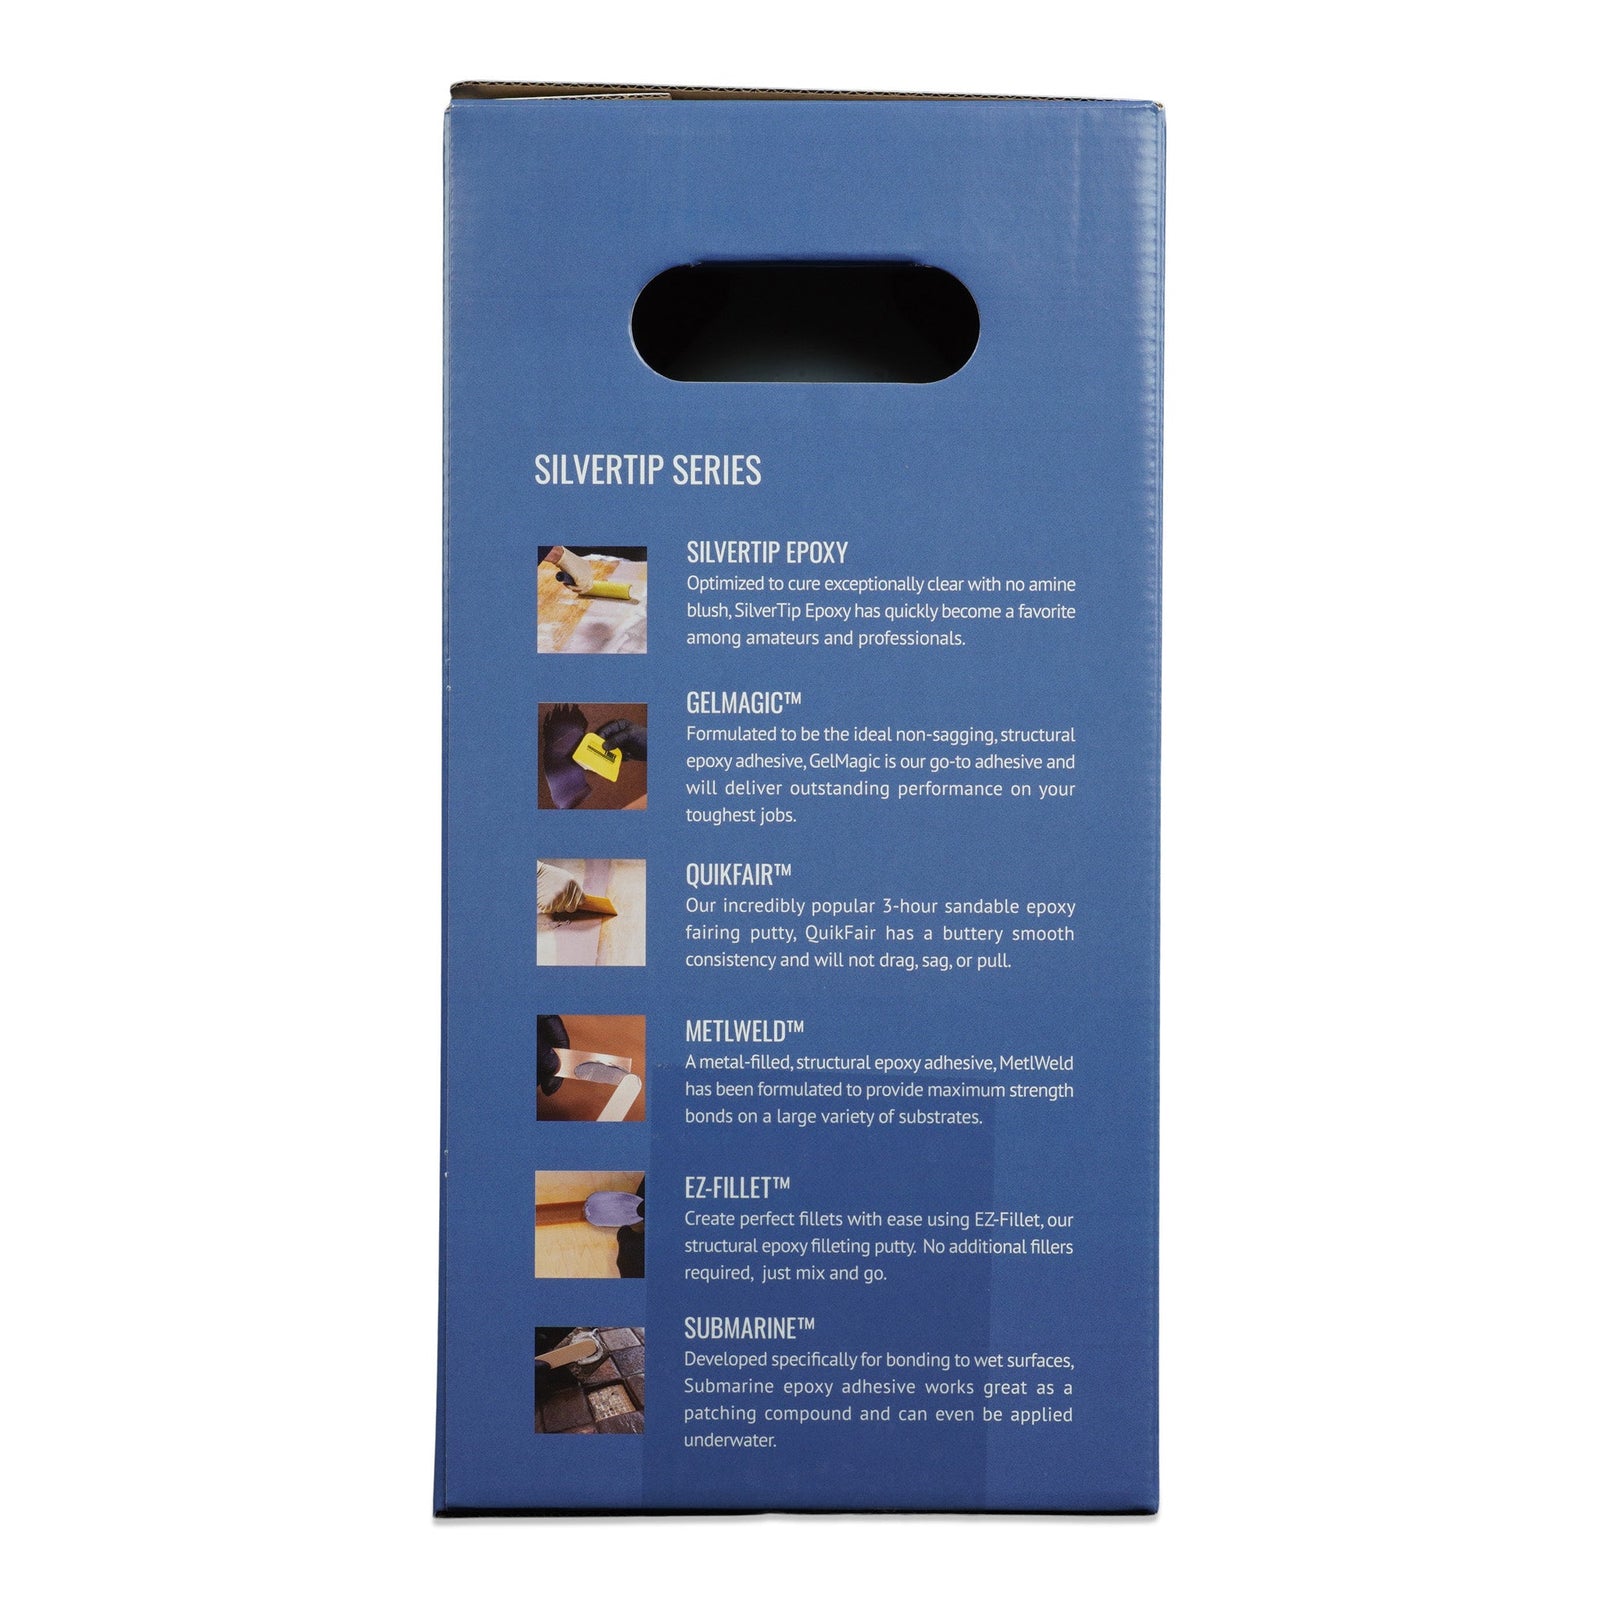
The SilverTip Series Products


Engineered for Any Project


Frequently Asked questions

SilverTip Epoxy is a great choice to create a waterproof barrier coat on wood components. Please refer to our "Coating Wood with Epoxy" and "Fiberglassing with System Three Resins" within the Whitepapers section of our Resources menu.

PREPARING THE SUBSTRATE
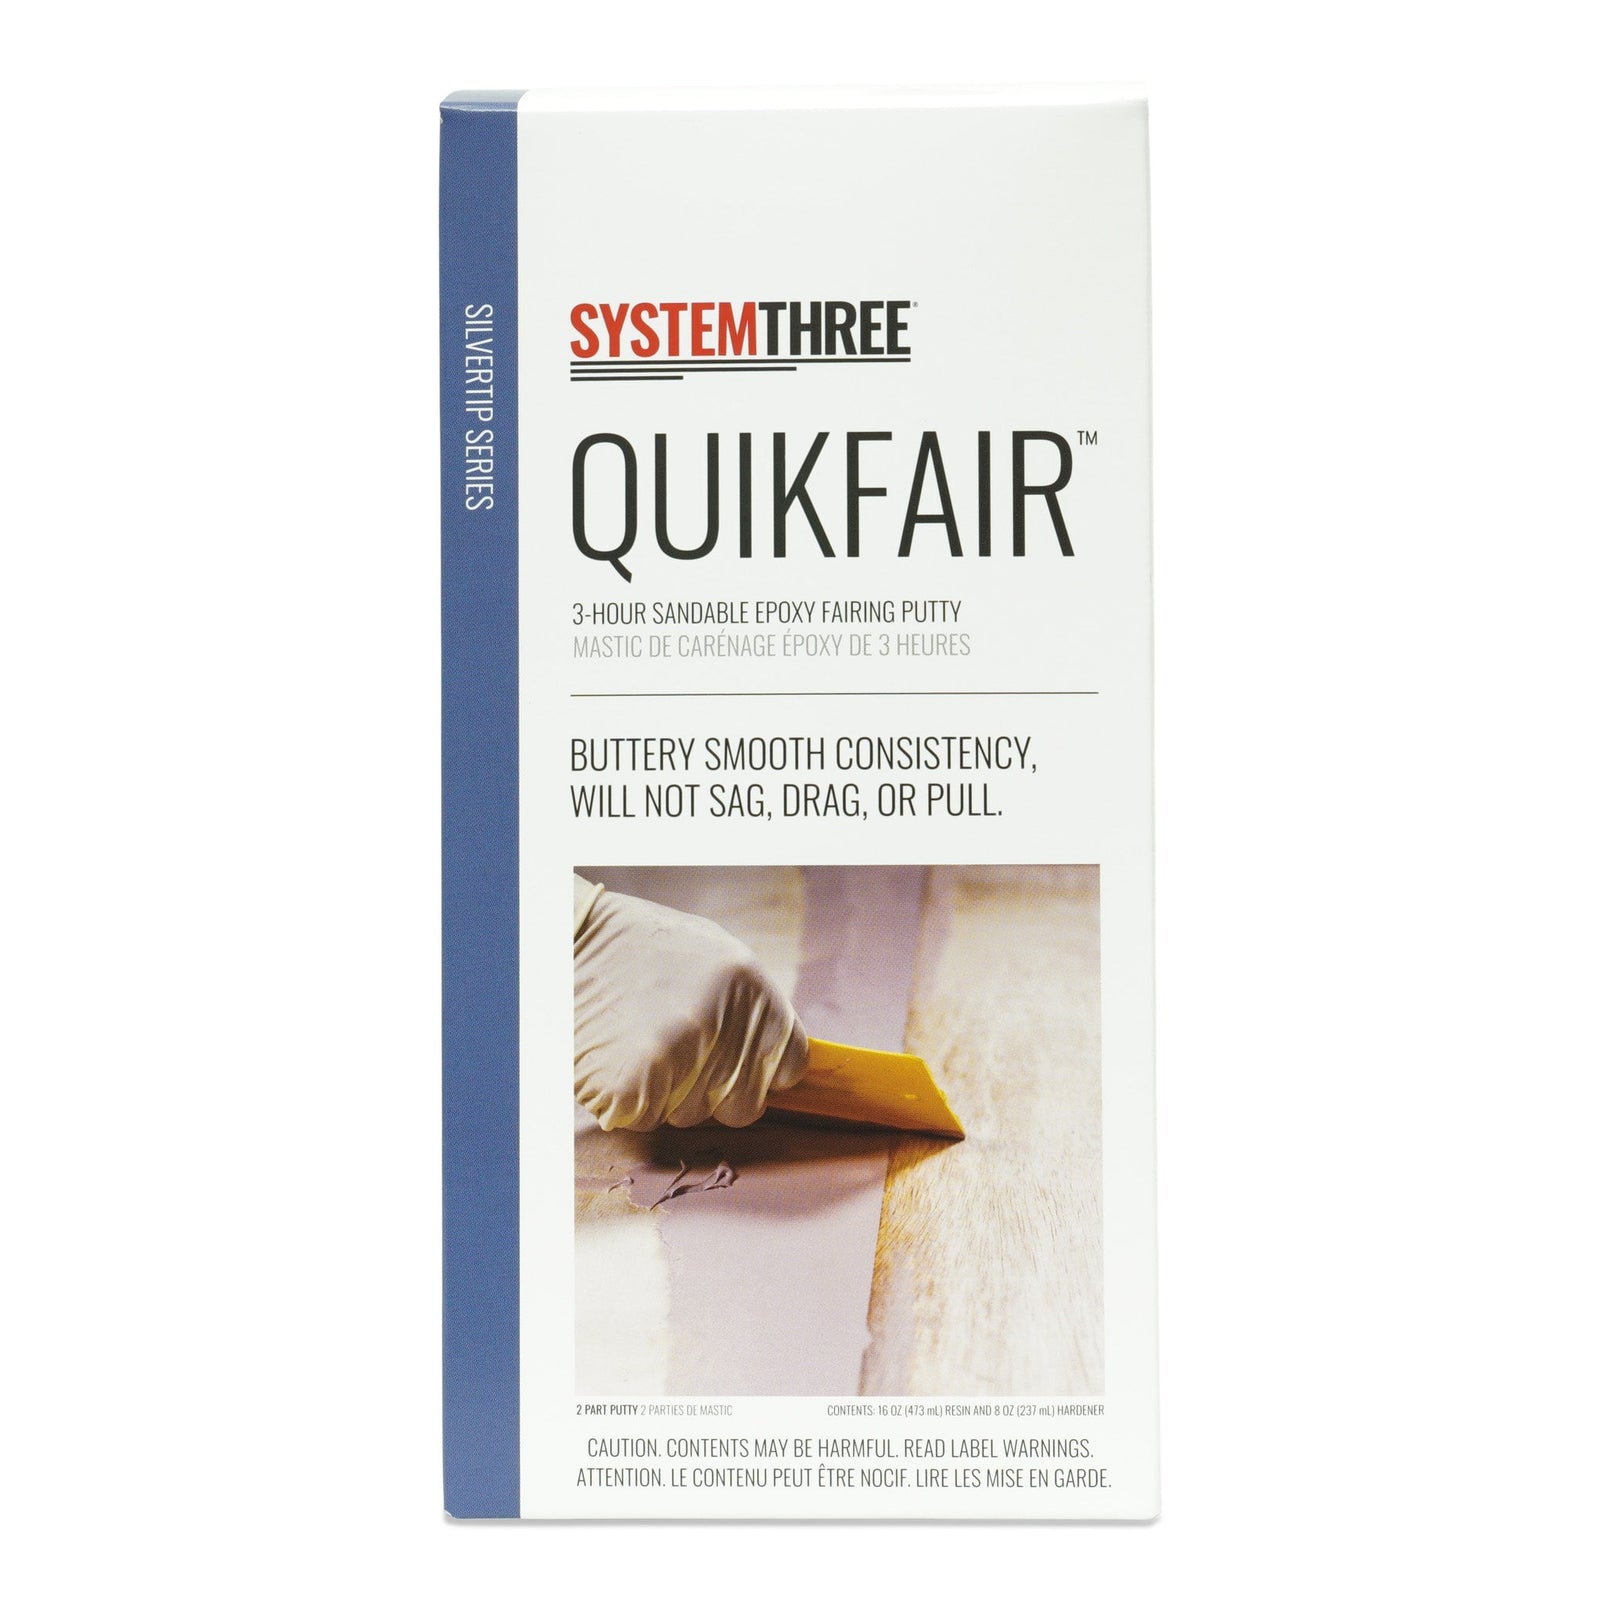
Before beginning work with the System Three Epoxy, make sure that surface imperfections are addressed. Use SilverTip QuikFair to fill holes, dings, or to smooth out seams. Sand the wood substrate and the QuikFair using 150-180 grit sandpaper. Clean the surface of loose debris and dust using filtered shop air, vacuum, or a brush.

SEALING THE SUBSTRATE
The first step to doing a good fiberglass job is to seal the wood to avoid the problem of having unsealed wood soak up too much epoxy and starving the wood/glass bond. Apply your favorite System Three Epoxy at ½ fluid ounce per square foot to the bare wood. A 1/8” nap foam roller does a great job applying a thin, uniform coat.

SATURATING THE GLASS
Next lay the fiberglass out on the pre-coated, tack-free surface. Smooth out the fiberglass cloth and do any necessary rough trimming. Masking tape may be necessary to hold the cloth in place if the surface has a slope. Mix small batches of resin initially, until you get the hang of it. Start at one end and pour the resin out over an area equal to about 1 square foot per fluid ounce. Pour in "S" curves, spreading lightly into the dry areas with a squeegee. Let the resin wet the cloth out. Don't try to "force" it through the weave with the squeegee. Notice how the cloth disappears as it wets out. On vertical surfaces, you can work out of a paint tray and apply the System Three Epoxy with a 1/8” nap foam roller.

When the first area has been covered, and the cloth has disappeared, take the squeegee and use reasonable pressure to squeeze the excess resin out of the wet cloth. You can wipe the squeegee edge on a cup or can to remove the resin. Squeegeeing removes excess resin and entrained air, sticking the cloth down right onto the wood surface. The squeegeed cloth should now have a semi- dry look with the weave pattern showing; the cloth itself will be nearly invisible.

Keep going, section by section, until you’re finished. If you are working on a large area, use a dry roller cover on the previous three or four sections to give a final smoothing. On smaller boats, the roller cover can be used after the entire hull has been fiberglassed.

Let the Epoxy cure to the "green" stage where it is pliable but no longer tacky unless pressed really hard. Now is the time to trim the excess cloth. Trim by running a sharp, single-edged razor blade around where the glass overhangs the edge. Press down any glass that lifted from the surface while trimming. Make sure to fill the weave within 72 hours for maximum adhesion.

FILLING THE WEAVE
The weave of the cloth can be filled once the resin has reached the green state of cure. Don't try to sand the weave smooth, fill it with epoxy. Apply fill coats. Several coats may be necessary before the weave is filled. If you plan to paint the surface, you may fill the cloth weave with SilverTip QuikFair in one coat using a squeegee to apply it. Don't use any QuikFair on surfaces that are to be clear finished.

When the weave has been filled, the surface should be sanded to prepare it for painting or varnishing. Sand the epoxy, not the fiberglass. Use 150-180 grit sandpaper and be sure to wear a respirator or dust mask while sanding. Clean the epoxy surface well before applying a UV protective topcoat.

• Re-coating or applying one product on top of another for most of our 2:1 epoxies (General Purpose, SilverTip, Clear Coat, MirrorCoat, RotFix, etc.) can be done without sanding if done within 72 hours of the previous coat. Beyond 72 hours, sand the previous coat or product with 150 grit sandpaper to ensure the next layer adheres to the previous one.

• For S-1 Sealer and Cold Cure products, recoating can be done within 24 hours without sanding. After 24 hours, sanding is necessary. Sand S1 Sealer with 180-220 grit sandpaper. Cold Cure Epoxy should be sanded with 150 grit.

• For all System Three adhesives (Quick Cure, T-88, Gel Magic, MetlWeld, etc.), always sand with 150 grit prior to adding more adhesive or other epoxy products.

• For QuikFair, allow to harden 4-6 hours then sand with 120-150 grit paper and apply more QuickFair.

• For SculpWood Putty, more putty can be added without sanding if the first application is still tacky. If SculpWood Putty has reached a hardened state, sand with 150 grit paper and apply RotFix Epoxy. SculpWood Putty can be applied immediately to the wet RotFix Epoxy.

• For SculpWood Paste, more paste can be added without sanding if the first application is still tacky. If SculpWood Paste has reached a hardened state, sand with 150 grit paper and apply more SculpWood Paste.