How to preserve your family photos in epoxy resin
February 14, 2018 2 min read
This is a fun and simple project that you can do to protect precious family photos or enjoy your favorite Instagram photos on your table. These also make great Mother's Day and Father's Day gifts. To get started you will need a few supplies:
- Mirror Coat two-part epoxy resin from System Three.
- Tiles from your local home improvement store, we purchased ours for $0.16 a piece.
- A Measuring Cup for your Epoxy
- A Stirring Stick.
- Glue stick
- Your Photographs or other memorabilia you would like to preserve.
- Deft Clear Wood Finish Gloss
Start the process by making sure you are in a well-ventilated room and that your Epoxy is at room temperature. Gather your supplies together and let's get started.
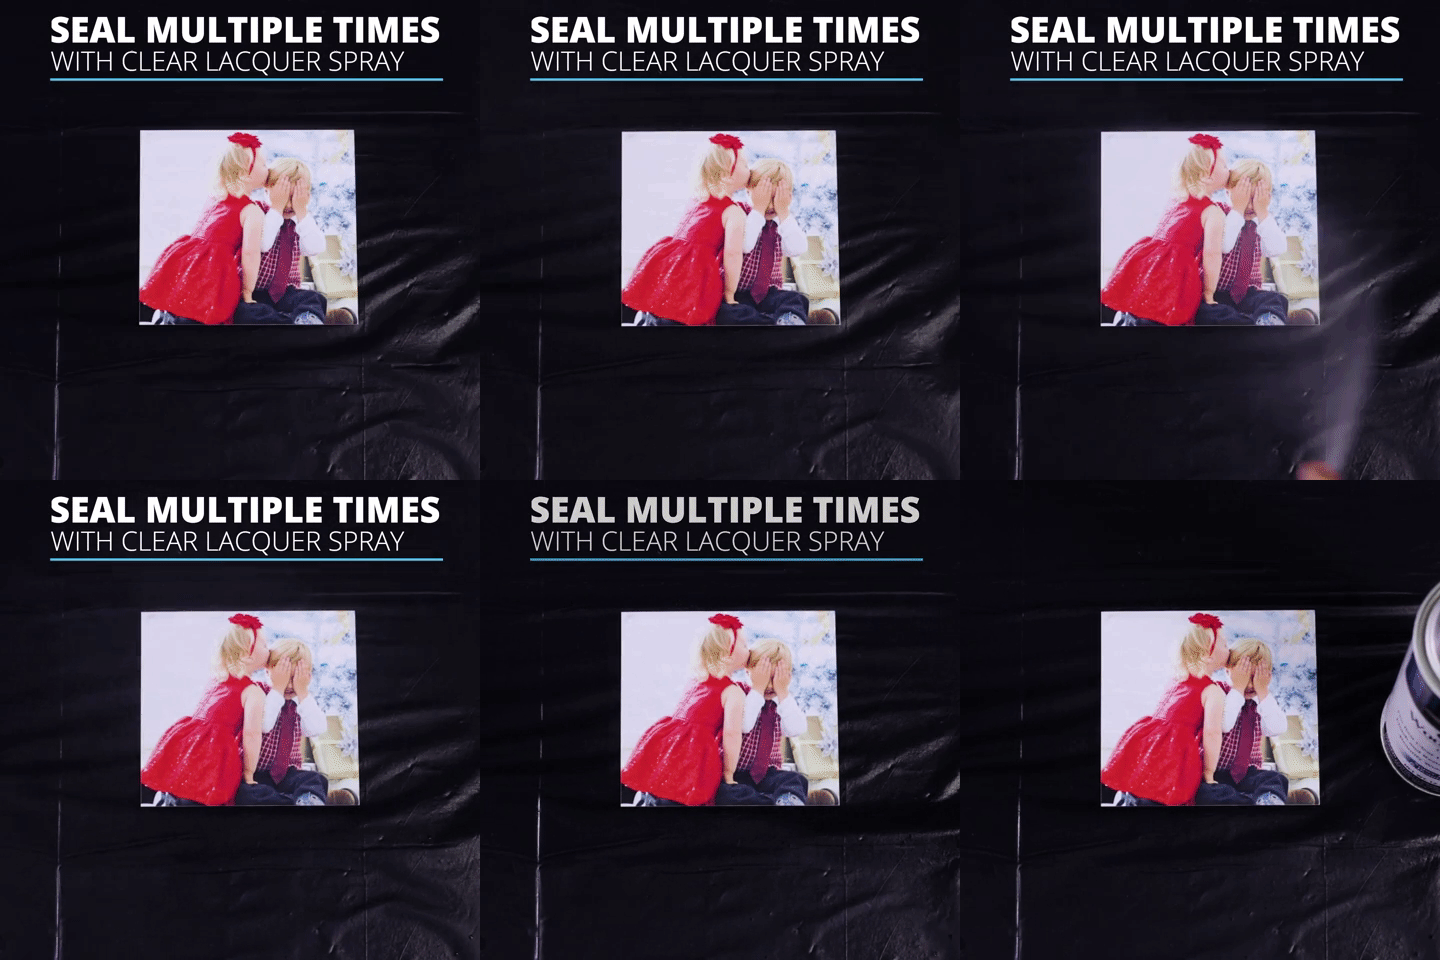
Take your photos outside and spray three coats of Deft Clear Wood Finish Gloss 30 minutes apart to your photos, I suggest spraying a test picture you don't mind re-printing first to make sure you feel comfortable spraying your pictures with the protective lacquer.

The second step is cutting down your picture to fit onto your tile we used a paper cutter but scissors also work well. This is up to your preference of how much white space you want on your tile and how large your tile and photo are.
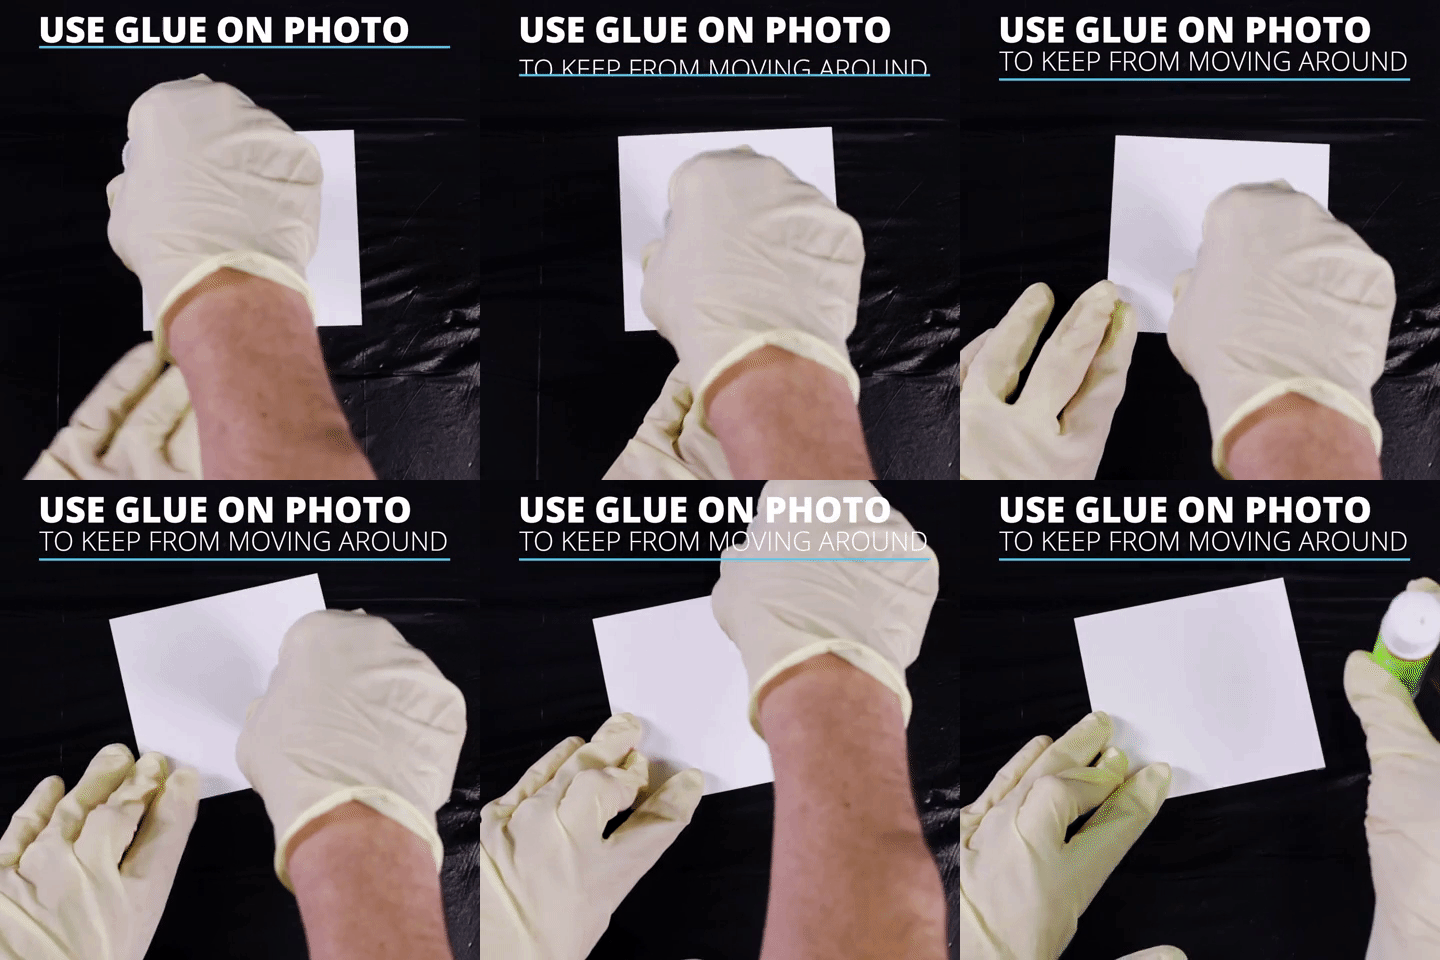
Glue the back of your photo making sure to cover the edges otherwise they can peel away from the tile. This step also makes sure that it doesn't move around when you pour the epoxy on it.

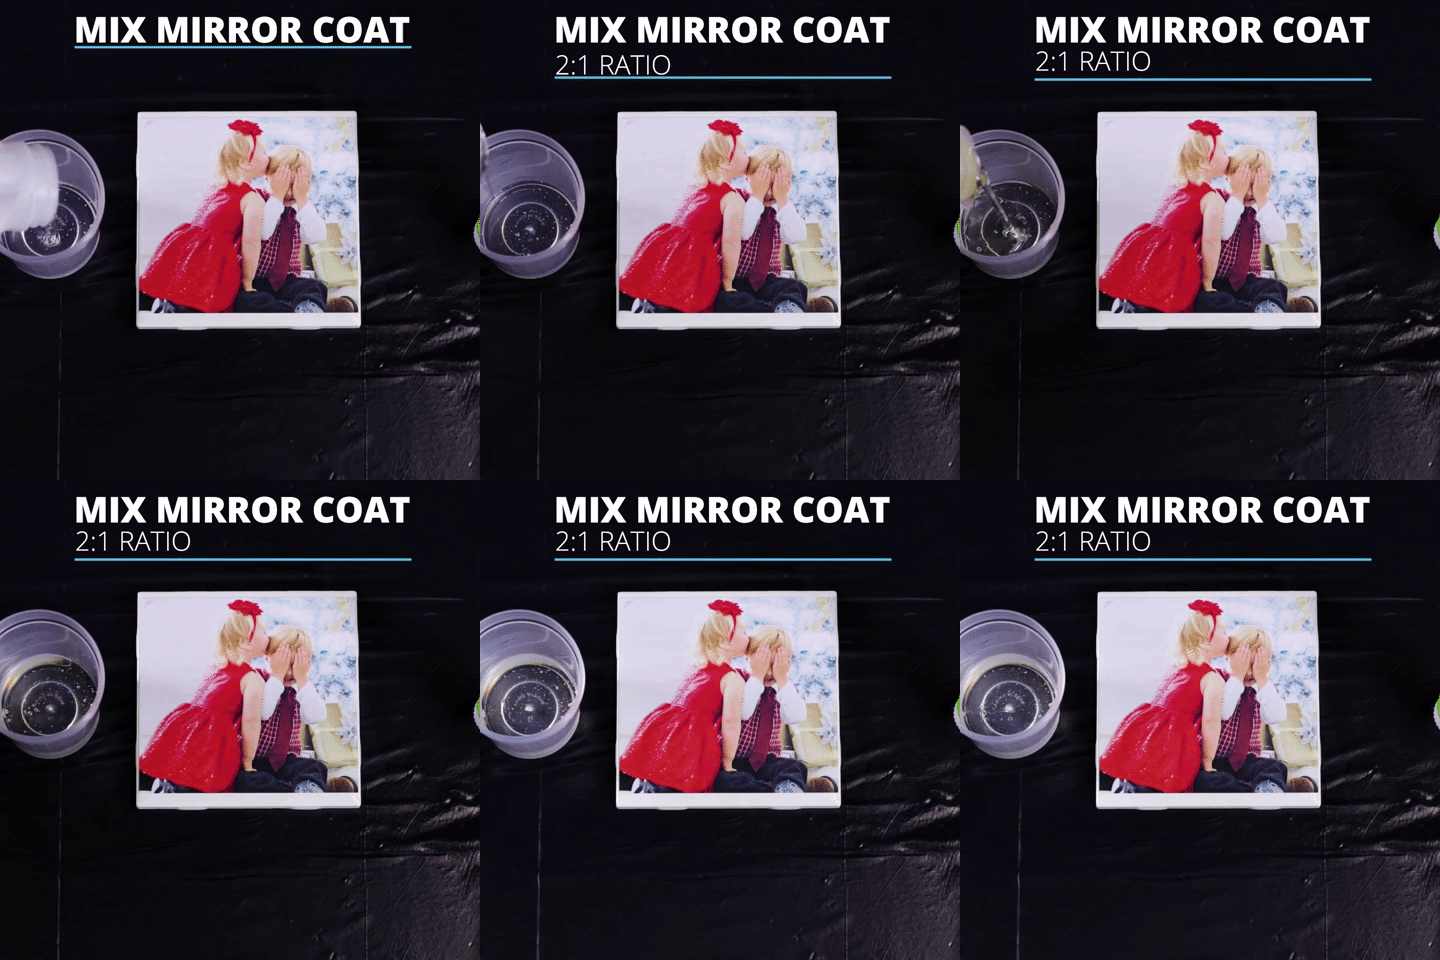
Mix up the epoxy. Using a 2:1 ratio of part A to part B. Mix thoroughly until the mixture turns clear but slowly to ensure no air bubbles form in your mixture.

Pour MirrorCoat out slowly over picture using your mixing stick to spread it to the edges of the tile. Ensure it is fully covered and to the edges. Wipe clean any over drip.

Fire up that blow torch or just use your breathe. The CO2 from either of these will pop any remaining bubbles in your resin. Repeat this step every 20 minutes or so until bubbles are no longer rising to the surface.

Wait at least 24 hours to touch your tiles if your room is at @77°F (25°C) otherwise it is safest to wait 48 hours to give the epoxy more time to cure.
Leave a comment
Comments will be approved before showing up.


